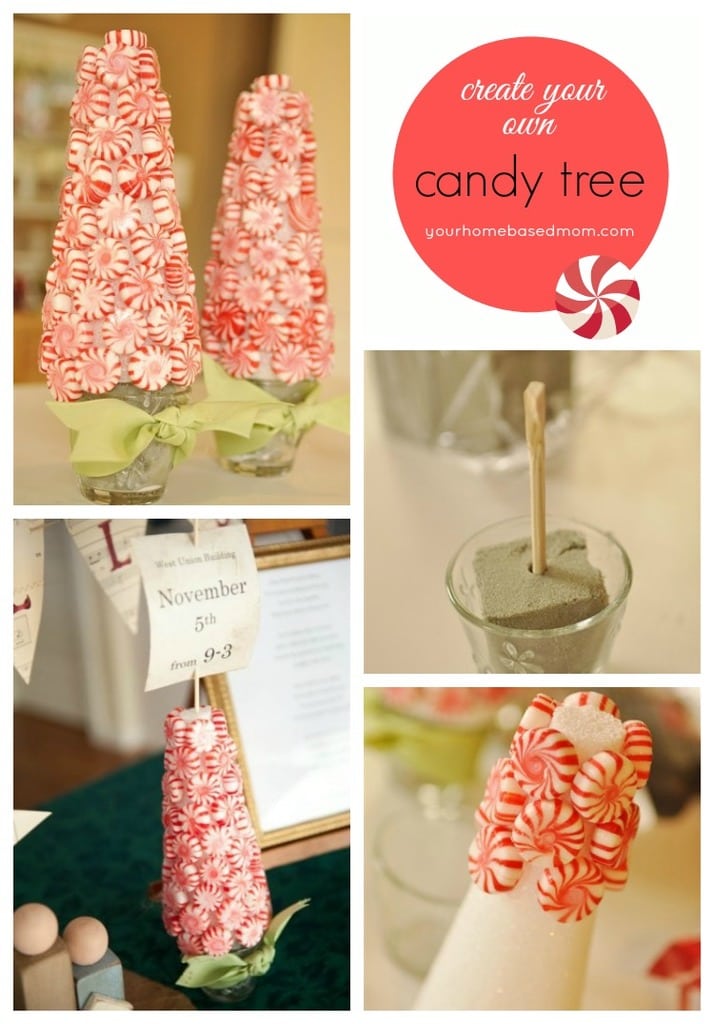
Create your own candy tree with this step by step tutorial.
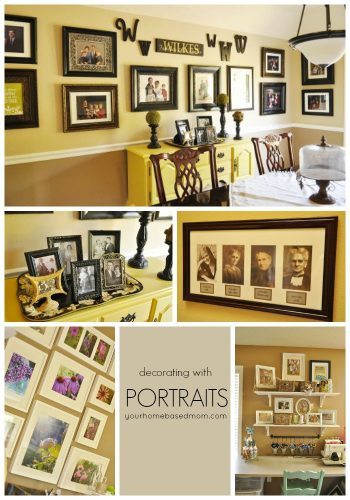
Each year at church we have a “Super Saturday.” It is a whole day full of fun craft and projects. You can sign up for various classes and it is a fun day! This year they asked me to help teach a class on jars. I’ll be sharing all kinds of fun ideas to do with jars – ways to decorate with jars, gift giving ideas using jars, ways to serve food in jars. Lots and lots of jars! In addition to all the fun ideas they will be learning, they will also be making this fun little jar project. It is just two jars that were in my refrigerator that I emptied out. I spray painted the lid black and also painted two different size glass candleholders I found at Goodwill. I then glued the jar to the candleholder, filled it with candy and added some ribbon. The best part is you can change it out for the season. Candy corn at Halloween, eggs at Easter – the possibilities are endless!!

Last week I got a call from my friend Meg who was on the committee that was putting the whole day together and she was in charge of putting a display table together for Sunday showing all the different projects. She asked if I had some ideas and if I could help. Let’s just say you don’t say no to a 41 week pregnant woman! Even if she wasn’t pregnant I would have loved to help her. So we brainstormed a bit and then I headed to the Dollar Store. We needed to do this quick and we needed to do it cheap! What did we do before Dollar Stores!?!?
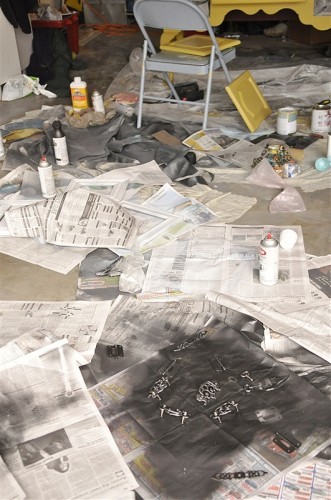
This is what I brought home with me along with a few things I already had.

I picked up two styrofoam shaped trees, a couple bags of starlight mints, some oasis (the green foam stuff). At home I had some chopsticks, bamboo skewers, hot glue gun, ribbon and some glass votive holders from Ikea.
We had decided that we wanted to have a banner that went across the table that had the name of our ward (congregation) on it since there is more than one ward that meets in our building and we wanted people to know whose ward the projects were for. We also needed to have the projects named and numbered so people could sign up for the ones they were interested in.
Meg made a darling banner using old sheet music and then just stamped some letters on it.

We decided the candy trees would be the perfect thing to attach some of the information for the day onto. The date and time…

as well as the theme…


Each project sat on a piece of brown paper bag cut into a circle and then crunched up and distressed a bit.
We then made little pennant banners with numbers on them. Meg stamped a number onto some old sheet music she had cut up (she did the same thing with the banner too.)

I put some oasis into the votive, covered them with a little Spanish moss and glued the pennant to a bamboo skewer and then put it into the oasis. A little ribbon around it finished it off.
The easels held frames on each end of the table with more information about the event.
All in all I think it turned out pretty darn nice without a lot of effort or money.
Here’s how I made the candy trees.
I just unwrapped all the peppermint candy and started gluing, using my well used hot glue gun.

Just around and around you go.

I did not put a candy on top because I knew we were going to be putting a skewer into it to hold some of the signage but if you aren’t doing that just pop one more candy on the top to finish it off.
I put a piece of oasis into each of the votive holders and broke a chop stick in half and stuck it into the middle.

I then just attached the tree to the votive using the chopstick.

And then tied a piece of ribbon around each container.
Quick and easy!