Feeds:
Posts
Comments

Archive for October, 2014

Halloweenie Roast 2014

Halloweenie Roast 2014

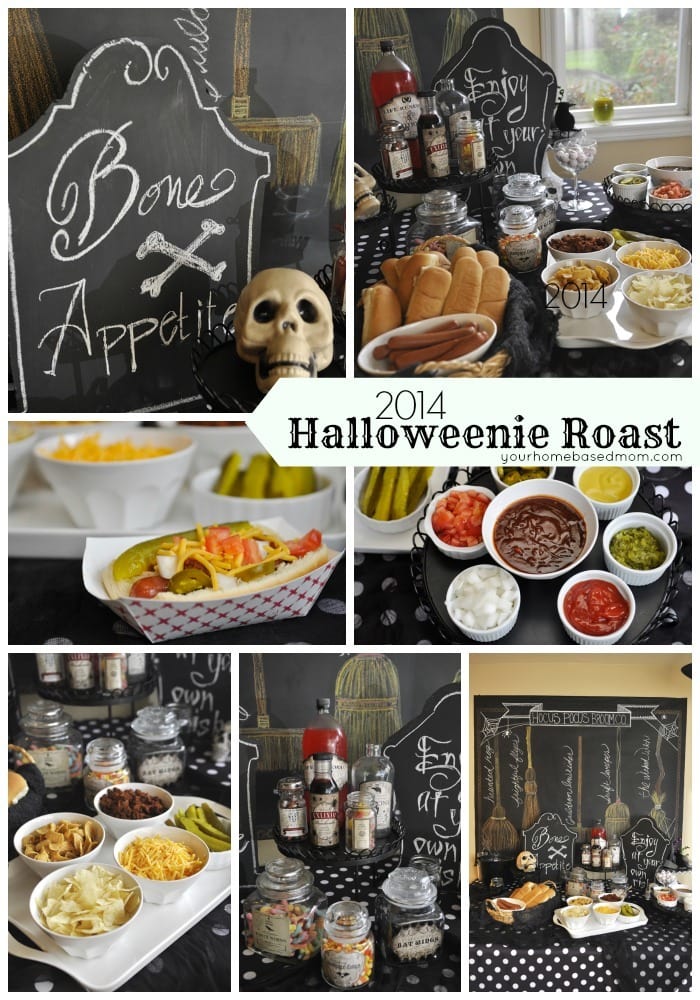
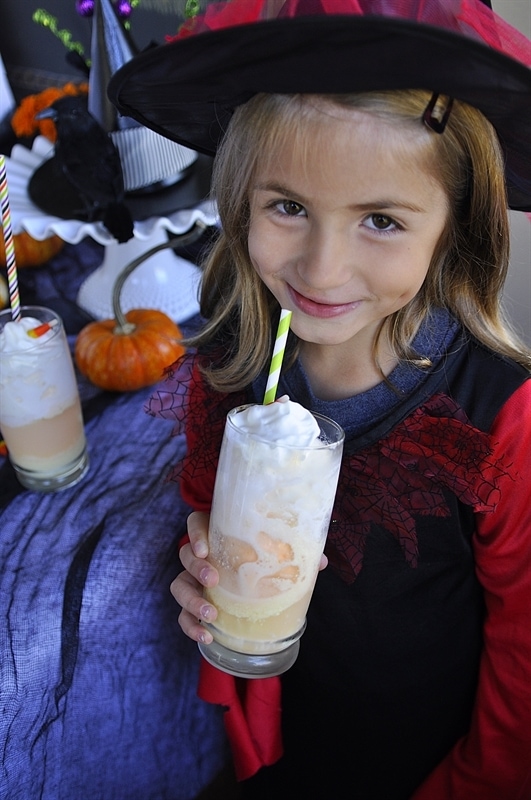
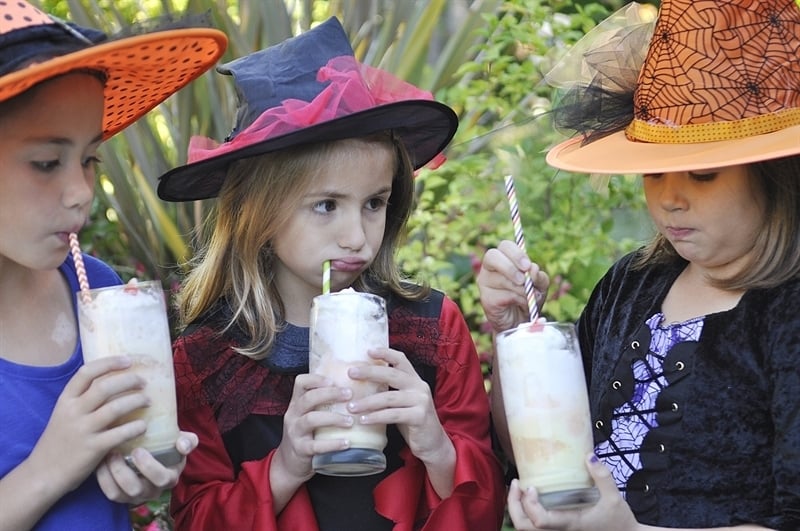
Last night was our annual Halloweenie Roast.  A fun party we host each year for some of our neighbors.  If you’ve been reading my blog for a while you know how much we love our neighbors and spending time with them.  Even though we are empty nesters we still love celebrating Halloween.  We even dress up!  Our annual Halloweenie Roast is one of my favorite events of the year!  I think I might enjoy Halloween more now as an empty nester than I did when my kids were little!

The menu is pretty much the same every year – we roast hot dogs!  We set up the portable fire pit on the patio and the kids and adults get to cook their own dinner.

Halloweenie Roast 2014

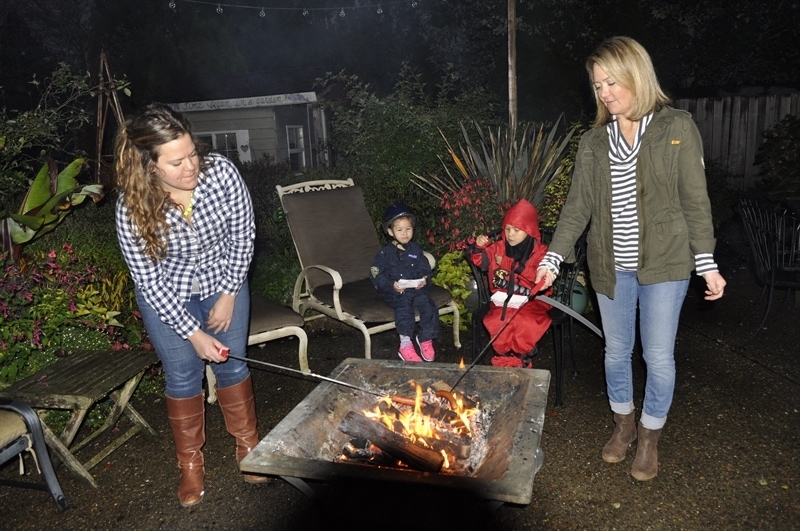
Each of the neighbors brings something to contribute to dinner and we provide all the toppings for their hot dogs!

Halloweenie Roast 2014

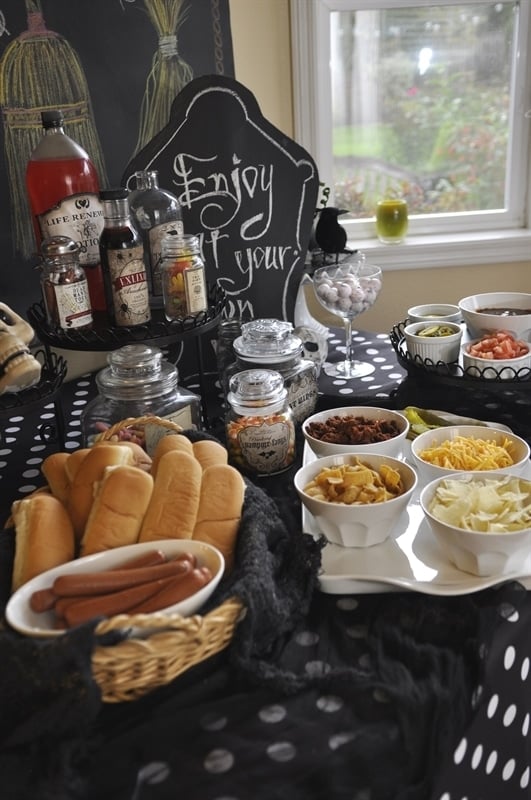
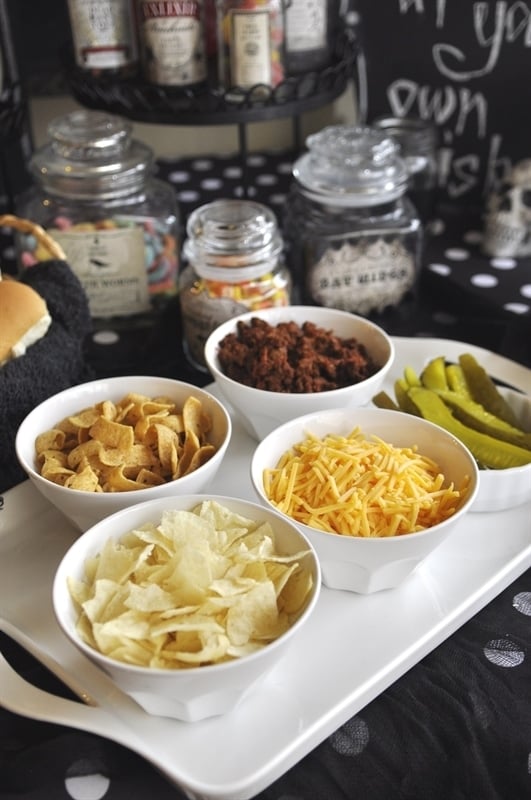
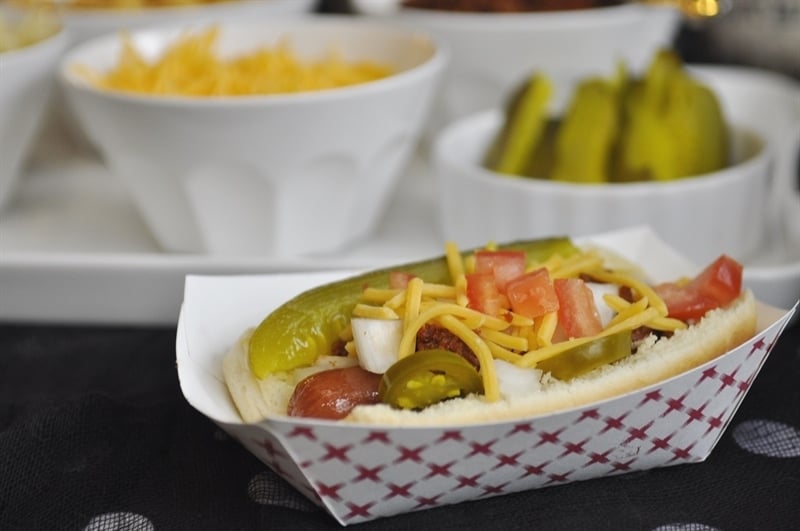
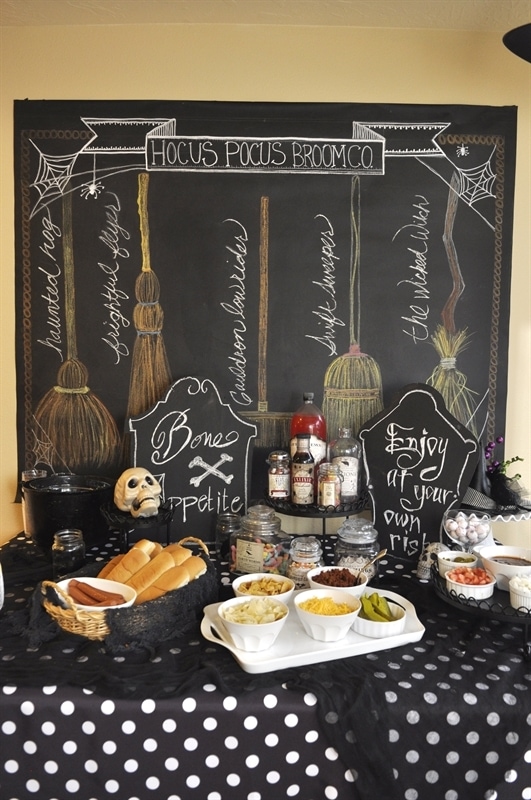
I set up a fun Hot Dog Bar with a fun array of toppings – chili, cheese, pickles, fritos, potato chips.  (Crushed up potato chips are really good on a hot dog).

Halloweenie Roast 2014

Then there is also ketchup, mustard, pickle relish, onions, tomatoes, peppers and JDawg Sauce.

Halloweenie Roast 2014

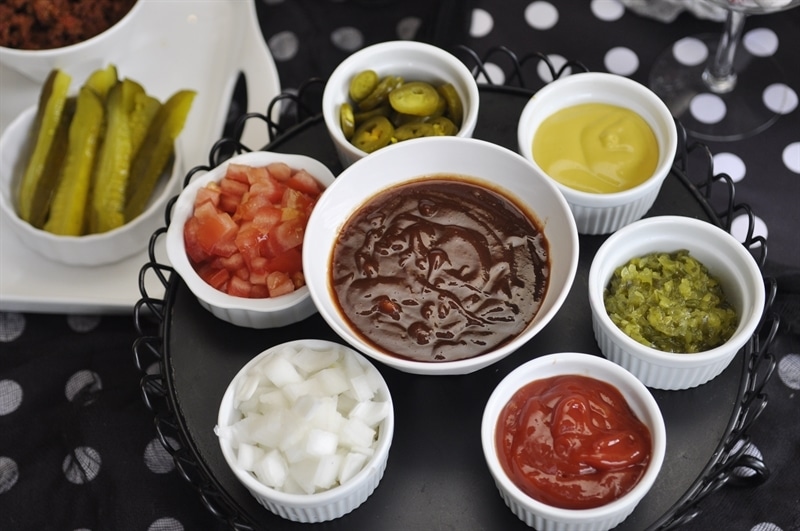
Everyone could custom make their own dog!

Halloweenie Roast 2014

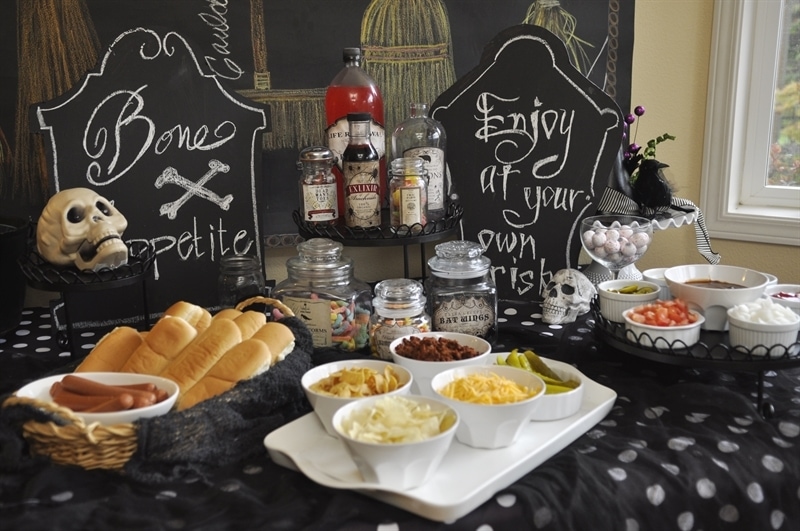
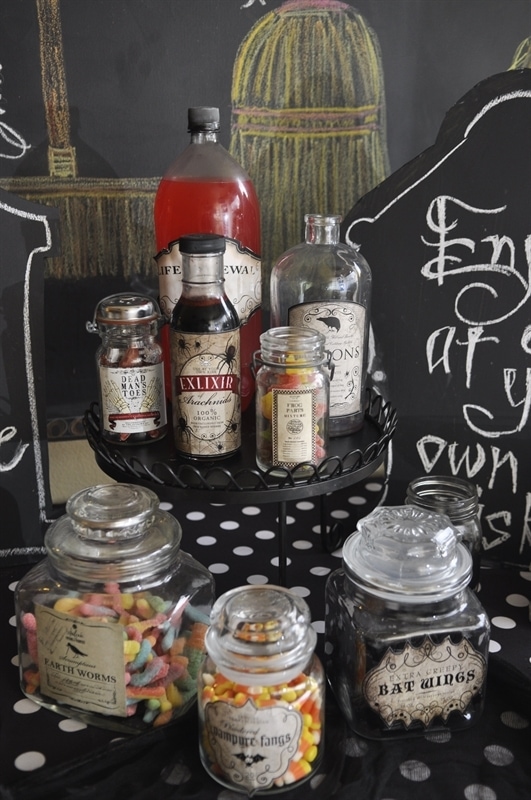
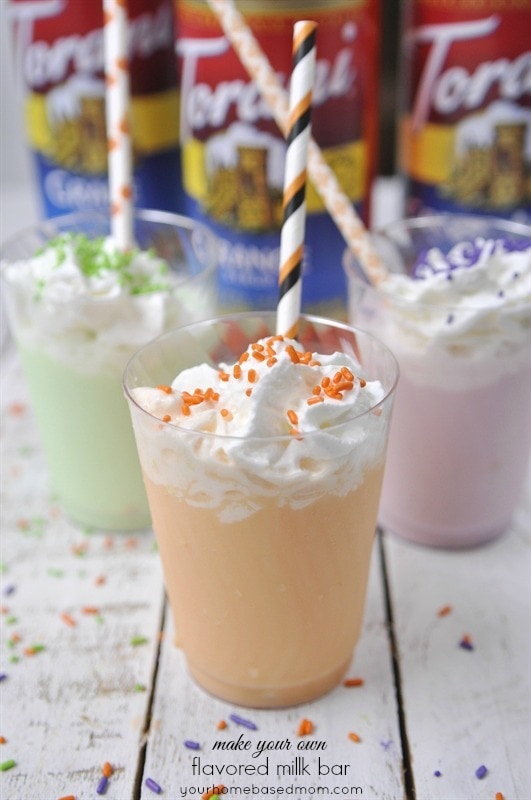
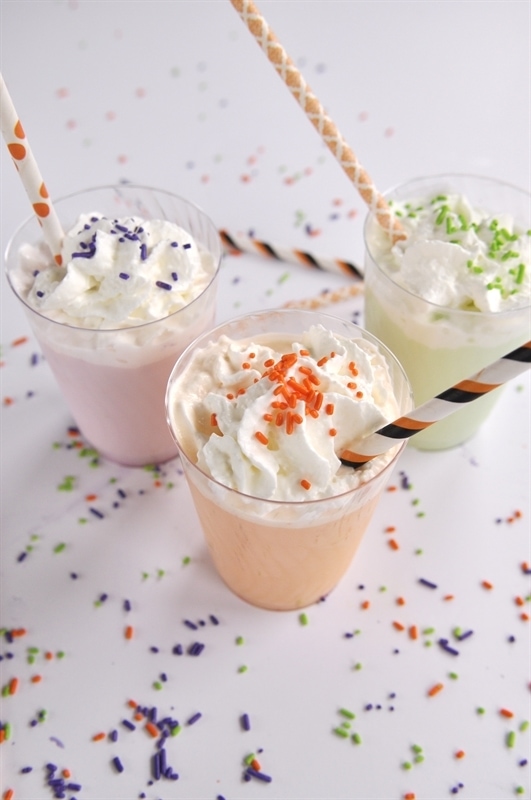
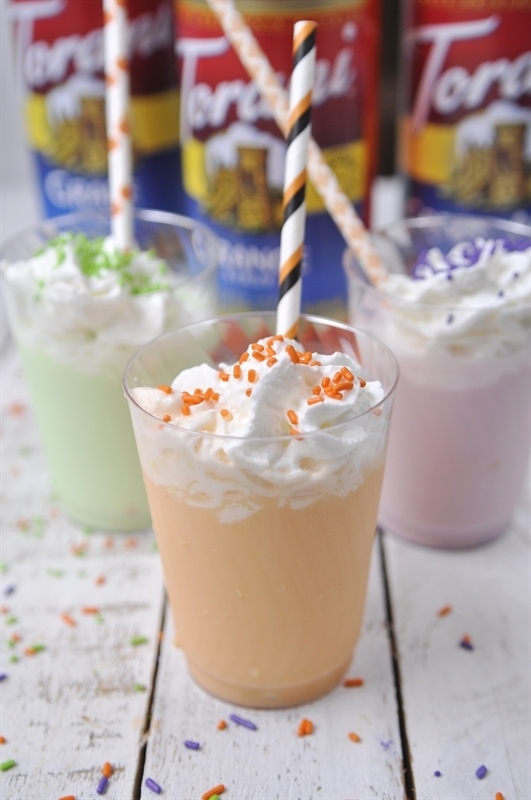
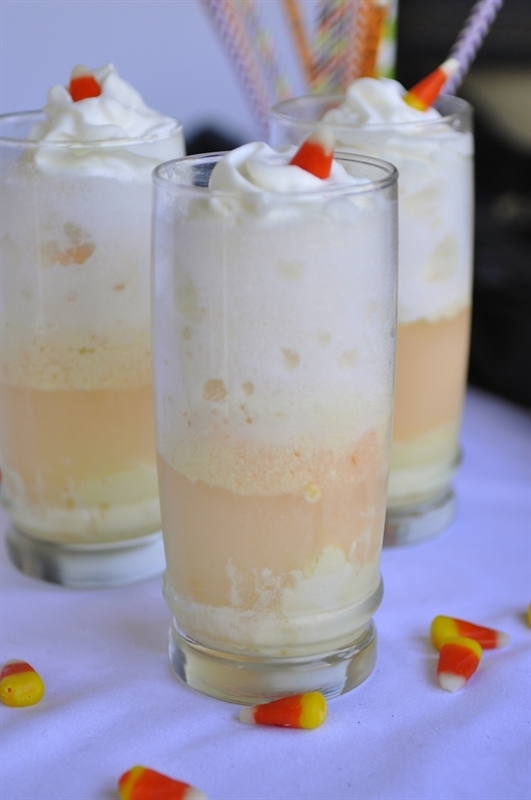
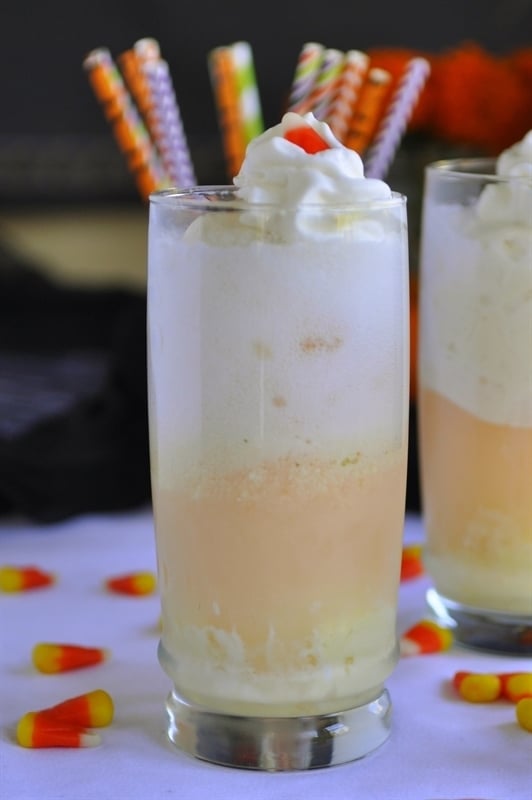
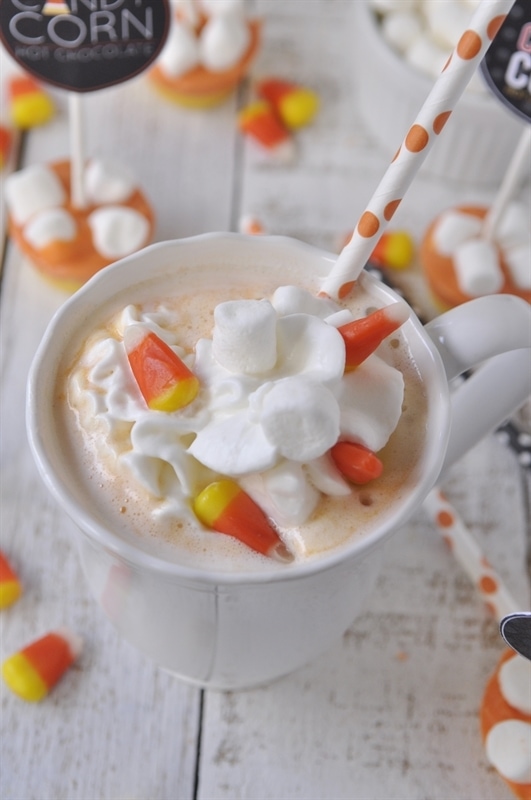
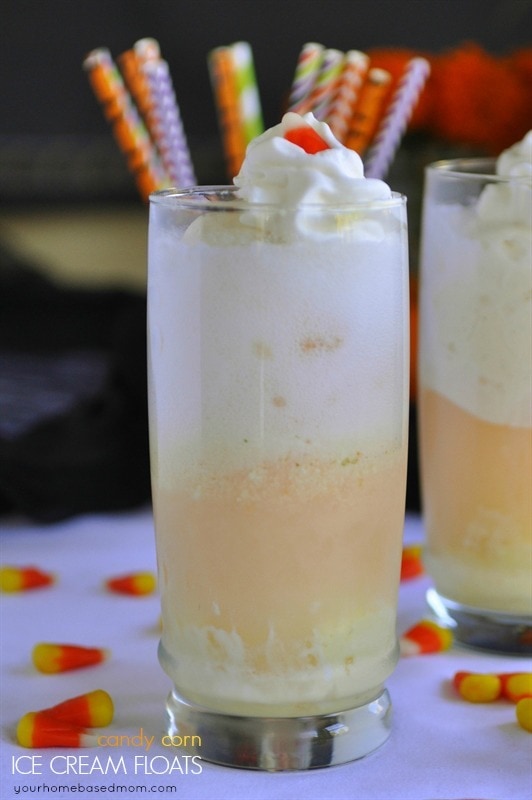
We also had a cauldron full of witch’s brew and a pot of hot apple cider on the stove.  And jars full of candy of course!

Halloweenie Roast 2014

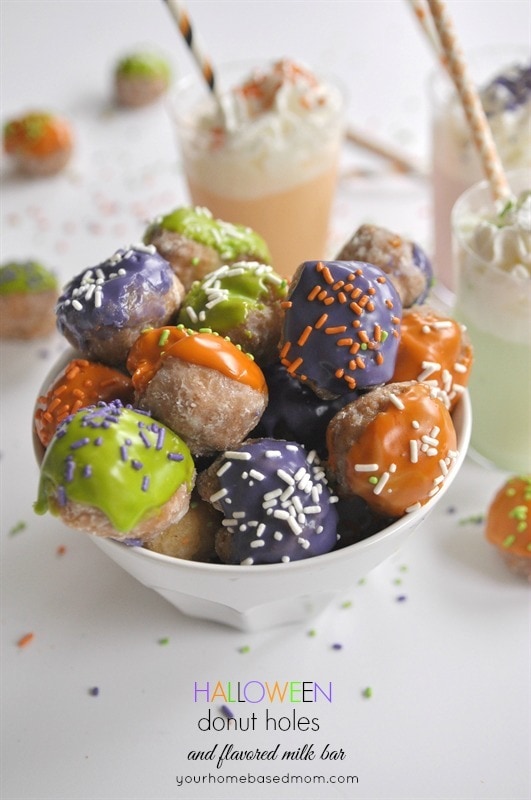
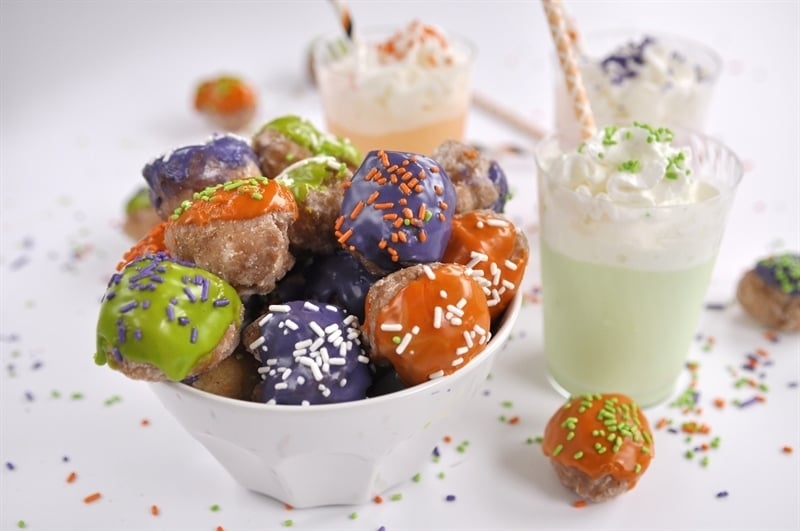
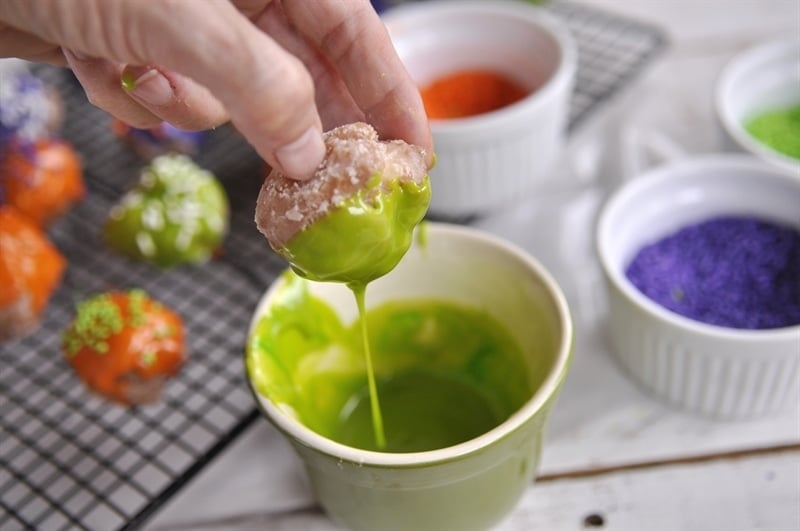
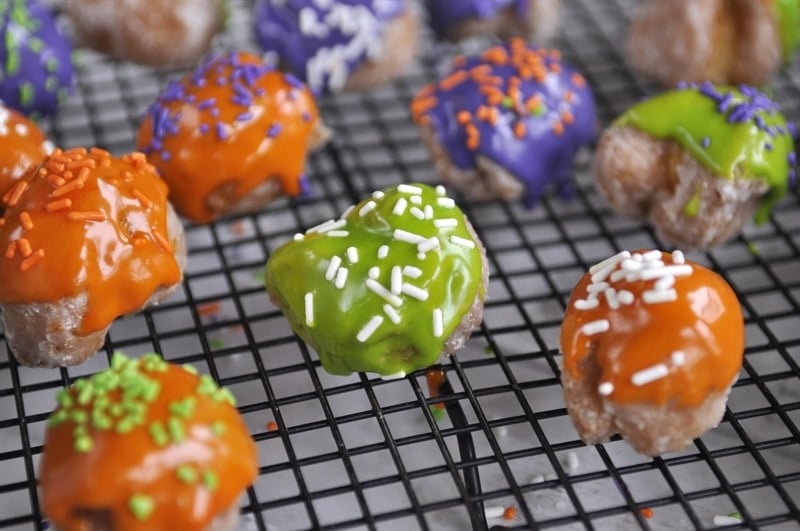
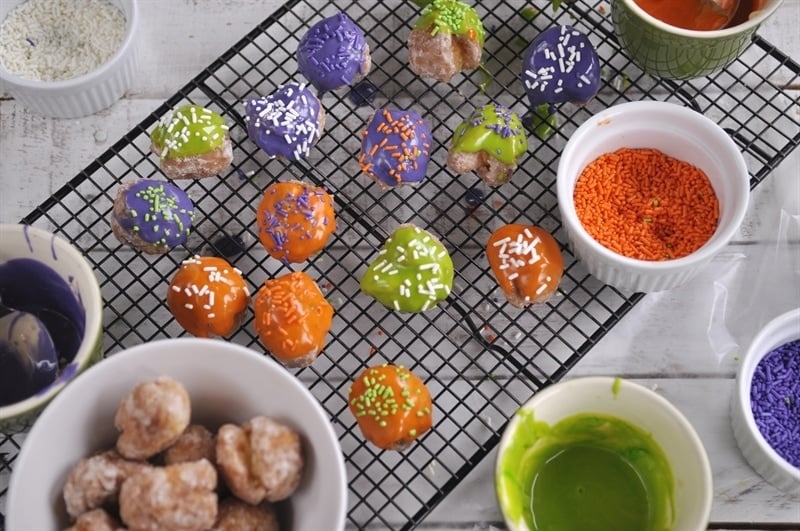
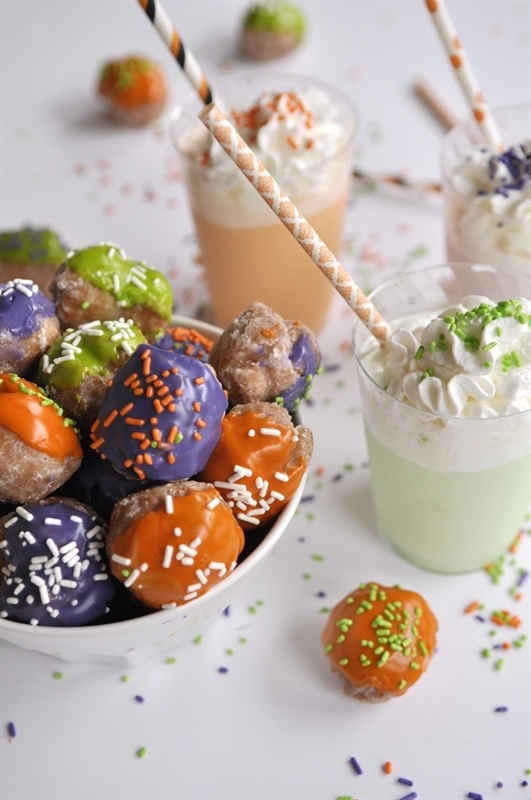
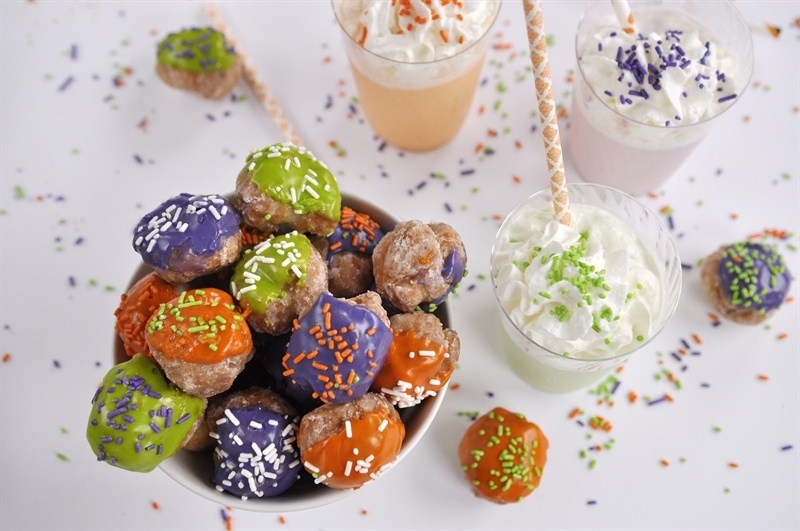
We also made homemade donuts with lots of toppings for dessert but believe it or not I was so busy making donuts I didn’t get any pictures.  I’ll be doing it again so I promise I’ll post the recipe.  They were to die for good!!

Halloweenie Roast 2014

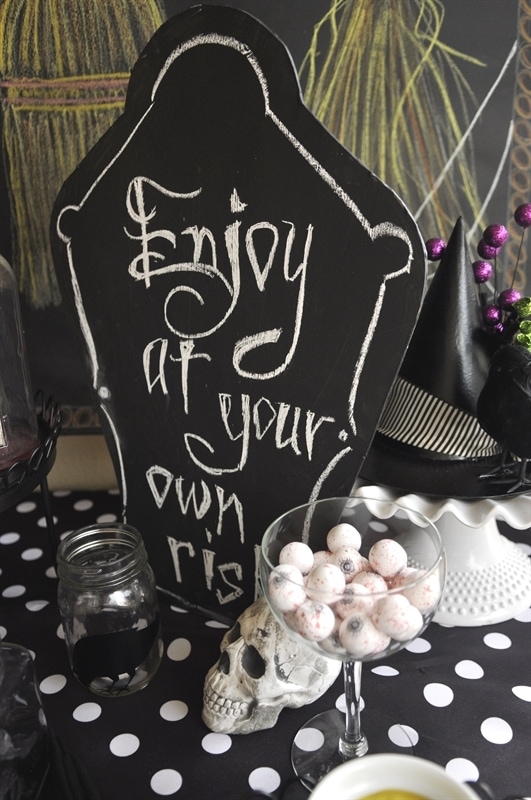
Do you like my cute little chalkboard tombstones? When I was at the mall last week I saw them in the window at Pottery Barn but of course my first thought was – I could make those!  So when I got home I figured someone else probably already had done it and had a tutorial on it and I was right.  I found this great tutorial and downloadable patterns for the tombstones over  here.  I printed off the pattern, traced them onto some press board I already had and Jim cut them out for me.  A couple of coats of chalkboard paint and I was ready to go!

Halloweenie Roast 2014

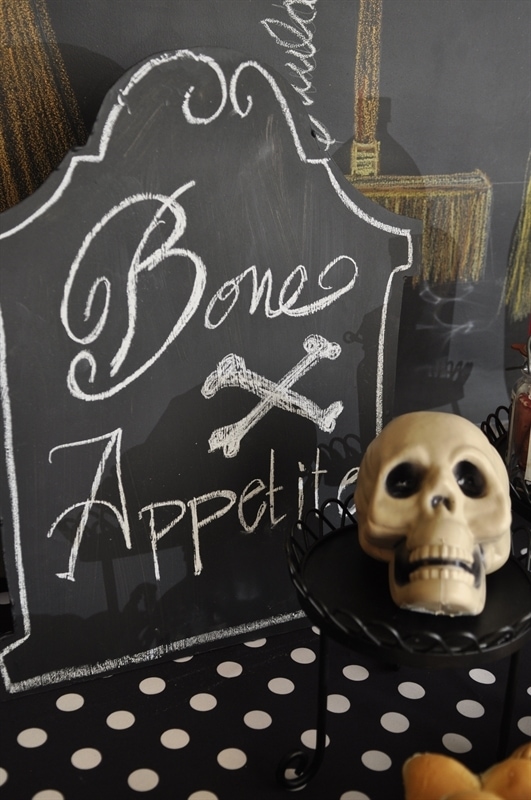
They were the perfect finishing touch to the table!  I didn’t have room for the third one!

Halloweenie Roast 2014

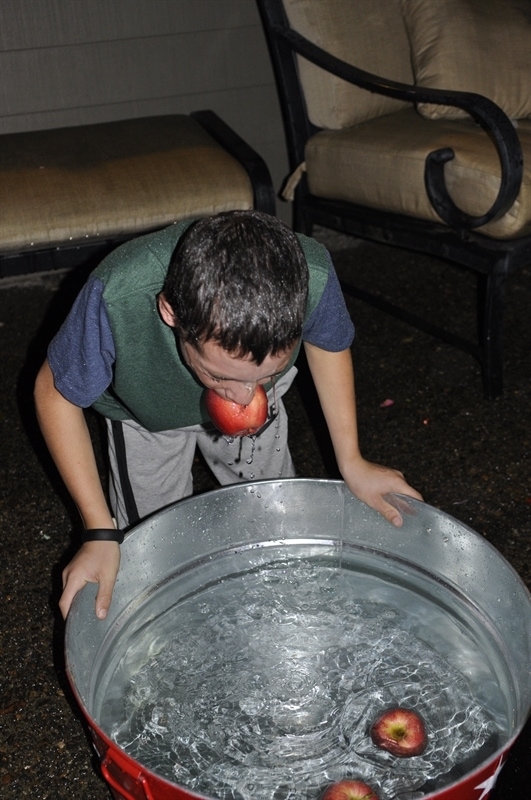
No Halloweenie Roast is complete without some dunking for apples.

Halloweenie Roast 2014

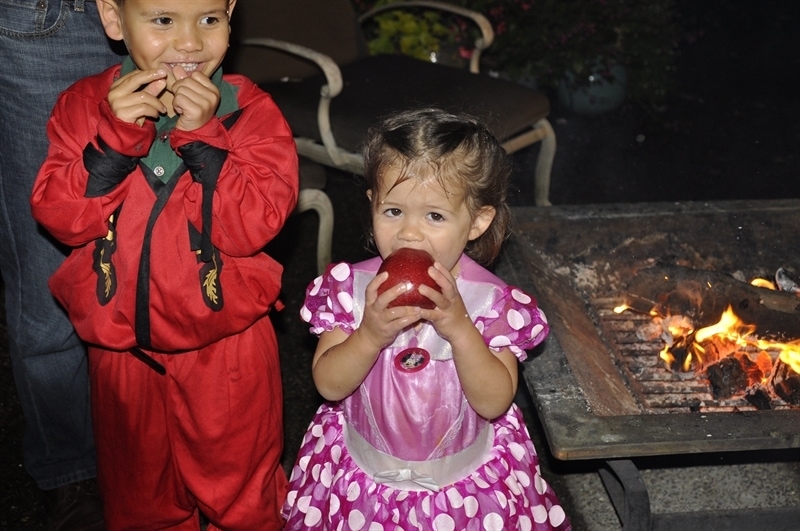
This guy just goes for it!

Halloweenie Roast 2014

Read Full Post »

Sweet and Tangy Marinated Chicken

Sweet & Tangy and Quick & Easy!

I hope you are enjoying your weekend!  Today’s recipe is one we made a lot this summer and if you are looking for something easy to make for dinner this weekend today’s recipe is it!

Sweet and Tangy Marinated Chicken

Sweet & Tangy Marinated Grilled Chicken can be made with chicken thighs or chicken breats, whichever you prefer. I really like to grill chicken thighs because they are so much more moist than a chicken breast.  The marinade is a combination of honey, soy sauce, greek yogurt and rice vinegar.

The chicken can marinade for a few hours (even 30 minutes) if you forget and up to overnight.  Just mix up the marinade and place it and the chicken in a zip loc bag or a bowl covered in plastic wrap.

Sweet and Tangy Marinated Chicken

I love the chicken grilled but if you don’t have a grill or it’s too cold and rainy you can also cook it in the oven or in a grill pan on the stove top.

Sweet and Tangy Marinated Chicken

It’s an easy dish to put together and it is fully of great flavor.

Sweet and Tangy Marinated Chicken

Sweet & Tangy Marinated Grilled Chicken

Ingredients

  • 2 cloves garlic minced
  • 1 tsp Asian Chile Pepper Sauce or more to taste
  • 1 1/2 Tbsp honey
  • 2 Tbsp soy sauce
  • 2 Tbsp greek yogurt
  • 3 Tbsp rice vinegar
  • 1/2 tsp salt and pepper
  • 2 lbs. skinless boneless chicken thighs

Instructions

  • Mix together all ingredients but chicken.
  • Place mixture and the chicken into a bowl or zippered plastic bag and refrigerate for 2 hours or up to overnight.
  • Grill until chicken is cooked through.

Enjoy!

Leigh Anne

leighanneblog-3170

You can also visit me on Facebook, Pinterest, Twitter or Instagram.

Read Full Post »

Mulligatawny Soup

Mulligatawny Soup

Mulliga what?  That’s exactly what I said when I ran into a friend from church at a local soup and salad restaurant.  She was going in to see if they had Mulligatawny soup that day.  I pretended like I knew what she was talking about and quickly went home and Googled it.

Here is what I learned.  Mulligatawny soup is a curry flavored soup that is Anglo-Indian cuisine.  The soup is typically thickened with lentils or rice.  I Googled around some more and found various recipes for Mulligatawny Soup.  I then got to experimenting in the kitchen.

Mulligatawny Soup

The soup has a few interesting ingredients.  Apples for one.  Apples in and of themselves are not unusual but I had never had soup with apples in it before.  I talked to someone else who has a version of Mulligatawny soup that she uses bananas in.  I’m not sure about bananas in soup?

This soup has lots of flavor t hanks to the curry.  I also decided to add in some garam masala which added some heat to the soup.  If you don’t like heat I suggest leaving the garam masala out.  It is a spice blend that can be found at Indian grocery stores.

Mulligatawny Soup

I loved the rice in the soup and the body and texture it gave it.  The soup also has chicken in it.  It is full of lots of fun flavors and textures.  We will definitely be making this one again at our house.  Mulligatawny Soup typically has cream in it but because Jim is dairy free I left out the cream.  You could use coconut milk if you want the creaminess but not the dairy.  We thought it was great without any kind of milk/cream.

Mulligatawny Soup
Mulligatawny Soup

Mulligatawny Soup

AuthorLeigh Anne Wilkes

Ingredients

  • 1/2 C onion chopped
  • 1 C celery chopped
  • 1 C carrot chopped
  • 1 tsp garlic minced
  • 1/4 C butter
  • 1 1/2 Tbsp all purpose flour
  • 1 -2 tsp yellow curry powder
  • 5 C chicken broth
  • 1/2 Tbsp garam masala optional for extra heat
  • 1 granny smith apple cored and diced
  • 1 C cooked rice
  • 1 skinless boneless chicken breast, cooked and cut into cubes
  • salt and pepper to taste
  • 1/4 tsp dried thyme
  • 1/2 C heavy cream or coconut milk

Instructions

  • Saute onions, celery, carrots and garlic in butter in a sou pot.
  • Add flour and curry. Cook for 5 minutes.
  • Add in chicken broth and bring to a boil. Simmer for 30 minutes
  • Add in apple, cooked rice, salt, pepper,and thyme.
  • Simmer for 15-20 minutes.
  • When ready to serve add in warm cream or coconut milk

Read Full Post »

Chipotle Pork Chop with  Tomato and Onion  Relish

This is a Sponsored post written by me on behalf of Pompeian. All opinions are 100% mine.

When my husband brought these pork chops in from the grill the first thing he said was, “My  mouth is watering just looking at these.”  These pork chops will make  your mouth water!

As part of the Pompeian #PantryInsiders program I get to try out all the different varieties of olive oil from the Pompeian line.  This month I used their OlivExtra® Premium Mediterranean Blend.  This particular olive oil blend is  a unique, healthy combination of canola, extra virgin and grapeseed oil, which are key components of the Mediterranean Diet. This oil blend gives you the the robust taste of extra virgin olive oil and the high smoke point of grapeseed oil, making this the perfect all-purpose oil for everything from salads to frying.  You can easily substitute butter, shortenings or any other vegetable oils with this particular blend in your favorite recipes.

I used the Mediterranean Blend as part of the tomato onion relish/marinade  and also to brush on the pork chops before grilling.

The first step is to make the marinade/relish using chipotle chiles in adobo sauce, garlic, cumin seed, dried thyme leaves, cinnamon, onions, fire roasted tomatos, cilantro and olive oil.  So many yummy flavors.

Chipotle Pork Chop with Tomato Onion Relish

Combine this with the pork chops into a plastic zipper bag and let it marinade for at least 4 hours.  Remove the pork chops from the bag and brush with olive oil before grilling.

Chipotle Pork Chop with  Tomato and Onion  Relish

Grill your pork chops for 8-10 minutes on each side until cooked through.  While the pork chops are grilling pour your remaining marinade into a pan along with 1/4 C water and cook until the onions are soft.  About 10-15 minutes.

Chipotle Pork Chop with  Tomato and Onion  Relish

Place a spoonful or two of the relish on top of the pork chops before serving.  I like to serve some additional relish alongside too because it is so yummy and you will want more.

Chipotle Pork Chop with  Tomato and Onion  Relish

I used a bone-in pork loin center cut and it was so tender and juicy.  I love the subtle chipotle flavor.  If you want more heat you can easily add in more adobo sauce or chiles in your marinade.

Chipotle Pork Chop with  Tomato and Onion  Relish

 This was a big hit at our house and my husband was so glad I had made extra so there were plenty of leftovers for his lunch this week.

Chipotle Pork Chop with  Tomato and Onion  Relish

Chipotle Pork Chop with Tomato Onion Relish

AuthorLeigh Anne Wilkes

Ingredients

  • 2 chipotle chiles in adobo sauce plus 1 Tbsp sauce
  • 4 garlic cloves minced
  • 1 tsp cumin seed
  • 1 tsp dried thyme leaves
  • 4 tsps kosher salt
  • 3/4 tsp ground cinnamon
  • 1 large onion halved and sliced
  • 1 14.50 oz can fire roasted tomatotes
  • 1 C chopped fresh cilantro
  • 1/3 C olive oil and more fro brushing
  • 4 bone in pork loin center cut chops

Instructions

  • Combine chiles, sauce, garlic, cumin, thyme, cinnamon and 4 tsps salt. in a food processor and pulse to make a paste.
  • Place mixture in a bowl and add onion, tomatoes, cilantro and 1/3 cup olive oil
  • Add pork chops and marinade into a zippered plastic bag and refrigerate for at least 4 hours.
  • When ready to cook remove pork chops and place marinade into a pan with 1/4 C water.
  • Cook over medium high heat until onions are soft, about 10 minutes or so.
  • Brush pork chops on both sides with olive oil and grill until cooked through- about 8-10 minutes a side.
  • Top with tomato onion relish and serve.

Read Full Post »

Halloween Donut Holes and Flavored Milk

Instant party – just add donut holes and milk!

Today I’ve got a quick, easy, fun, last minute and cute idea for a treat that will make any occasion a party!   I had my Activity Day girls here this week.  They haven’t gotten some one to replace me yet so I still get to play with the girls!  We had a fun sewing activity that I’ll share with you soon and for our snack I made some Halloween Donut Holes and a make your own flavored milk bar for the girls to make their own fun Halloween milk!

Halloween Donut Holes and Flavored Milk

There are several things I love about this treat.  It’s easy.  It’s cute.  It’s delicious.

It’s basically a store bought treat with a quick, easy homemade touch.  I purchased the donut holes at the grocery store and then mixed together a colored glaze to jazz them up.

Halloween Donut Holes and Flavored Milk

I just dipped the top of the donut holes into the glaze and then gave them a little sprinkle!

Halloween Donut Holes and Flavored Milk

It takes a boring little donut hole and turns it into something really colorful and fun.  So much more fun to eat and cute things just taste better.

Halloween Donut Holes and Flavored Milk

You can’t have donuts without milk so we also had a Make Your Own Flavored Milk Bar.

Halloween Donut Holes and Flavored Milk

I picked up some  fruit flavored syrups such as orange, green apple, grape, lemon and cherry lime and the girls just picked their favorite flavor and added 1-2 Tbsp to a glass of milk.  Of course I bought flavors that were the colors that coordinated with my donut hole colors!

Halloween Donut Holes and Flavored Milk

Then all we did was add some whipped cream and of course more sprinkles!

Halloween Donut Holes and Flavored Milk

The girls loved it.  Fruity milk and yummy donut holes and they were good to go and it was an instant party!

Halloween Donut Holes and Flavored Milk

Read Full Post »

Candy Corn Ice Cream Floats

Candy Corn Ice Cream floats are a fun and delicious way to celebrate and they are as fun to make as they are to eat.

For all my candy corn fans out there be sure and try this Candy Corn Quesadilla, Candy Corn Cupcakes and Candy Corn Kettle Corn.

Candy Corn Ice Cream Floats


Looking for a quick and easy treat for a Halloween Party?  I’ve got you covered today.  Ice cream is always a hit at a party, especially when it looks like candy corn!

Ice Cream Float Ingredients

  • Vanilla Ice Cream
  • Lemon Ice Cream or Sherbet or Sorbet
  • Orange Sherbet
  • Lemon Lime Soda

How to Make Candy Corn Ice Cream Floats

  • Place a scoop of each ice cream into a nice tall glass.  Be sure to put the colors into the proper order.  Lemon first, then orange and then vanilla.
Candy Corn Ice Cream Floats
  • Add your favorite lemon lime soda to your float. You can use Sprite or 7-Up.  Also if you want it a little less sweet use soda water.
Candy Corn Ice Cream Floats
  • Top with whipped cream and a candy corn to top it off add that extra special touch.
Candy Corn Ice Cream Floats

The only thing left to do is add some cute little witches to enjoy the treat.

Candy Corn Ice Cream Floats


Candy Corn Ice Cream Floats

3 glasses of ice cream floats

Candy Corn Ice Cream Floats

Candy Corn Ice Cream floats are a fun and delicious way to celebrate and they are as fun to make as they are to eat.CourseDessertCuisineAmericanKeywordcandy corn ice cream floatsPrep Time5 minutesCook Time0 minutes0 minutesTotal Time5 minutesServings1 floatCalories477kcalAuthorLeigh Anne Wilkes

Ingredients

Per Ice Cream Soda

  • 1 scoop vanilla ice cream
  • 1 scoop lemon ice cream
  • 1 scoop orange sherbet
  • 1 cup lemon lime soda
  • whipped cream and candy corn for garnish

Instructions

  • Place a scoop of each of the ice creams into a tall glass.
  • Pour lemon soda over ice cream
  • Add whipped cream and candy corn garnish

Read Full Post »

Last weekend was an important weekend for members of The Church of Jesus Christ of Latter Saints.  It was our semi-annual General Conference which is broadcast from Salt Lake City across the world.  Twice a year we have the opportunity to listen to and learn from the leaders of our church.

I look forward to this weekend and not just because I get to enjoy yummy cinnamon rolls.

I have a special notebook I use for inspirational thoughts, quotes and ideas and I pull that notebook out twice a year to record quotes, thoughts and ideas I hear during the conference.  I love rereading through my notes during the six months before the next General Conference.

Today I am going to share with you two of my favorite quote .  I hope you enjoy them too.  I’d love to hear what one of your favorite inspirational quotes is – something that gives you hope and motivation.  Just leave a comment below and let me know.

It is hard to pick one favorite quote from this past conference but I did – for you.  This quote is from our Prophet Thomas S. Monson and I encourage you to read the whole talk entitled “Ponder the Path of Thy Feet”

Walking where jesus walked

This beautiful printable was made for all you by Kiki and Company.  Be sure and visit her blog and check out all her other beautiful work.  She recently shard one of her favorite quotes with a printable.  Be sure and check it out.

See below to download his quote.

I have another quote I have loved and thought of often that didn’t come from the most recent conference but came from the conference our church held in April of this year.

This quote is from one of my favorite church leaders, Elder Dieter F. Uchtdorf and comes from a talk entitled “Grateful in Any Circumstances.”   This talk really impacted me.  Like so many people I have found myself in certain circumstances or times of my life where I have found it hard to be grateful, to find something to be thankful for.  But as Elder Uchtdorf encourages us, there is always something to be grateful for.  We may have to wait for it like we have to wait for the rainbow after the rain, but it will come.  Please read this talk.

how much of life

You can download both of these wonderful 5 x 7 printables here.

I would love to hear what one of your favorite quotes is.  Please leave a comment and let me know.

Read Full Post »

Pumpkin Walnut Cheesecake

Creamy pumpkin walnut cheesecake with a nutty streusel topping is what makes this pumpkin walnut cheesecake one of a kind!

Pumpkin cheesecake topped with walnut streusel

Fall is here!  And for many people that means they have pumpkin pie on the brain!  I have shared with you before my lack of love for pumpkin pie, but that doesn’t mean I don’t love a good pumpkin cheesecake!  And this pumpkin walnut cheesecake is one of the best!

pumpkin walnut cheesecake

The pumpkin cheesecake alone is delicious, but the walnut streusel topping really makes this cheesecake one of a kind.  If you are like me and aren’t a pie fan, this pumpkin walnut cheesecake may be the perfect solution for your Thanksgiving menu.  And even if you are a pie fan, it is always fun to change things up once in a while.  Serve cheesecake instead of pie. Or even serve both!

slice of pumpkin cheesecake topped with walnut streusel

I enjoy the flavor of pumpkin but I prefer the creamy texture of the cheesecake over a traditional pumpkin pie. I love the little extra sweetness the walnut streusel topping gives the cheesecake along with the added crunch.

Pumpkin cheesecake topped with walnuts

How to Make Pumpkin Walnut Cheesecake

  • Use a 9 inch Springform pan,  you need a pan with a removable bottom.
  • Be sure your cream cheese is room temperature to get a nice smooth cheesecake.
  • Use canned pumpkin, not pumpkin pie filling. They are two different things and usually found next to each other in the baking aisle.  Pumpkin Pie filling is preseasoned and sweetened and is intended to use for an easy pumpkin pie.
  • Chill before serving.  A cheesecake needs to set up.  Let it cool to room temperature and then refrigerate for at least four hours uncovered.
slice of pumpkin cheesecake topped with walnuts

For all of my other favorite kitchen products and tools visit my Amazon Store.

Did you know I wrote a cookbook?  Check out the Holiday Slow Cooker Cookbook for 100 delicious recipes.

Pumpkin Walnut Cheesecake

Creamy pumpkin cheesecake with a walnut streusel topping is what makes this pumpkin walnut cheesecake one of a kind!CourseDessertCuisineAmericanKeywordpumpkin, pumpkin cheesecake, pumpkin walnut cheesecake, walnutsPrep Time20 minutesCook Time2 hours 30 minutesTotal Time2 hours 50 minutesServings12 servingsCalories334kcalAuthorLeigh Anne Wilkes

Ingredients

Graham Cracker Crust

  • 1 C graham cracker crumbs
  • 2 Tbsp granulated sugar
  • 4 Tbsp butter melted

Pumpkin Cheesecake Filling

  • 2 8 oz. pkgs. cream cheese room temperature
  • 1/2 C granulated sugar
  • 1/2 C brown sugar packed
  • 4 eggs
  • 1/3 C whipping cream
  • 1 C plus 3 Tbsp canned pumpkin
  • 1/2 tsp cinnamon
  • 1/2 tsp pumpkin pie spice

Walnut Streusel Topping

  • 1/3 C brown sugar firmly packed
  • 1/2 C walnuts chopped
  • 1 Tbsp butter softened

Instructions

  • Put oven rack in center of oven and a second rack on the lowest setting
  • Preheat oven to 325 degrees
  • Grease bottom of 9 inch springform pan

Graham Cracker Crust

  • In a bowl combined graham cracker crumbs, sugar and butter until blended
  • Press into bottom of springform and refrigerate

Pumpkin Cheesecake Filling

  • In a mixer beat cream cheese, sugar and brown sugar together until smooth.
  • Add eggs one a time, mix throughly between eggs
  • Then add whipping cream and beat for 3 minutes
  • Finally, add pumpkin, cinnamon and pumpkin pie spice.
  • Beat for 1 minute
  • Pour into springform pan
  • Place a jelly roll pan on bottom rack of oven. Fill with 1/2 inch of water.
  • Bake cheesecake on center rack for 1 1/2 hours or until knife inserted comes out clean.

Walnut Streusel Topping

  • While it is baking combine topping ingredients.
  • When cheesecake is done, turn oven off.
  • Sprinkle with topping and return to oven for an additional 1/2 hour.
  • Refrigerate until well chilled.

Nutrition

Calories: 334kcal | Carbohydrates: 34g | Protein: 4g | Fat: 20g | Saturated Fat: 10g | Cholesterol: 102mg | Sodium: 193mg | Potassium: 154mg | Fiber: 1g | Sugar: 28g | Vitamin A: 3820IU | Vitamin C: 0.8mg | Calcium: 66mg | Iron: 1.2mg

Pumpkin Walnut Cheesecake was originally written by Leigh Anne Wilkes at https://www.yourhomebasedmom.com/pumpkin-walnut-cheesecake/.

Read Full Post »

Candy Corn Hot CHocolate Stirrer

So it is that time of year.  Candy Corn time!  It seems like everywhere you look on Pinterest someone has made their version of candy corn something.  I know I’ve done my fair share of candy corn  treats.  I couldn’t let candy corn season go buy this year without another one.  How about some candy corn hot chocolate on a stick!

Candy Corn Hot CHocolate Stirrer

How cute is this!  The best part is, it tastes yummy too.  I had a little too much fun photographing these cute little things so excuse the photo overload in this post.

Candy Corn Hot CHocolate Stirrer

To create these cute little darlings I used the Wilton Melts in yellow and orange and my mini  muffin tin.

Candy Corn Hot CHocolate Stirrer

I melted the yellow first, just in a glass container in the microwave.  If it seems a little too thick to work with add a touch of vegetable oil to thin it out.  Fill the muffin tin about half full with yellow chocolate.

Candy Corn Hot CHocolate Stirrer

Tap the muffin tin on the counter top to get the chocolate to smooth and level out.  Let it sit for 5-10 minutes to set up slightly.  Don’t let it harden all the way.  Then melt the orange chocolate and fill to the top.  Insert a lollipop stick and top with some mini marshmallows.  Then allow to harden.

Candy Corn Hot CHocolate Stirrer

Once they have harden they should come right out of the tin by gently pulling on the lollipop stick.

Candy Corn Hot CHocolate Stirrer

To make them even cuter I asked Kiki one of my favorite  designers of Kiki & Company to make a tag for them.  Be sure and check out her site and all her beautiful work.

Candy Corn Hot CHocolate Stirrer

The back of the tags lets people know what they need to do with the candy corn hot chocolate on a stick – just add hot milk!

Candy Corn Hot CHocolate Stirrer

Heat up a cup of milk and then add your hot chocolate on a stick.  Just stir in around until it melts.

Candy Corn Hot CHocolate Stirrer

Then of course you need to top it with some whipped cream, a few more marshmallows and some candy corn!

Candy Corn Hot CHocolate Stirrer

These would make such a fun little gift for neighbors, teachers or even trick or treaters.  I just wrapped mine up in a small plastic bag I bought at Michaels and tied it up with some baker’s twine.

Candy Corn Hot CHocolate Stirrer

You can download the cute little tag made by Kiki & Company .

Click here to download candy corn hot chocolate tag

candy corn hot chocolate (1)-page-0

Read Full Post »