Feeds:
Posts
Comments

Archive for July, 2013

How to Make a Wall Collage

My mother is an expert picture hanger. She knows exactly how to place it and where to hang it to make it looks its best. My father is the meticulous measurer who makes sure the nail gets in the right place the first time.

I think I inherited my mother’s picture hanging skills and not my fathers. There are usually 3-4 nail holes behind every picture that I hang because I don’t take the time to measure – I just start hammering.  Drives my husband crazy!!!!

I recently discovered an easy way to create a wall collage and accomplish what both my mother and father do together – get it in the right place the first time!

I have been wanting to redo a small wall in my small office.  I wanted to hang a collection of fun art I had been collecting.  When Cut It Out Frames sent me some of their fun frames I had everything I needed.

My first step was of course to paint my frames.  I used spray paint but you could also brush on acrylic paint.  My office, which is the former nursery, has some beautiful hand painting done by mother on the other three walls so I picked the colors for my frames from the colors in the other walls – yellow, white, green and blue.

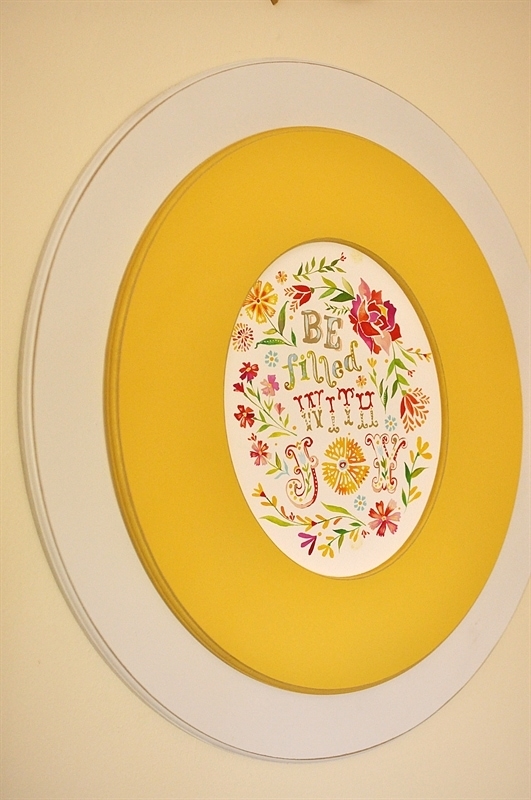
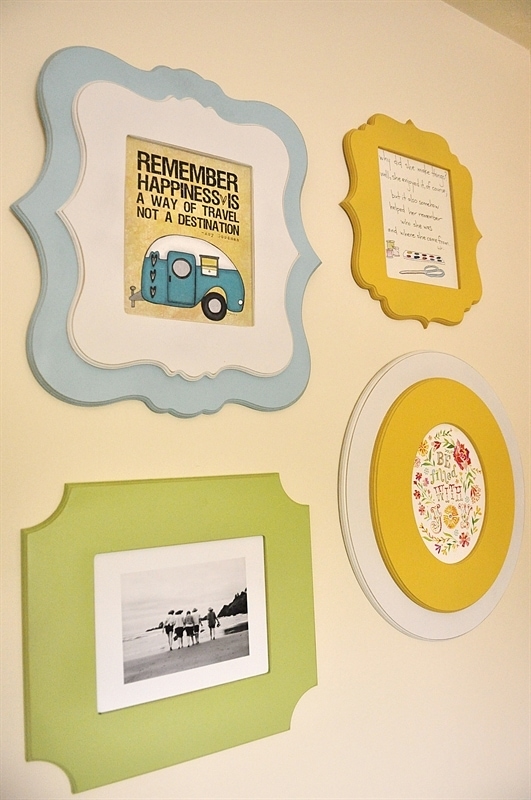
I am especially crazy about the double frames that Cut It Out has.  I love the layered look.

Cut It Out Frames - wall collage tutorial

After spray painting them I used some sand paper to distress the edges.

Cut It Out Frames - wall collage tutorial

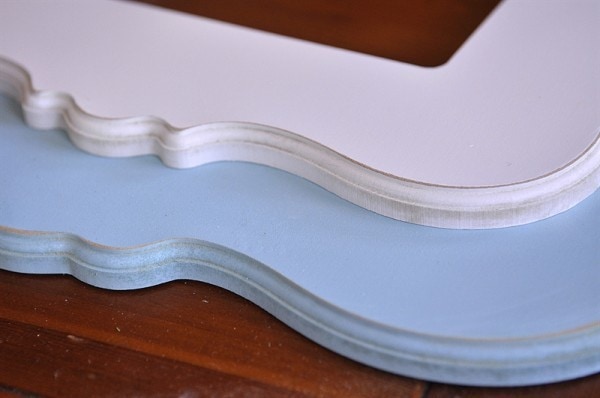
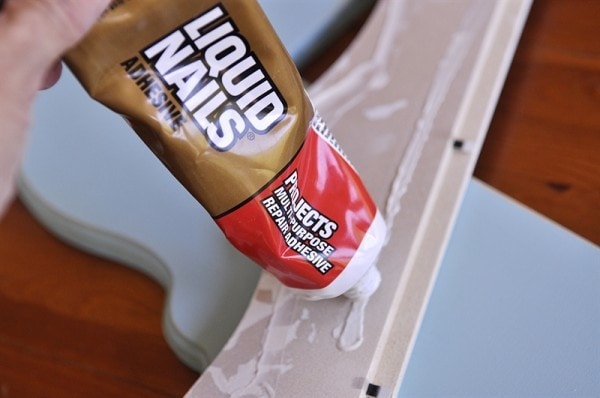
For the double frames I used Liquid Nails to attach the two layers together.

Cut It Out Frames - wall collage tutorial

I inserted my art work and I was ready to hang them.  But first, I did this….

Cut It Out Frames - wall collage tutorial

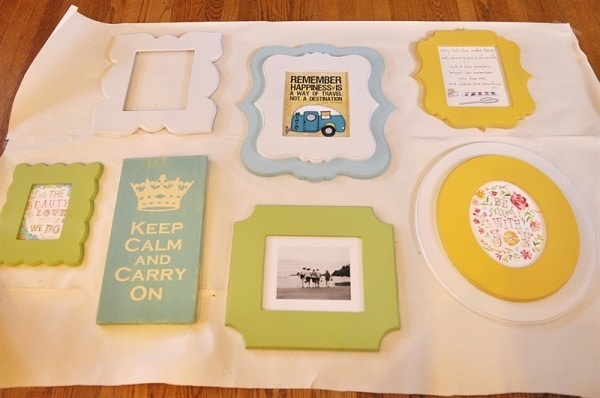
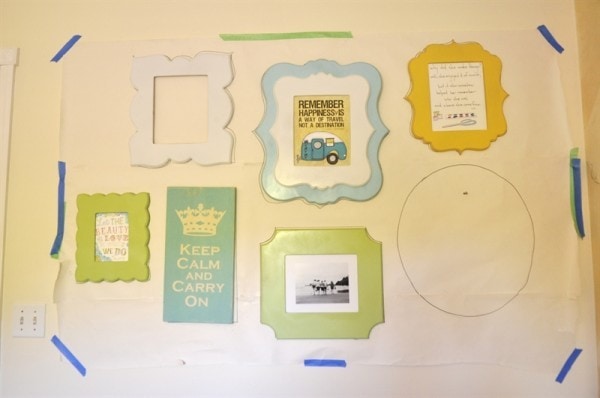
I used poster paper I had and cut it out and taped it together to create a template for the shape and size of the area of wall that I wanted the collage to go on.  I then placed my frames onto the paper in an arrangement I liked.  Then I drew around each of the frames so I would remember where I had them.

Cut It Out Frames - wall collage tutorial

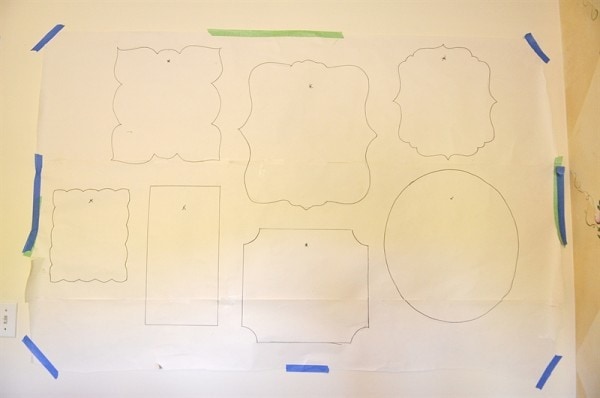
The Cut It Out Frames come with a cut out section where the nail is suppose to go so I measured down for the exact placement and marked that on the template too.  I taped the template onto the wall in my office.  One of the biggest mistakes people make when hanging something on the wall is they hang it too high. Pictures should be hung at eye level and the average eye level is 57″ from the ground.  With a collage like I am doing have the middle of your collage be at eye level.

I then put my nails into the wall, right through the paper template and hung my art work on top of the paper.  You could remove your paper at this point but I didn’t for demonstration purposes.

Cut It Out Frames - wall collage tutorial

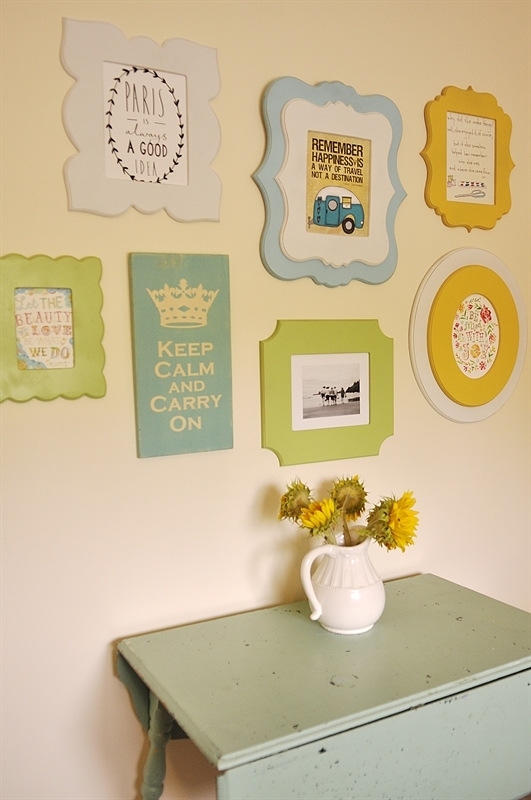
Then I removed the paper, I just tore it down and off from around the nails. And viola!  I’ve got a perfect wall collage.

Cut It Out Frames
Cut It Out Frames

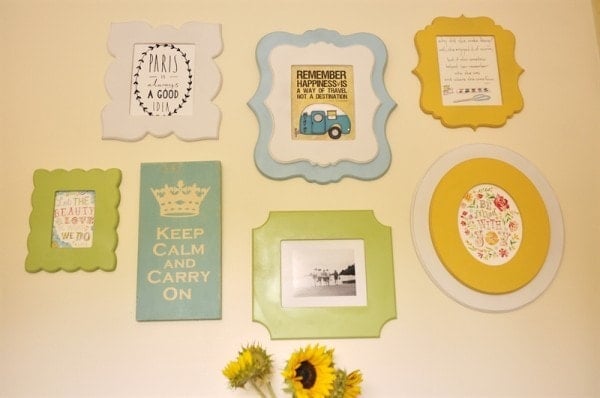
Because I know you are going to ask, the art work came from the following:

Be Filled With Joy and Let the Beauty We Love Be What We do – both from The Wheatfield By Katie Daisy

Cut It Out Frames - wall collage tutorial

Remember Happiness from Vol25

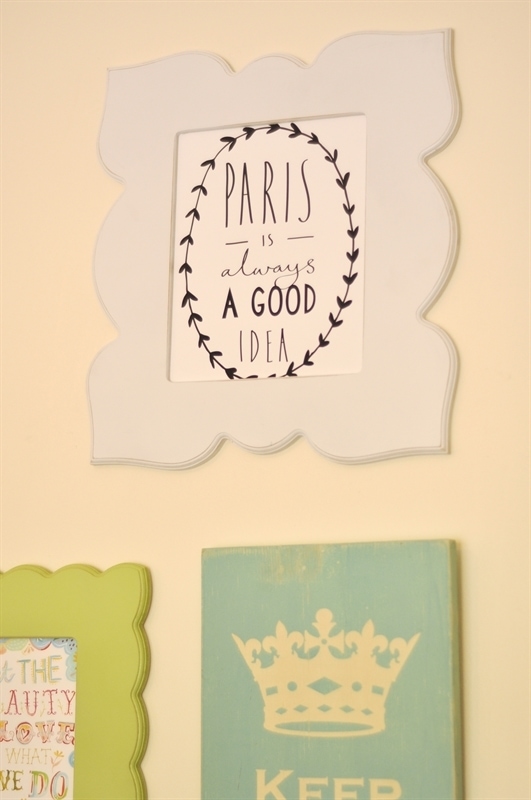
Paris is Always a Good Idea from Old English Co.

Cut It Out Frames

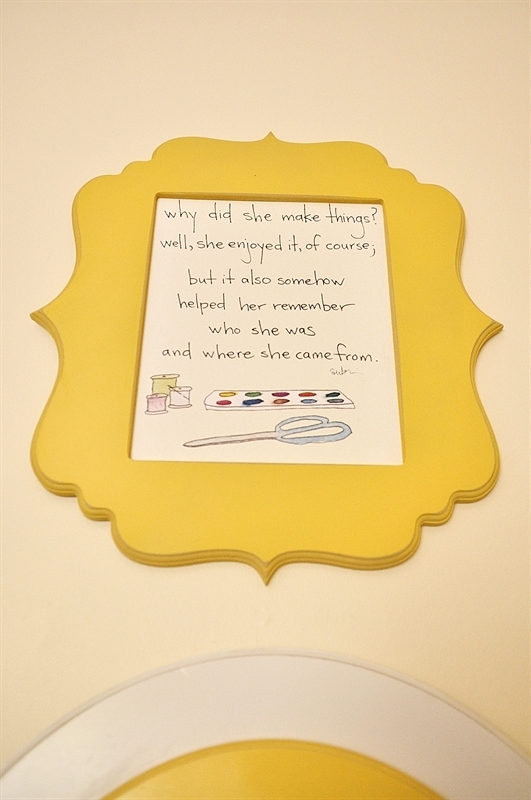
Why Did She Make Things?  from Pin Wheel Designs

Cut It Out Frames - wall collage tutorial

Beach Picture – from an antique shop at the beach and I bought the Keep Calm piece from one of those daily deals a year or so ago.  Sorry, can’t remember which one.

Read Full Post »

Grilled Vegetable Salad

Grilled Vegetable & Peach Salad

A delicious and unique summer salad. Grill your vegetables and even fruit for an amazing Grilled Vegetable Salad.Servings6 peopleCalories168kcalAuthorLeigh Anne Wilkes

Ingredients

  • 2 ears Corn I remove the husks to grill
  • Olive Oil
  • 2 Zucchini sliced lengthwise into 1/2-inch strips
  • 1 bunch Asparagus woody ends removed
  • 2-3 peaches peeled and cut in half
  • 1 head f Romaine Lettuce finely chopped
  • 1 Cucumber sliced into 1/4-inch rounds
  • 1 cup Cherry Tomatoes halved
  • 1/2 cup favorite Vinaigrette

Instructions

  • Husk the corn and lightly coat with olive oil. Cook on grill for 20-30 minutes, rotating.
  • Cut off ends of asparagus and lightly coat with olive oil and grill until tender
  • Grill zucchini until tender also.
  • Remove corn from cob and cut asparagus and zucchini into bite size pieces
  • Grill peaches until warmed and grill marks appear
  • Cut peaches into bite size pieces.
  • Combine lettuce, grilled vegetables and fruit with other vegetables.
  • Add salad dressing

Read Full Post »

Cherry Berry Compote

The perfect summer dessert – Cherry Berry Compote. Delicious berries over creamy ice cream that uses strawberries, raspberries and cherries.

cherry berry compote

I am lucky enough to live in the beautiful NorthWest! One of the perks this time of year is amazing berries. Whether I pick them from the berry patch in my own backyard, at the nearby U-Pick farm or purchase them at our local Farmer’s Market we can’t seem to get enough!

I am excited to share with you a delicious dessert that is perfect for this time of year. It is perfect because it is the one time of year I can buy fresh strawberries, raspberries and cherries all at the same time at the Farmer’s Market. Of course you can purchase them most of the year at the grocery store but they are oh so much better when they are in season.

Cherry Berry Compote

Compote comes from France and basically means a dessert made with fruit in a sugar syrup.

Cherry Berry Compote

This particular compote uses cherries, raspberries and strawberries but you could totally get creative and use any combination of fruit you like. Some blueberries would be yummy thrown in too! Pick whatever is in season.

Cherry Berry Compote

The first step is to make your sugar syrup which is basically sugar and water. The original recipe called for raspberry liqueur but since we are not drinkers at our house I decided to use something I had on hand and that was raspberry syrup. It worked like a charm! You boil it all together and then let it chill.

Cherry Berry Compote

I then used two cups each of cherries (sweet red cherries), strawberries and raspberries. Pour the syrup over it and then let it chill for a few hours. Then pour it over ice cream and oh so delicious! I promise!

Cherry Berry Compote

Cherry Berry Compote

AuthorLeigh Anne Wilkes

Ingredients

  • 1/2 C sugar
  • 1/4 C water
  • 3 Tbsp raspberry pancake syrup or 2 Tbsp raspberry liqueur
  • 2 C each of raspberries strawberries and dark sweet cherries, pitted.
  • ice cream
  • mint leaf for garnish

Instructions

  • In a pan mix together sugar and water and bring to a boil over medium high heat. Stir.
  • Remove from heat and add in syrup. Allow to chill
  • Place fruit in bowl and pour chilled syrup over the fruit and refrigerate 1-2 hours before serving
  • Serve over ice cream with a sprig of mint!

Read Full Post »

Chocolate Revel S’mores Tart

CourseDessertPrep Time25 minutesCook Time40 minutesTotal Time1 hour 5 minutesServings12 servingsAuthorLeigh Anne Wilkes

Ingredients

  • 1/3 cup butter softened
  • 3/4 cup packed brown sugar
  • 1/4 tsp baking soda
  • 2 eggs and 1 egg yolk
  • 1 tsp vanilla
  • 1/2 cup flour
  • 1/2 cup quick cooking oats
  • 1/2 cup finely crushed graham crackers about 6 full crackers
  • 1 1/4 cup milk chocolate chips
  • 1/2 cup butter softened
  • 2/3 cup granulated sugar
  • 1 cup ground almonds
  • 1/3 cup all purpose flour
  • 1 egg yolk
  • 1 cup mini marshmallows

Instructions

  • Preheat oven to 325 degrees F.
  • For crust, combine 1/3 cup butter in a medium size bowl with brown sugar and baking soda and beat until combined.
  • Add in one egg and the vanilla.
  • Beat in 1/2 cup flour, oats and graham cracker crumbs.
  • Reserve 1/2 cup of the crust mixture.
  • Spread remaining crust mixture in the bottom of ungreased 10 inch tart pan with removable bottom.

Filling

  • in a small saucepan melt 1 cup of chocolate chips and 2 Tbsp of the 1/2 cup butter over low heat, just until melted and smooth.
  • In a bowl, combine the remaining butter and sugar with mixer.
  • Add in melted chocolate, the almonds, the 1/3 cup flour, the remaining egg and one egg yolk.
  • Beat until combined.
  • Stir in 1/2 cup of the marshmallows and spread filling in the pan over crust.
  • Dot with remaining crust mixture.
  • Bake for 35-45 minutes or until the filling is set.
  • Sprinkle with remaining 1/2 cup of marshmallows and the remaining 1/4 cup of chocolate chips (I threw in a few more). Bake for 5 additional minutes or until marshmallows begin to turn golden brown.
  • Cool in pan for 10 minutes. Use a sharp knife to loosen the tart from the sides of pan and then remove bottom.
  • Cool completely on wire rack.

Read Full Post »

Create Your own Antrho Inspired Red and White Striped Tablecloth

I love stripes so when I was looking for ideas for a 4th of July table cloth, I knew there were red and white stripes in my future.  I have been in love with this striped tablecloth from Anthropologie since the first time I saw it, but it is no longer available to buy in the store.

modern-table-linens

Even when it was, it was pricey.  So I thought I would try making one of my own!  I love a good crafting challenge.  Here is the version that I made with the help of my daughter.

DIY Anthro Inspired Red and White Tablecloth

I purchased a white tablecloth from Target and then pre washed it.  I knew I was going to need a lot of red textile paint so I ordered it online from Dharma Trading Co.  I order 32 oz. of the True Red.

To create my stripes I used Frog Tape that I purchased at Home Depot.  It worked great and gave me a nice crisp line.

DIY Anthro Inspired Red and White Tablecloth

How to Paint a Striped Tablecloth

The most time consuming part of the project was taping off my stripes.  I decided I wanted 5 inch stripes. I chose 5 inches because the width of my tablecloth was evenly divided by 5 so my stripes would end up evenly.   It took me a few tries to figure out the math.

DIY Anthro Inspired red and white stripe tablecloth

The red stripes measured 5 inches but the white strips were a bit different as I had to place the tape in the inside of the stripe, not the outside!

DIY Anthro Inspired red and white stripe tablecloth

I lined up tables on my drive way and covered them with paper because the paint will come through the fabric.

DIY Anthro Inspired Red and White Tablecloth

I used a small foam roller to apply the paint.

DIY Anthro Inspired Red and White Tablecloth

Keeping the paint in between the tape lines is the biggest challenge and I must admit there are a few times I went over the line a bit.  So if you are a perfectionist be sure and take your time!!  I just decided it added character to the tablecloth!  I enlisted a little help too and Tessa filled in some spots with a brush that I missed with the roller.

DIY Anthro Inspired Red and White Tablecloth

All in all though I loved how it turned out and it looks perfect on my patio table.

DIY Anthro Inspired Red and White Tablecloth

Fun, festive and ready for a party.  I think I need one in another color now.

DIY Anthro Inspired Red and White Tablecloth

To add a little bit of quick decor I used some fun, empty tomato sauce cans I had in the recycling and some flowers form the garden.  Got to love a pretty can!

DIY Anthro Inspired Red and White Tablecloth

Ready for dinner!  For directions on how to heat set your fabric paint go here,

DIY Anthro Inspired Red and White Tablecloth

Read Full Post »

Last week was our annual Week at the Beach.  We are blessed to be able to own a home on the Oregon Coast in a little, quaint beach town called Manzanita.  It is our own little piece of heaven.

IMG_6660

Each summer we are able to spend an entire week there.  It is a week that our family looks forward to all year long.  We spend weekends down there during the year but this is the only time we spend a whole week.  We do rent the house a lot during the year so if you are ever looking for a rental on the Oregon Coast let me know (sleeps 20!)

Every other year (we share the house with another family) we take our week at the beach over the 4th of July holiday which is a fun and magical time to be in Manzanita.  The weather was amazing this year and it was pretty much a perfect week.  The only thing missing were Clark and Jessica who weren’t able to be there due to summer internships.  We loved having Logan, Cali and Tessa home though!!

Today I’d love to share with you a little bit of #manzanita2k13 (the hashtag we all used in instagram if you follow me there)

IMG_6666
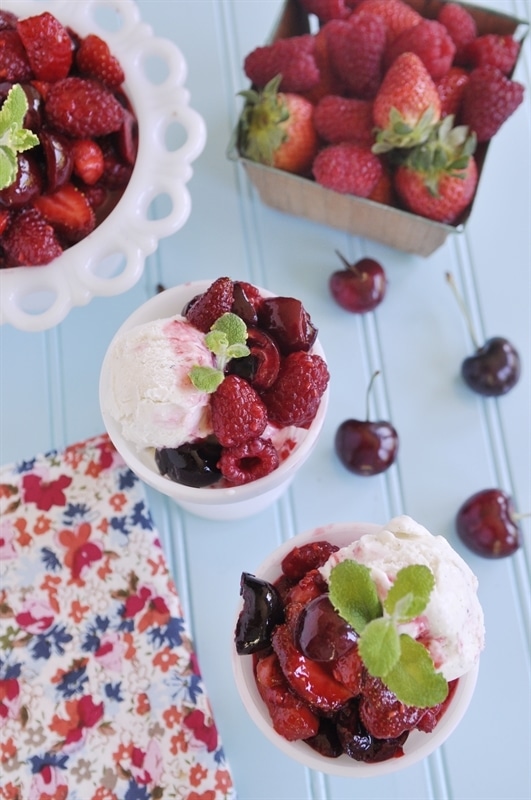
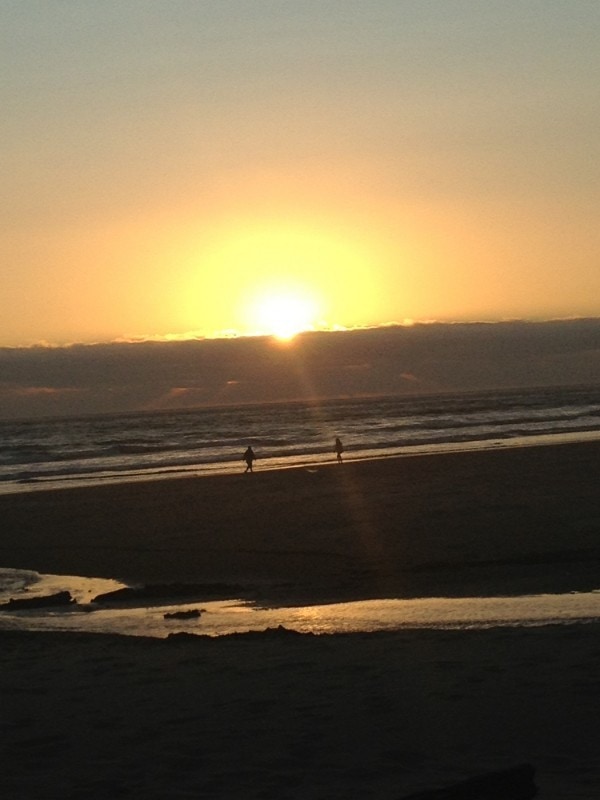
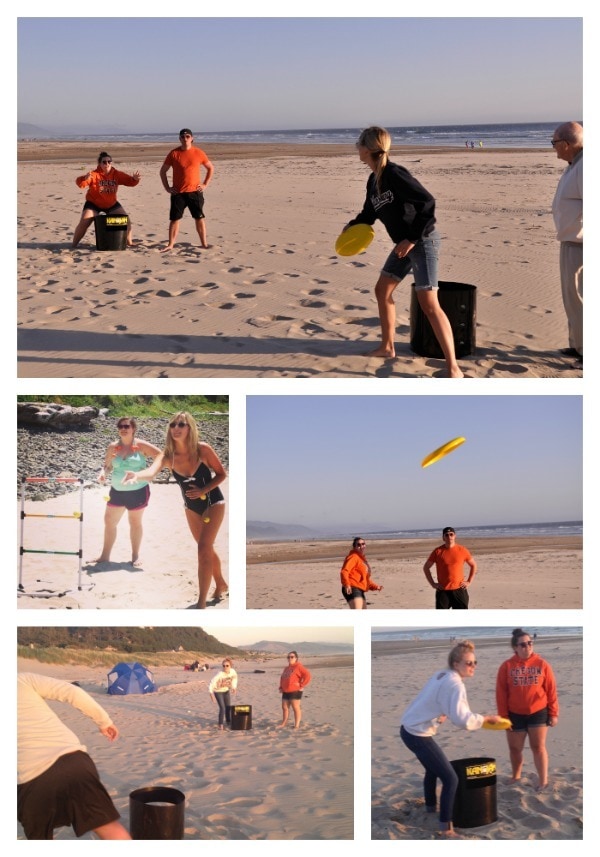
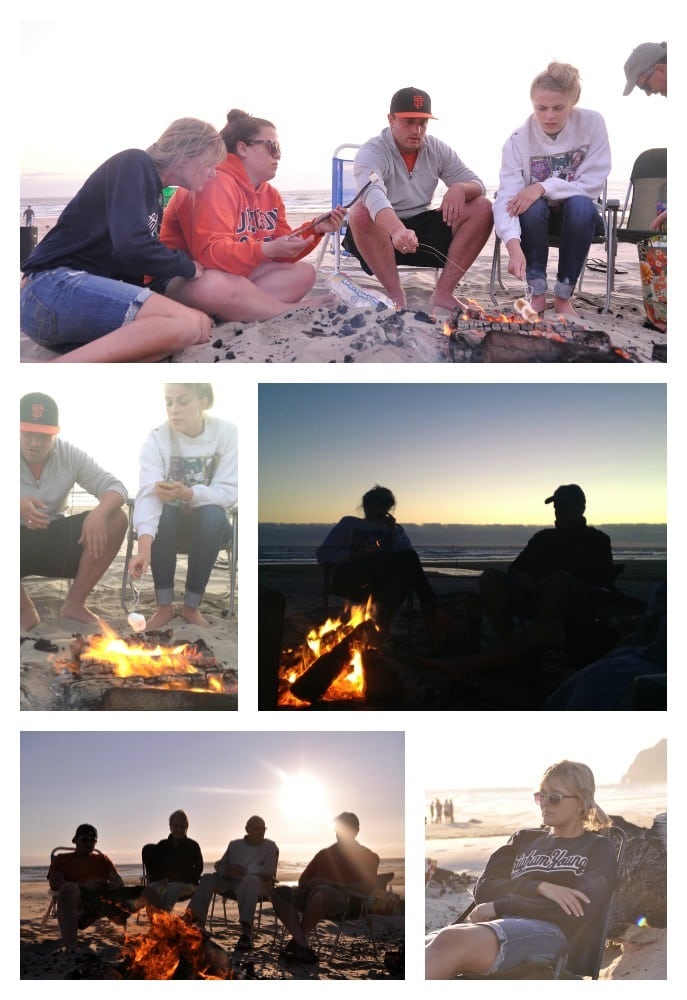
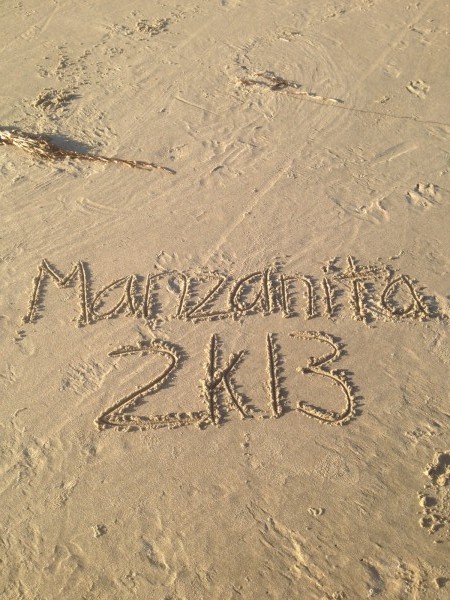
Today I thought I’d share some of my favorite things about our Week at the Beach.

1.  Playing on the beach!  This year we had amazing weather and it was even hot a few days!  For those of you not from Oregon a hot day at the beach is not that common. When it is sunny at the Oregon coast it can also be windy so one of our favorite places to go is Hug Point where it is sheltered from the wind.

Hug Point

Getting to spend time with these three cute girls is an added bonus!

Hug Point

We love playing games on the beach.  Two of our favorites are Bongo Ball and a new one we just got this year – Kan Jam

Beach Games

2.  Fires on the beach.  In the evening we love to go down onto the beach, build a fire and watch the sun set.  Of course s’mores are a must!

Bonfires
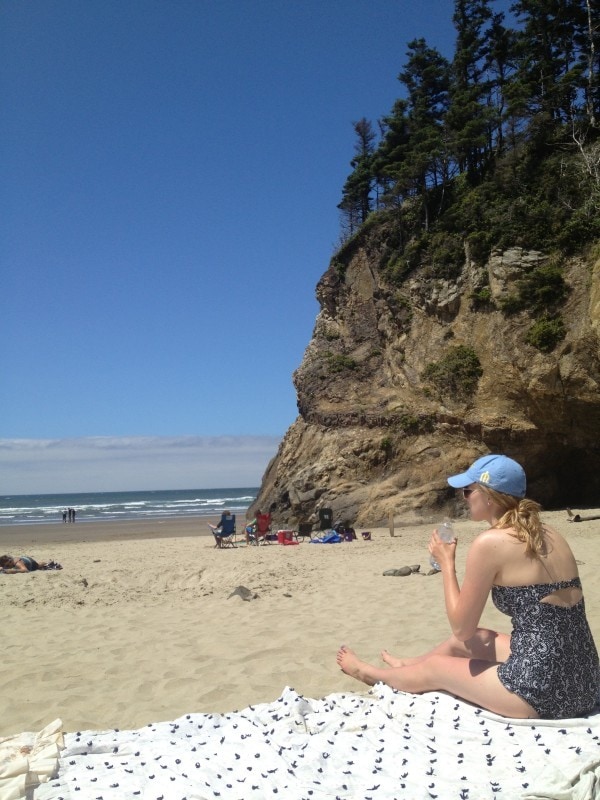
Having family spend a little time with us is fun too.  My parents came down for a couple of nights.

Manzanita

3.  Walks on the beach.   They are a daily routine.  Either in the morning or the evening or both!

Beach Time

4.  Celebrating the 4th of July.  There is nothing like a small town parade on the 4th of July!! Our neighbors came down to join us for the day.  It is a fun neighborhood tradition.  Lots of candy gets thrown during the parade.  Patriotic tattoos are a must as is red, white and blue apparel.  My favorite was the dancing librarians in the parade.

4th of July parade

Loved the sequence of events in these photos.  Taking a family photo but then a llama walked by!  My kids yelled out, “Is your mama a llama!!

Family photo

After the parade we all went back to our house for a BBQ and then a little sand castle building on the beach.  The kids re-created our neighborhood cul de sac in the sand.

Neighbors
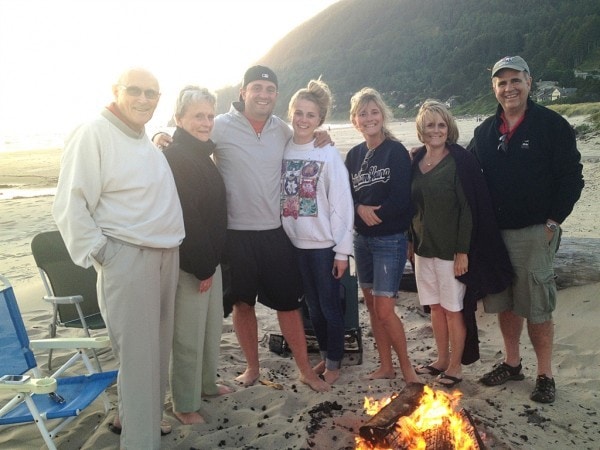
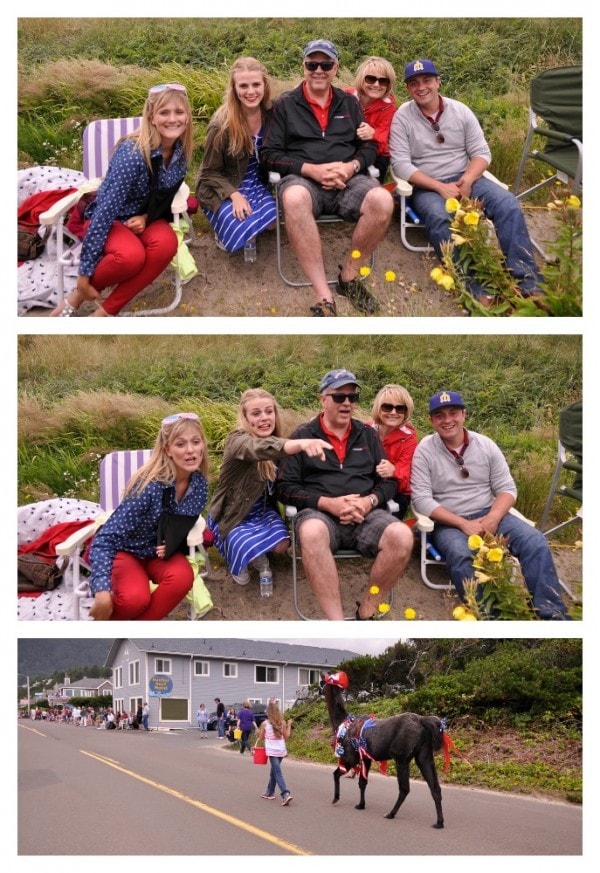
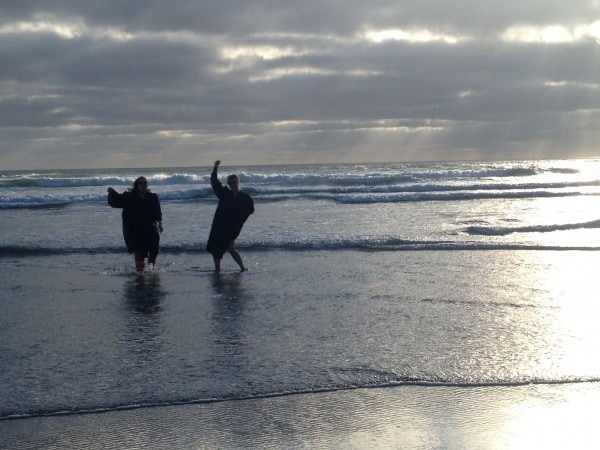
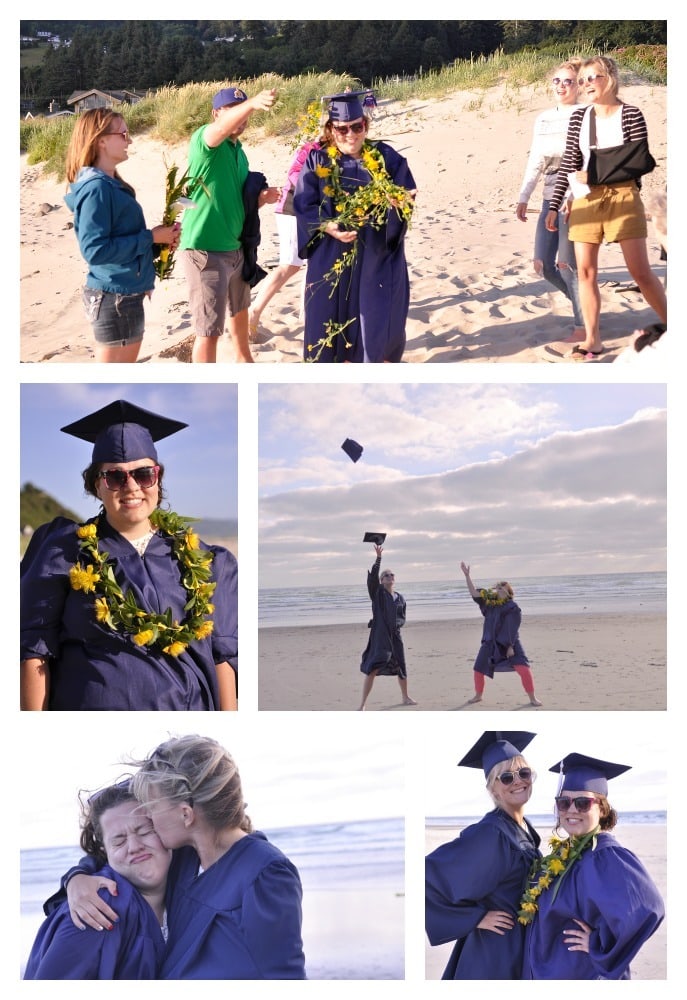
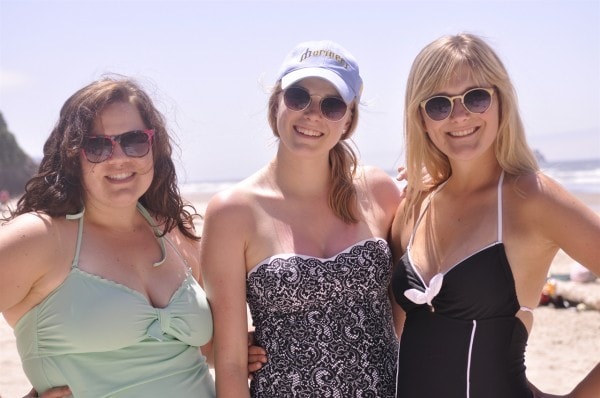
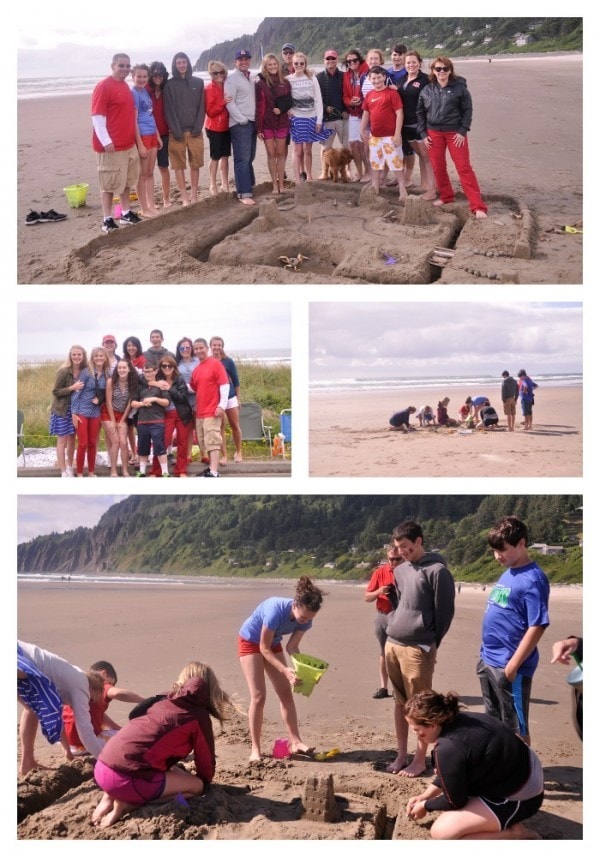
5.  Time with family and friends.  Our neighbors Debbie and Hannah spent several days with us at the beach and while they were there we held a graduation ceremony for Hannah who recently received her personal trainer’s certification.   Cali and Hannah started kindergarden together and have been best friends ever since.   Cali put together a fun ceremony on the beach and they ended it with a “trash the graduation gown” in the ocean!

Trash the Graduation Gown

Graduation

6.  Golfing.  Golfing is not something I do much of in real life but every year when we are at the beach I agree to go golfing with my boys.  Manzanita has a nice, little course that is just my size.  Once I am out there on the course I love it – not sure why I don’t go more often.  There was this cute pair of red golf shoes in the pro shop I kind of fell in love with but the boys said I needed to golf more than once a year to justify the purchase.  Darn!!

Golf

It was a wonderful week and I am already looking forward to next year!

IMG_6503

To read about past Weeks at the Beach check out these:

Week at the Beach – 2012

Week at the Beach – 2011

Enjoy!

Leigh Anne

You can also visit me on Facebook, Pinterest, Twitter,  Instagram

and Google+

For a list of where I Link Up each week go here.


Read Full Post »