Feeds:
Posts
Comments

Archive for April, 2013

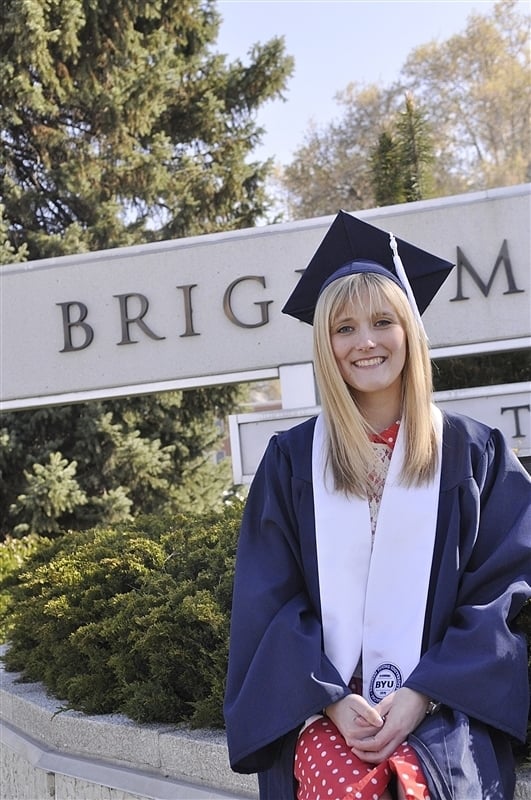
Last week was a whirlwind!  Our daughter Cali graduated from Brigham Young University with her Bachelor’s of Art!  How is it possible that I now have three children who have graduated from college.  We couldn’t be more proud.

cali grad

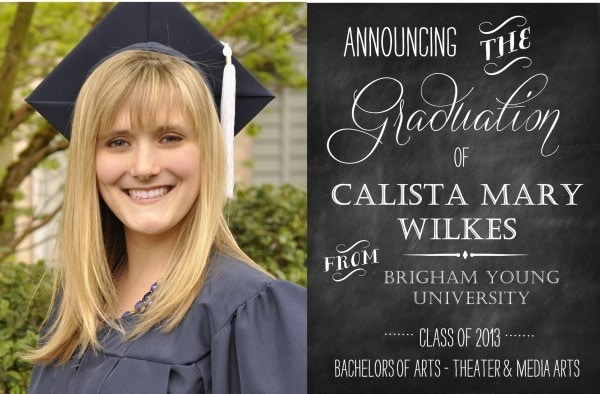
Cali is going to be an amazing theater education teacher.  There is some lucky high school or middle school that is going to be blessed to have Cali as one of their staff members.  The kid’s she worked with during her student teaching adored her.  It is so gratifying and rewarding when your children  become who they were meant to be!

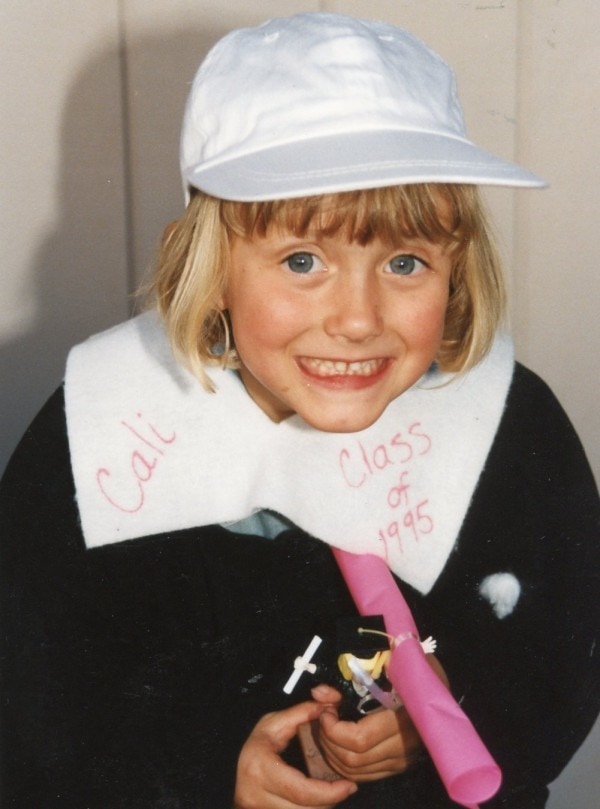
It seems like just yesterday she was that cute, spunky little girl (she is still that cute, spunky little girl) graduating from preschool!

Play group Graduation

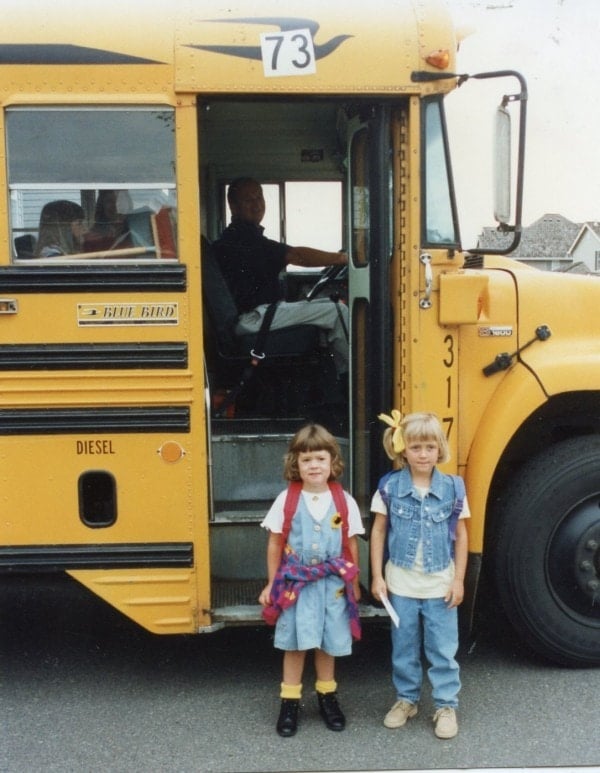
And waiting for the bus on her first day of Kindergarten with best friend Hannah.  They look a little nervous, don’t they!?

First day of Kindergarten

And those two best buddies graduated from high school together what seems like just yesterday!

graduation

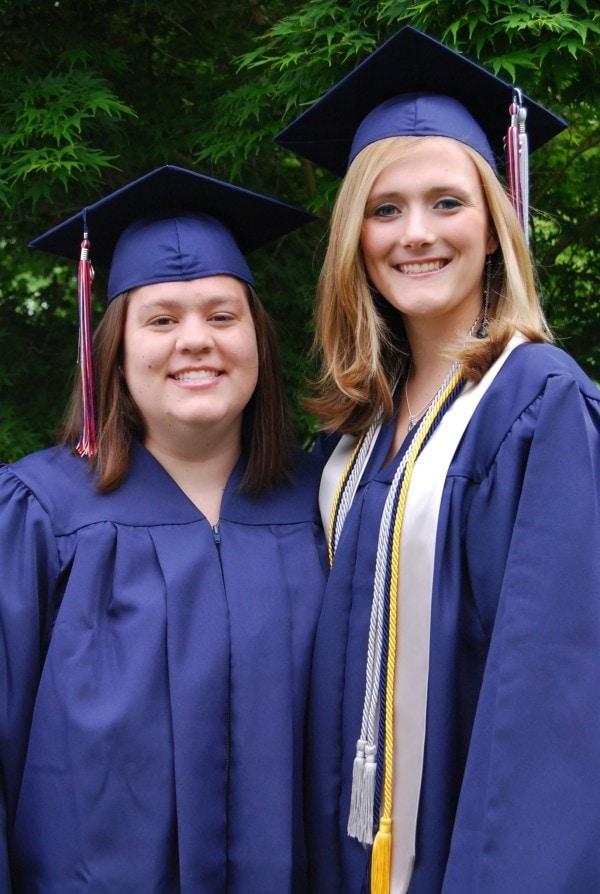
Hannah was able to go with us to graduation – here are the two best friends with 20 years of friendship.

_dsc0521

Our whole family and Hannah were able to be together in Provo for Cali’s celebration.

_dsc0642

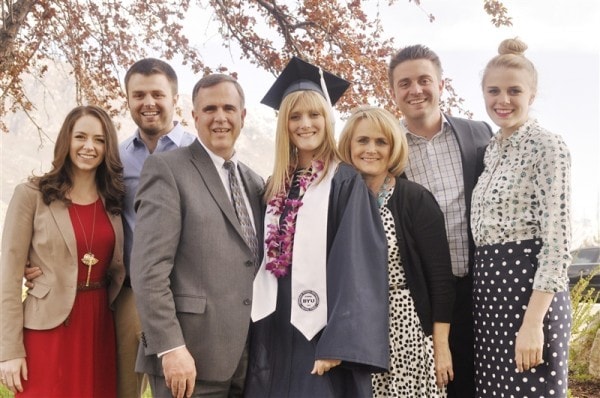
Since we were all together we even had a family photo taken on the BYU campus! Every member of our family bleeds blue and has graduated from BYU (Tessa will in two years), including both Clark and Jessica from BYU Law School too.   So we thought the BYU campus was a very appropriate place to have the picture taken.  I can’t wait to share some of the photos with you.  Of course our color scheme was blue!

We are so proud of our Graduation Girl and all she has accomplished!  We can’t wait to see what is in store for the next chapter of her life.  Things are never dull when Cali is around!!

_dsc0799

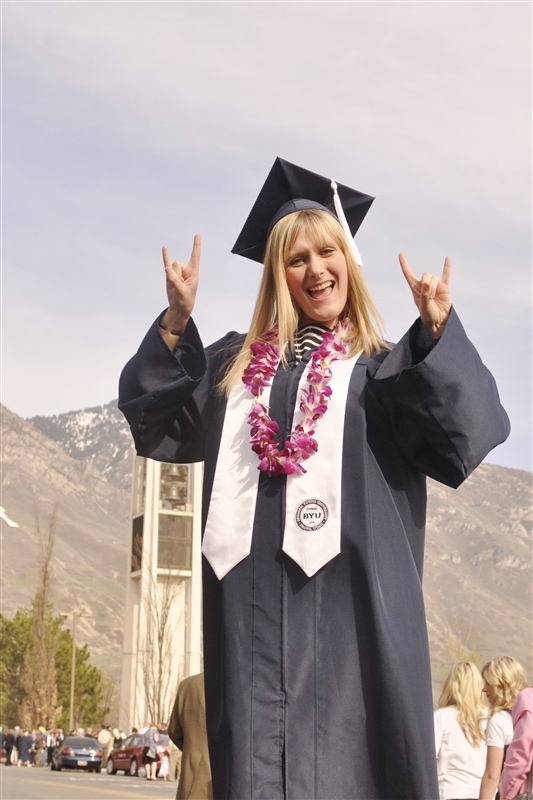
This photo got Cali front and center on BYU’s Facebook page!  Guess the photographer liked her craziness on top of the rock!

_dsc0678

The day after graduation we drove 13 hours home and early the next morning flew out to enjoy 12 days in England and France.  Tessa will be staying in London to do a study abroad program through BYU.  Of course I’ll be sharing a bit of our trip when I get back. If you’d like to follow along on our adventures be sure to follow me on Instagram.

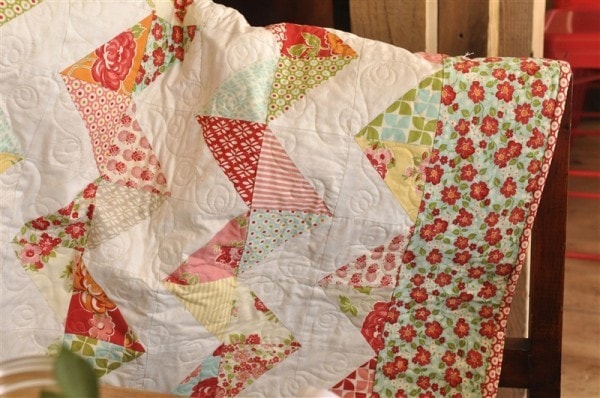
A graduation tradition I started when my boys graduated from college is that I made each of them a “college quilt.”  You can see the boy’s college quilts here.

_dsc0845

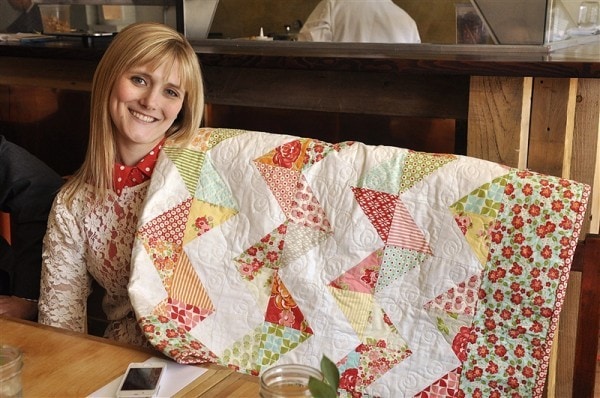
For the boy’s quilts I just picked out the pattern and fabric but Cali picked out her own and I love it.  It is so reflective of Cali’s personality – fun, bright and cheerful!   Good thing I had a 13 hour car ride to Utah before graduation so I could finish sewing on the binding!  I am totally in love with it and so is she.

_dsc0847

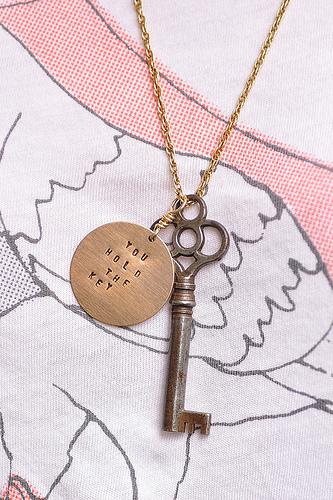
Since it is graduation time of year you may have someone you are looking for a special gift for.  I highly recommend White Lillie Design for a fun, personalized graduation gift.  I purchased this lovely and inspiring necklace for Tessa when she graduated from high school from White Lillie Designs.

You-Hold-the-Key

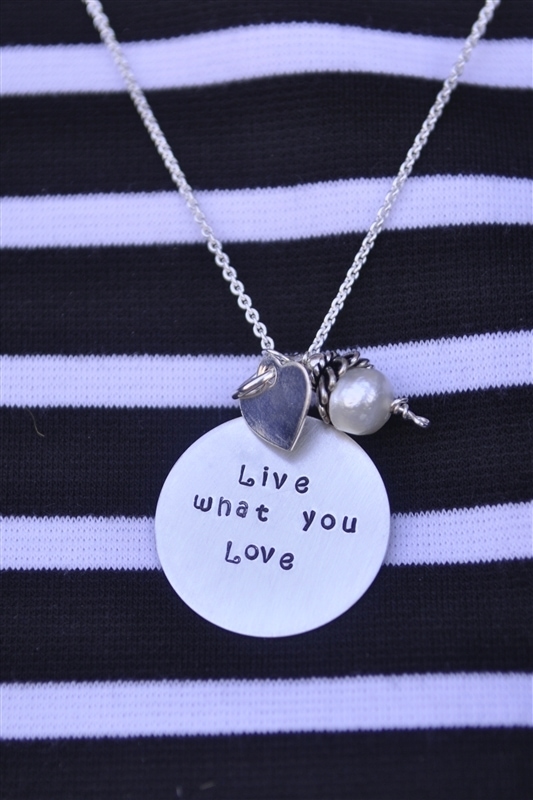
And she personalized the one for Cali too for her college graduation.

_dsc0498

White Lilie Designs is offering all my readers a special 10% discount code.  She doesn’t do this very often so be sure and take advantage of this opportunity to buy a gift for any graduate in your life.  She has lots of other pretty things too so be sure and check out her shop.  Just use the coupon code HOMEBASEDLOVE when you check.

 For other fun graduation gift and party ideas check out these:

Graduation Gift Ideas

Graduation Money Lei

Graduation Gifts and Announcements

Sail Away Graduation Party

Smart Cookie Graduation Party

Enjoy!

Leigh Anne

leighanneblog-3170

You can also visit me on Facebook, Pinterest, Twitter or Instagram.

For a list of where I Link Up each week go here.

Read Full Post »

gluten free cinnamon rolls

While Cali was home visiting it was our church’s semi annual General Conference.  That basically means we get to stay home in our jammies and watch church on TV!  Our family has a tradition of having homemade cinnamon rolls that weekend.  Since cinnamon rolls aren’t normally gluten free I was determined to make some for Cali that were yummy and that Jim and I could enjoy too.  I have experimented with a few cinnamon roll recipes over the last couple of years but usually just end up buying her Udi’s frozen cinnamon rolls while the rest of us enjoy my 60 minute cinnamon rolls.

After a bit of googling and searching on Pinterest I found a recipe that I thought might just be it!  I found the recipe over at Gluten Free Recipe Box.  The recipe uses an assortment of gluten free flours – white rice, brown rice, tapioca starch, potato starch, potato flour and xanthan gum.  I know most people won’t have these in their pantry but I do!  Most of them are available at your local grocery store in the health food and or baking section.  My Winco grocery store carries the rice flours and the tapioca starch in the bulk section of the store.  Bob’s Red Mill is one of my favorite brands for many of the products and they are fairly accessible, at least here in Portland.  Also stores like Whole Foods, New Seasons etc. will carry them.

Like I mentioned in the gluten free biscuit post, gluten free flours can be somewhat sticky. After mixing up the dough allow it to rise for about an hour or until doubled in size.

gluten free cinnamon rolls

Because the dough is sticky I covered the counter with a piece of plastic wrap and then made sure there was plenty of gluten free flour on the plastic wrap.  You can use more of the rice flour or potato flour or if you have some Gluten Free Flour Mix, use that.

gluten free cinnamon rolls

You need enough so that you can roll the dough out and not have it stick to your rolling pin. It should be about 11 x 18 inches.

gluten free cinnamon rolls

Cover the dough with the traditional butter, sugar and cinnamon.  I found that the amount given in the recipe wasn’t quite enough for my tastes so I then just sprinkled in the spaces with just plain brown sugar.

gluten free cinnamon rolls

For the next step you are going to be glad you have the plastic wrap down.  Because the dough is sticky use the plastic wrap to roll the dough up.

gluten free cinnamon rolls

Totally a great trick!.  Then you are ready to cut the dough into rolls.  The recipe makes 6 good size cinnamon rolls.  I used a sharp serrated knife to cut the dough.  Place the rolls into a 8 x 8 or 9 x 9 greased pan.

gluten free cinnamon rolls

Cover with plastic wrap and allow to rise one more time until the rolls fill the pan – about 45 minutes or so.  Then they are ready to pop into the oven and bake at 400 degrees for 15-20 minutes until golden brown.

While the rolls are baking mix up your frosting.  Because Cali is dairy free I didn’t use cream cheese but made a buttercream frosting with goat’s milk.  No one knew the difference.

gluten free cinnamon rolls

Did these taste exactly like my 60 Minute Cinnamon Rolls?  No but they were delicious.  There is still a bit of difference in the texture.  The rolls don’t get as light and fluffy.  They are a bit more dense but the flavor was delicious and we all enjoyed them!

gluten free cinnamon rolls

Definitely a winner at our house and so much better than the frozen variety!!

Read Full Post »

We are going to take a break in the middle of gluten free week here on the blog and give you a little tour of a few gluten free bakeries we visited here in Portland during the week Cali was home.  Like I said before, if you have to be gluten free, Portland is a great place to live.  Today is just a sampling of some of the fun and delicious bakeries that are available in the Portland metropolitan area.  If you are wondering if you have any gluten free bakeries in your city- I bet you do and might not even know it.  Just give it a Google!

We had an appointment at the naturopath while Cali was home and one of the bakeries was just across the Sellwood Bridge from our appointment so we headed over to the Craven Raven  which is located in the lovely, quaint Sellwood area of Portland.  This is a mecca of antique/vintage shopping so even if you aren’t looking for a gluten free bakery you should definitely check the area out!

Craven Raven is gluten free as well as dairy, soy, corn, and white sugar free with most of their treats being Vegan.  They also cater to the Paleo Diet.  They have it covered!

craven raven bakery

Cali chose a Twinkie filled with vegan buttercream, a pumpkin spice doughnut  and a chocolate chip cookie.  All were delicious.  She especially enjoyed the gluten free Twinkie.  I tried it too and it tastes way better than a real one (which I think are totally gross!)

Craven Raven

Our next stop was over on NE Martin Luther King Blvd. in Portland at Tula Bakery.   In addition to lots of delicious sweet treats Tula also has a great bread selection including both artisan and quick breads.  Not all of their products are dairy free but each item is marked with a sign that tells you if it is also dairy free, etc.

tula bakery collage

You can also enjoy paninis, pizzas and soups at the bakery for lunch.

At Tula Cali chose a delicious lemon tart with almond flaxseed crust,  a blueberry streusel cake and the most amazing salted chocolate chip cookie I’ve had.  It was delicious and I think I may have eaten the whole thing myself.  Sorry Cali!  (I did give her a bite!)

Tula Bakery

Our third bakery was Back to Eden over on NE Alberta Street, just a few minutes away from Tula.  Back to Eden is gluten, soy, dairy and sugar free and might I add delicious.   In addition to being delicious this bakery is just so cute!

Back to Eden Collage

Back to Eden serves lunch with lots of savory choices with soups, salads and quiches.  The other great thing about Back to Eden is they have dairy free ice cream!  They have both a vegan soft serve and and also carry Coconut Bliss ice cream.  Cali had soft serve ice cream on a gluten free cone and was pretty much in heaven. We also walked out of there with a whoopie pie, carrot cake cupcake and a savory tomato tart.

Back to Eden

Oh and did I mentioned the place is just darn cute!?

Back to Eden

We’ve got a list of several other gluten free bakeries to check out on Cali’s next trip home.

Enjoy!

Leigh Anne

leighanneblog-3170

You can also visit me on Facebook, Pinterest, Twitter or Instagram.

For a list of where I Link Up each week go here.

Read Full Post »

Gluten Free Pancakes

Create a light and fluffy gluten free pancake with this recipe. So good that no one will know they are gluten free!

gluten free pancakes

Gluten Free Week continues…

If you have to be gluten free Portland is a great city to live.  There are lots of grocery stores, bakeries and restaurants that cater to gluten free eating.  I’m going to share a few new gluten free bakeries we discovered here on the blog this weekend.

I always look at cooking for my gluten free girl, Cali, as a challenge.  I want to try and recreate family favorites so that she can eat them too.  I did a lot of experimenting while she was home.  Most of the experiments were a success!    One of them was gluten free pancakes.

Gluten Free Pancakes

Bisquick makes a decent gluten free pancake mix but I wanted to try and create a nice light and fluffy pancake from scratch.  The problem I have found with gluten free flours is they tend to be heavier than regular flour and the texture can be a bit off.

After a couple of tries we found a gluten free pancake recipe that was a hit!  This recipe used a combination of gluten free flours, eggs, oil, vanilla and milk.  I used goats milk because Cali can’t have cow’s milk but you could use any type of milk.  We also cook with almond milk a lot.

gluten free pancakes

Add enough milk to get a nice smooth, pouring consistency.  You don’t want it too thin so that the pancakes run all over the place!

gluten free pancakes

I have always used an ice cream scoop for my pancakes.  It comes in really  handy for cupcakes too – just the right size!

Be sure your griddle is hot.  I always throw a little water on it and if it sizzles, it’s ready.  I also sprayed it with some cooking spray.

Gluten Free Pancakes

Next, wait until a lot of little bubbles form on the top of the pancake and look like this.

Cooking Pancakes

All those little bubbles means it is ready to flip.  If you flip them too soon, you’ll end up with a mess all over your griddle!  Nice and perfectly golden brown!  After you flip them you may be tempted to press down on them with your spatula – don’t!  Let them be all fluffy and puffy!!!

Gluten Free Pancakes

After they finish cooking on the second side they are ready to eat!  Pile them up and pour on the syrup.

Maple Syrup

Then take a bite and enjoy!  Nice and light and fluffy.  Just like a pancake should be.

Gluten Free Pancakes

Light and fluffy gluten free pancakes.CourseBreakfastCuisineAmericanKeywordgluten free pancakesPrep Time10 minutesCook Time10 minutes0 minutesTotal Time20 minutesServings4 servingsCalories369kcalAuthorLeigh Anne Wilkes

Ingredients

  • 1 C rice flour
  • 3 Tbsp tapioca flour
  • 1/3 C potato starch
  • 2 tsp sugar
  • 1 1/2 tsp baking powder
  • 1/2 tsp baking soda
  • 1/2 tsp salt
  • 1/2 tsp xanthan gum
  • 2 eggs
  • 3 Tbsp canola oil
  • 1 tsp vanilla
  • 2 C almond milk or milk of choice

Instructions

  • In a bowl mix together all dry ingredients.
  • Add in eggs, milk, vanilla and oil and blend until only a few lumps remain. Start with 1 1/2 cups of milk and add more if needed.
  • Heat skillet and spray with cooking spray.
  • Spoon on batter and cook until pancakes begin to bubble.
  • Flip and continue cooking until golden brown.

Read Full Post »

spanish rice and sausage skillet

I love a recipe that can be done in one pan. Not only does it make for a quick and easy dinner but doing the dishes is quick and easy too!  Besides that I am always looking for excuses to cook in my cast iron skillet.  I don’t know what it is about that thing but I think food taste better that’s been cooked in it!!

Because one of my girls is allergic to red meat I am always on the look out for alternatives. I have discovered that Johnsonville makes a delicious line of chicken sausage that not only has less fat but lots of flavor too. For today’s recipe I used their Chipotle Monterey Jack Cheese Chicken Sausage. 

We are also big rice eaters at our house and have been ever since I was a child.  I remember my mother always used Uncle Ben’s rice and I still do.   I recently discovered their new line of Ready Rice.  All you have to do it put it in the microwave for 90 seconds and it’s ready to go!  Doesn’t get much quicker or easier. It also comes in lots of yummy flavors. For today’s recipe I used their Spanish Style rice.

I began by sauteing some onion and green pepper in a little olive oil along with the Chipotle Monterey Jack Cheese Chicken Sausage that I had cut up into bite size pieces.  Cook until peppers and onions are soft and sausage is heated through.  I then added in a can of black beans, one chopped up fresh tomato, a handful of chopped cilantro, a couple of chopped green onions and the Spanish Style Ready Rice.  Then I just gave it a few stirs to get it all heated through .

Spanish Rice and Sausage Skillet

It is delicious and ready to eat at this point but I decided to take it one step further and topped it with some shredded Monterey Jack Cheese.  Cheese makes everything better!

Spanish Rice and Sausage Skillet

I then put the pan into my oven under the broiler.  One of the benefits of using a cast iron skillet is it can go right into the oven!  I just broiled it until the cheese melted.  I added a garnish of cilantro and sliced avocado and dinner was ready!

Spanish Rice and Sausage Skillet

So in about 20 minutes I had a delicious dinner ready.  Jim gave it two thumbs up and since he usually does the dishes at our house he was a pretty happy camper in that department too!

Spanish Rice and Sausage Skillet Dinner

AuthorLeigh Anne Wilkes

Ingredients

  • 1 pkg Johnsonville Chipotle Monterey Jack Cheese Chicken Sausage cut up (I used 3 sausages)
  • 1/2 onion chopped
  • 1 green pepper chopped
  • 1 Tbsp. olive oil
  • 1 can black beans drained
  • 1 large tomato chopped
  • 1 pkg Uncle Ben’s Spanish Style Ready Rice
  • 1/2 cup cilantro chopped
  • 2 green onions chopped
  • avocado for garnish

Instructions

  • Saute onion, green pepper and sausage in olive oil in skillet.
  • Add in black beans, rice, tomato, cilantro and green onion.
  • Stir to mix and heat through.
  • Garnish with additional cilantro and avocado if desired

Read Full Post »

chalkboard journals

Yesterday was my Activity Day Girl meeting.  Since it was just a few days before our church’s General Conference we wanted to do something that would help the girls as they listened to conference.  We made journals for them to take notes in. But it’s not just a journal, it’s a chalkboard too!

I used the school composition books that you can pick up at the Dollar Store.  I also purchased Martha Stewart Chalkboard paint at Michaels.  They carried it in 3 colors, black, green and gray.  I opted for black and green.  I also picked up some sponge brushes while I was there.

We opened the notebooks up and put some paper between the cover and pages to hopefully stop the paint from getting all over the pages.  It worked for some of the girls but a few were rather heavy handed with the paint and some of the paint got on the pages but they didn’t seem to mind.

chalkboard journal

I took 2-3 coats of the black paint depending on how heavy handed the girls were and the green took 3-4.  Since we only had an hour to complete our project we used blow dryers to dry the paint between coats.

After the paint was dry they had to “season” their chalkboard by covering both sides with chalk.  Using a piece of chalk that is flattened on one side works the best so there is even coverage.

chalk
_dsc0603

After you covered the surface with chalk use a paper towel or a soft cloth to rub off the chalk.

_dsc0613

Seasoning the chalkboard makes is so that it erases easier and what you write on the chalkboard doesn’t leave a “ghost.”

We then covered the spine with white duct tape for a little color contrast and because then you don’t have to be careful when you are painting not to get any paint on the spine covering.

_dsc0617

To help the girls with their note taking during the conference sessions I printed off pictures of the Quorum of the Twelve and the First Presidency.  I then laminated them and the girls cut them out and taped them to their pages.

_dsc0751

I had them lay the pictures out in order of the First Presidency and then order of seniority in the Quorum.  It was good practice for them!  They then taped them to the pages.  We left about four pages between each picture to give them plenty of room for note taking.

conference journal

We staggered them going down the page so that the  names were visible.

_dsc0709

 With the help from the leaders the girls were able to finish painting their journals and taping in the tabs in our hour meeting.  I sent them each home with a piece of chalk so they could decorate the cover of their notebook!

leighanneblog-3170

You can also visit me on Facebook, Pinterest, Twitter or Instagram.

Read Full Post »