Feeds:
Posts
Comments

Archive for October, 2013

Halloweenie Roast 2013

Halloweenie Roast 2013

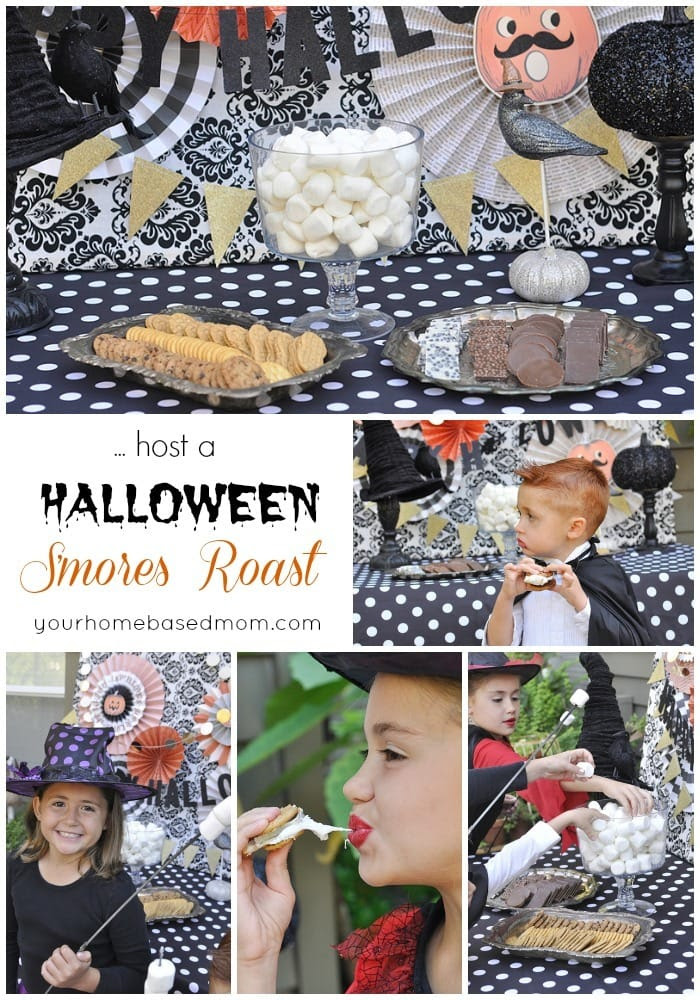
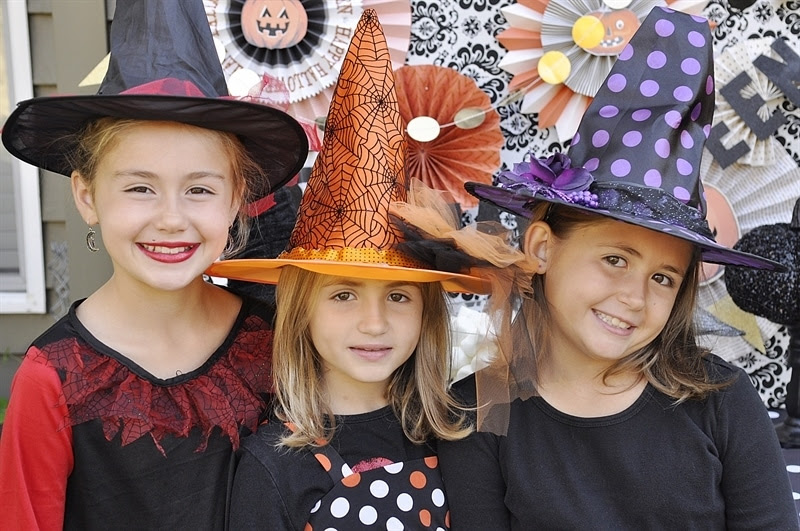
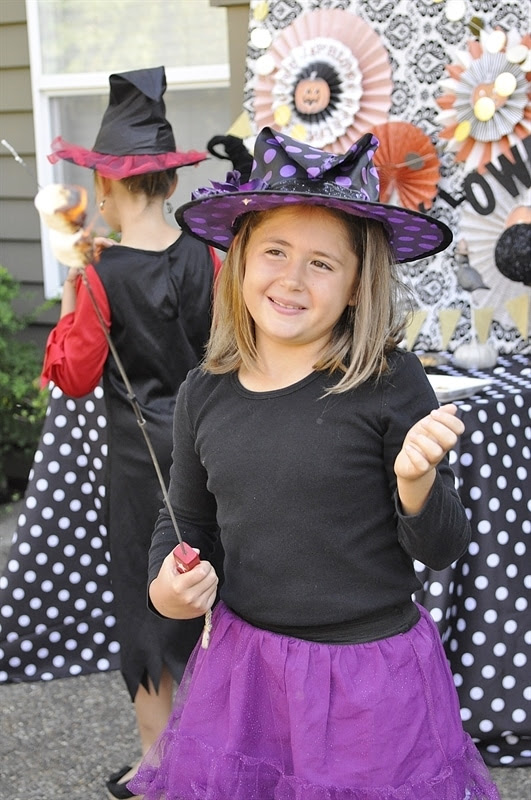
Last night was our annual Halloweenie Roast. It is a fun Halloween party we host for our neighbors each year. We build a fire in the back yard and roast hot dogs and have all kinds of other fun treats. Everyone brings something to share which is always fun.

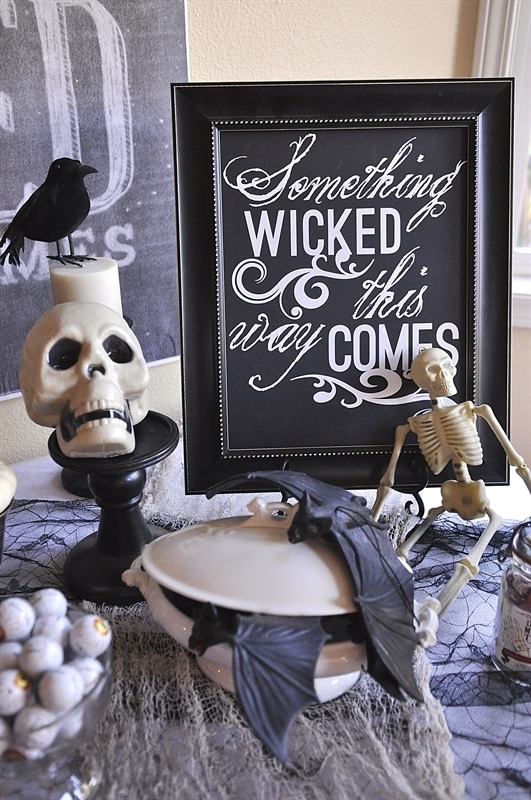
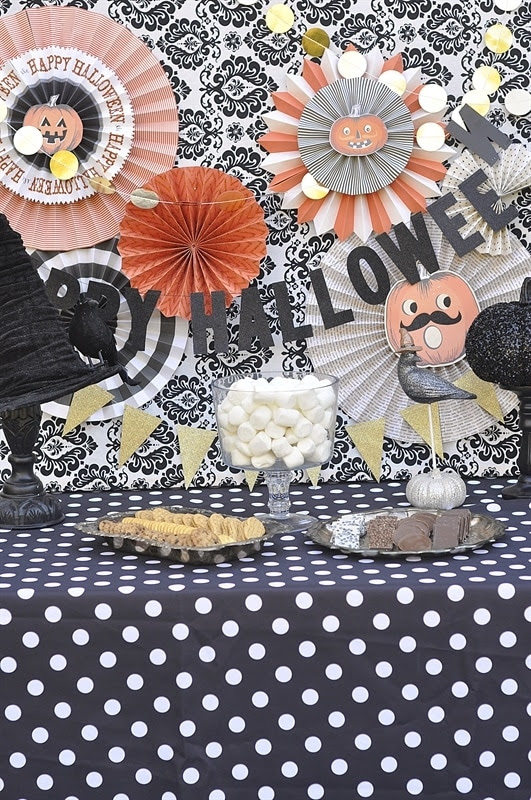
This year I used this print from Caravan Shoppe as the backdrop for my table. I had it printed at Staples as an Blueprint so it was pretty inexpensive, about $6.00 or so I think.  I just glued a yardstick at the top and the bottom and then added a string to hang it by.  Easy and fast!  I cut out some bats on my Silhouette out of vinyl to adhere to the wall.

Halloweenie Roast

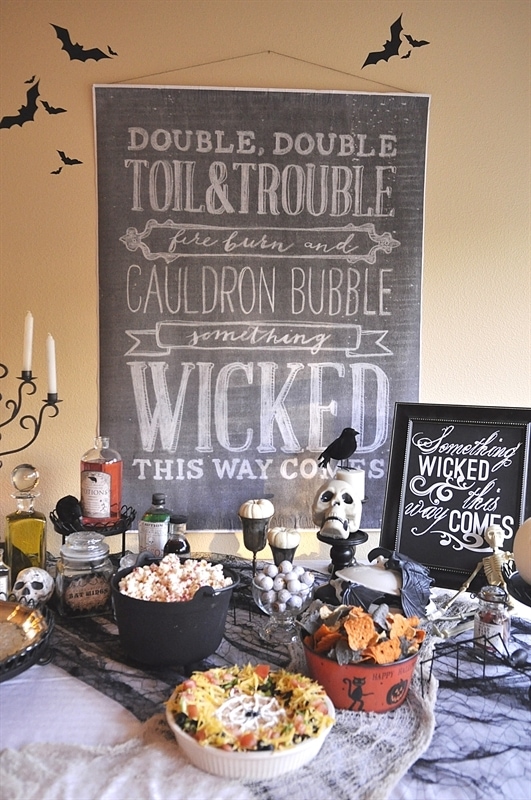
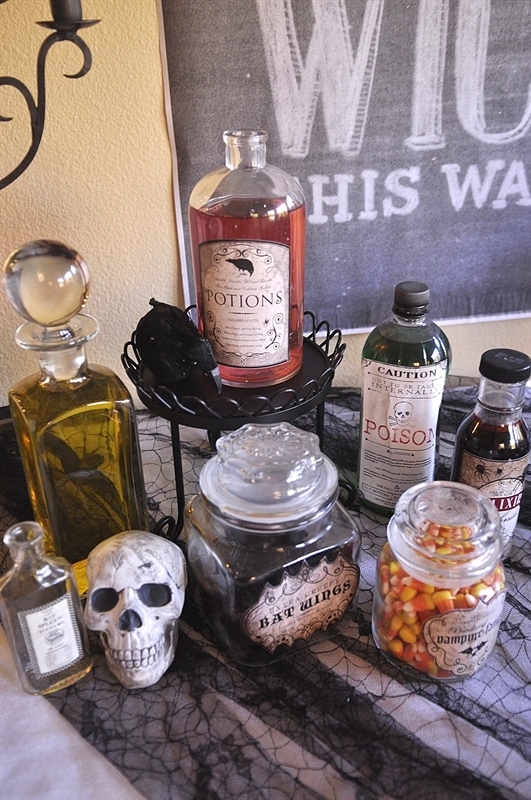
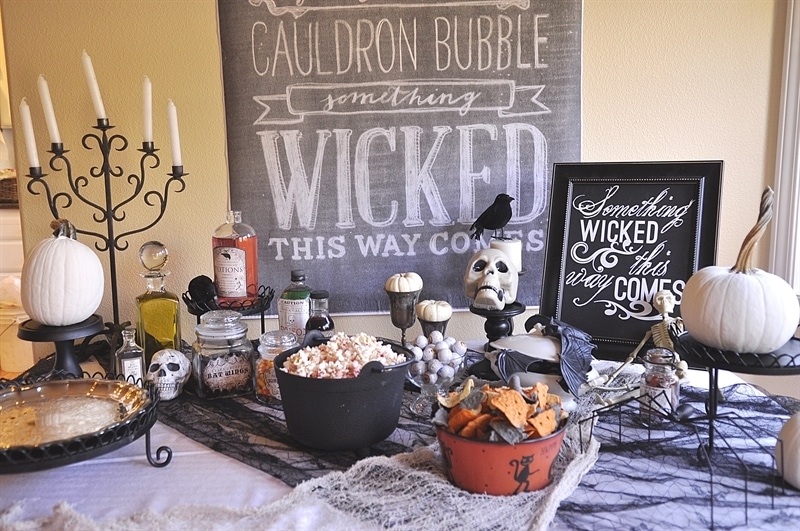
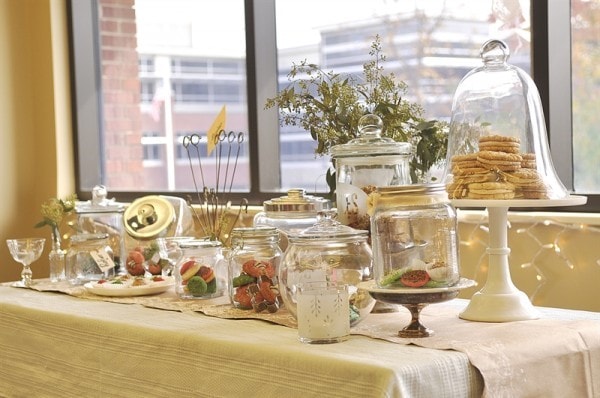
For my table decor I just gathered things I had already.  I used my potion bottles from Halloweenie Roast 2012.  For information on the labels check out this post.

I have collected my bottles over the last few years from Goodwill.

Halloweenie Roast
Halloweenie Roast
Halloweenie Roast

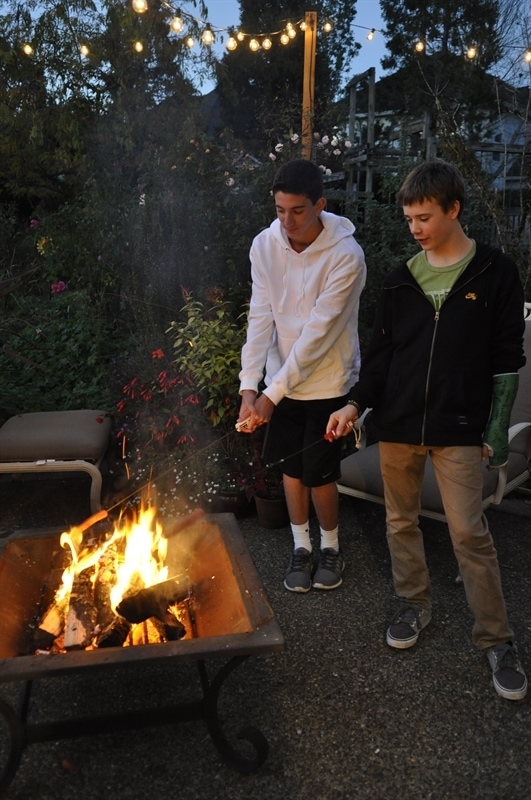
Our main course was hot dogs which we roasted over a fire in the backyard.  Always a huge hit!
A neighbor brought a big pot of chili and another a yummy salad, neither of which had a photo taken.  I put together a Halloween 7 Layer Dip, twice.  The first one I made slipped out of my hands and landed on the floor upside down and the dish smashed into several pieces.  Another trip to the store later and I had another one party ready.

Halloweenie Roast

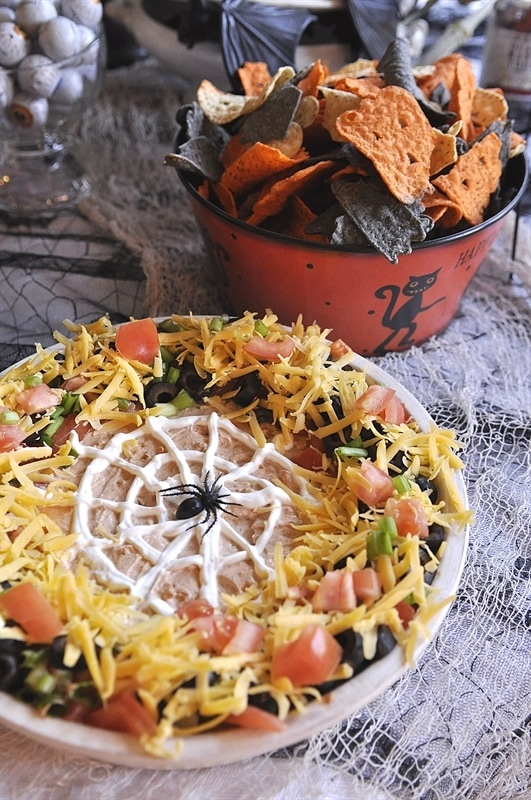
I created the cobweb with sour cream.  I just put about 1/4 C in a plastic baggie and snipped off the corner and piped it on.  For the recipe for the Halloween 7 Layer Dip check out this post.

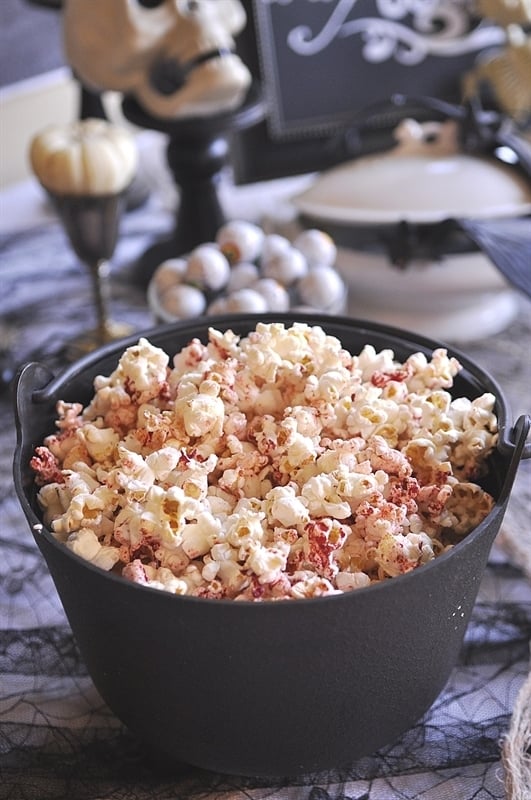
I also made a batch of bloody popcorn which was just a little red food coloring added to the butter!

Halloweenie Roast
Halloweenie Roast

Mummy dogs are always a huge hit with both the kids and adults and usually the first thing to disappear.  Not a great photo, sorry!

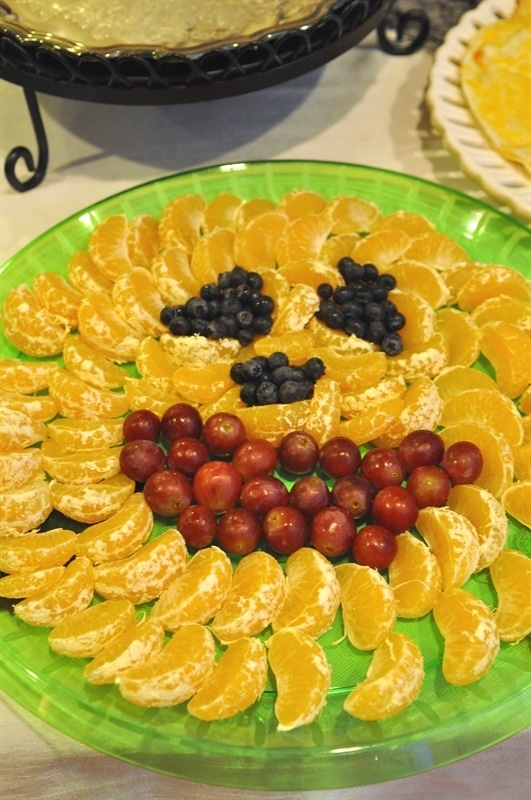
Another neighbor  brought this cute fruit jack o’lantern!

Halloweenie Roast

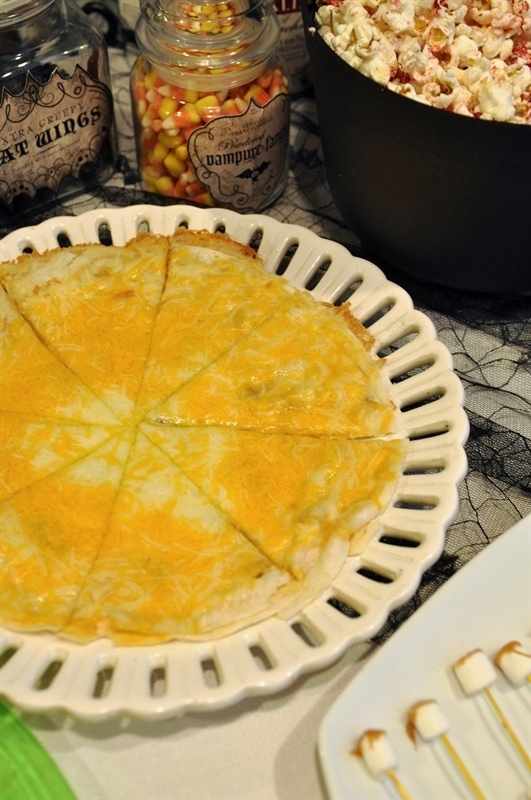
And I made a Tripe Cheese Candy Corn Quesadilla.  I got the idea over at The Idea Room and thanks to the bad lighting in my kitchen at night you really can’t see the color difference that good but it did look like candy corn and more importantly it was yummy!  Check out the directions over at The Idea Room.

Halloweenie Roast

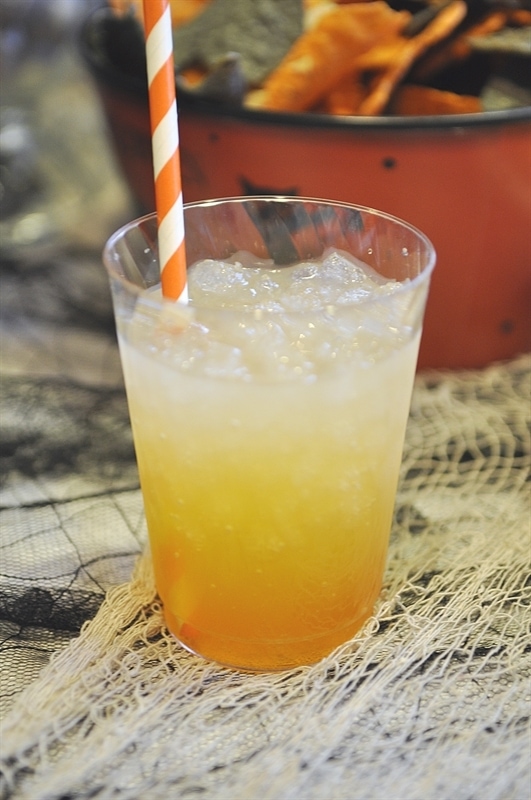
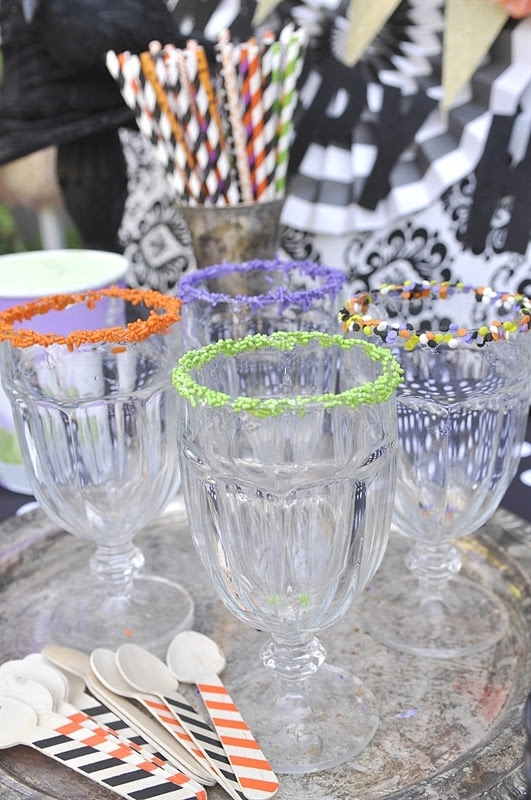
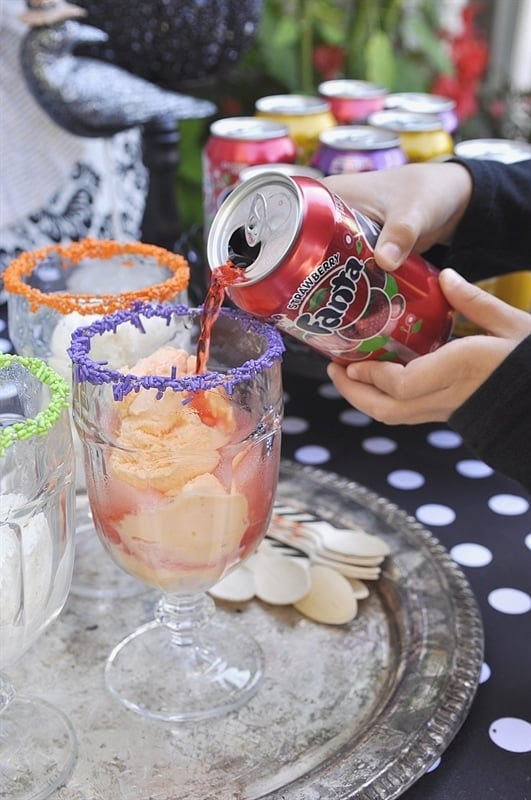
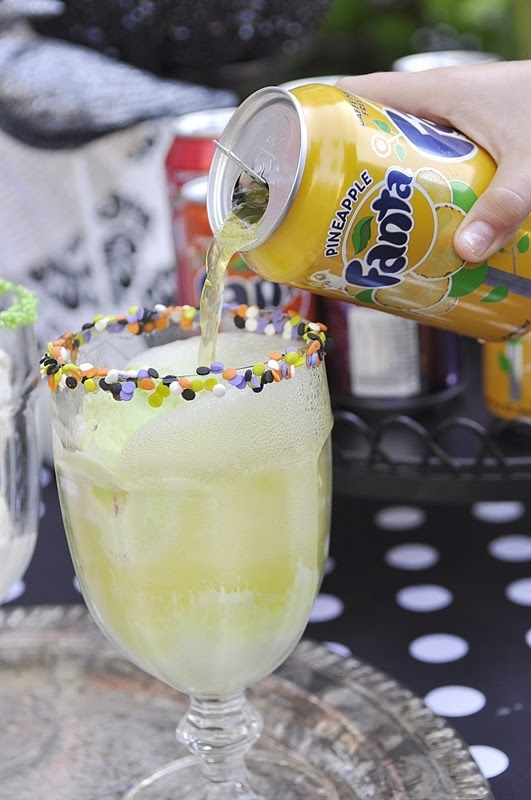
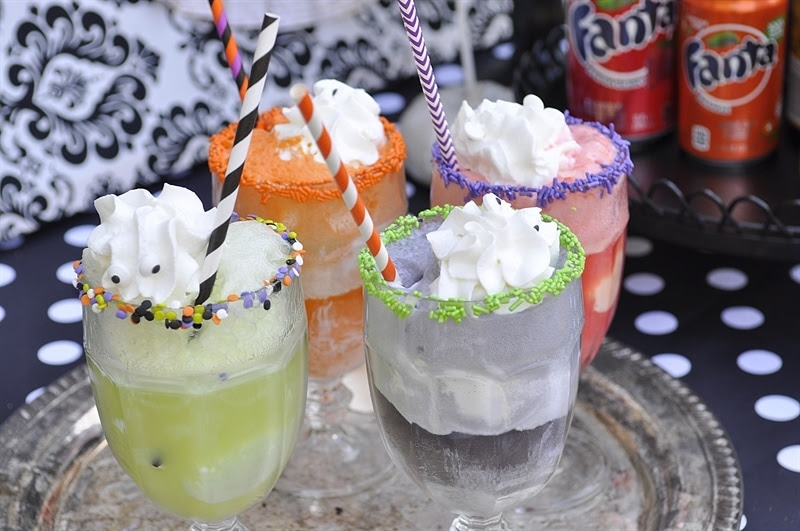
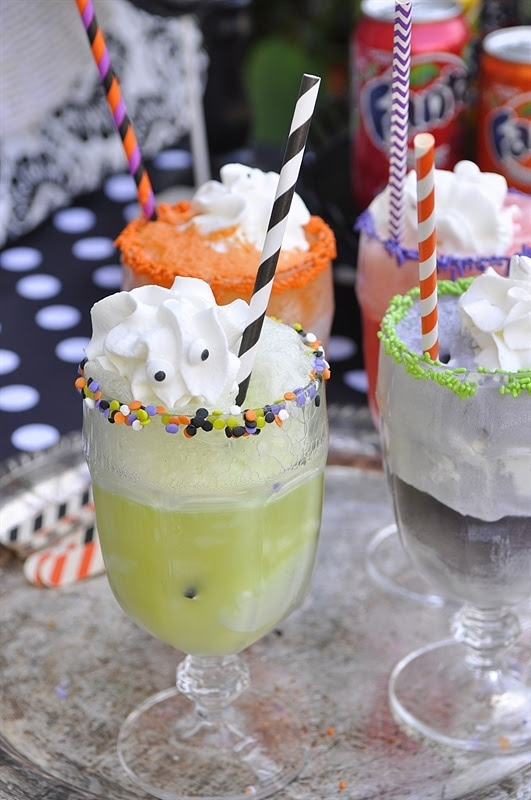
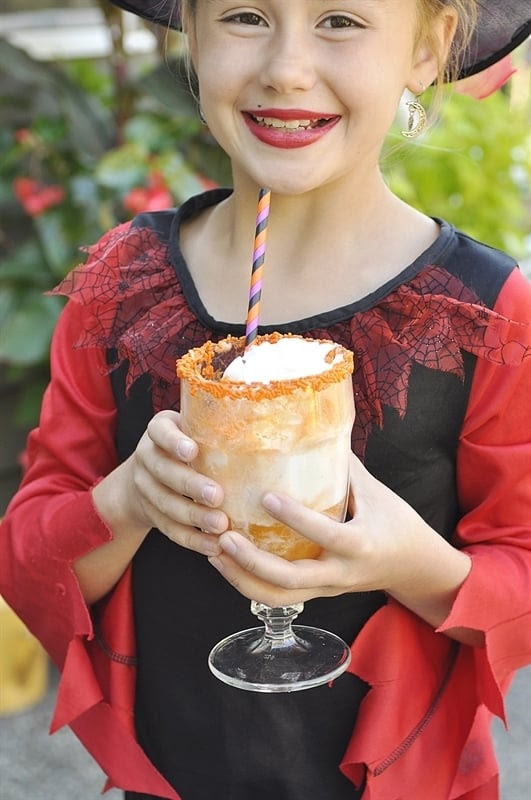
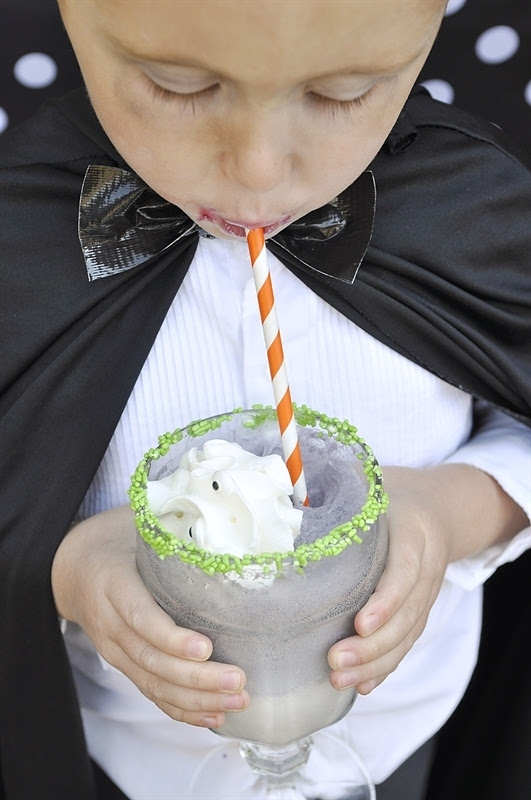
I had put on a big pot of hot apple cider and we also had these fun candy corn sodas.  For directions on how to make them check out High Heels & Grills. The trick is using three different liquids with different sugar contents.  You also need a glass full of ice, don’t cheat on the ice.  I went through the drive thru at Sonic to get their awesome pebble ice!

Halloweenie Roast
Halloweenie Roast
Bloody FOndue 2

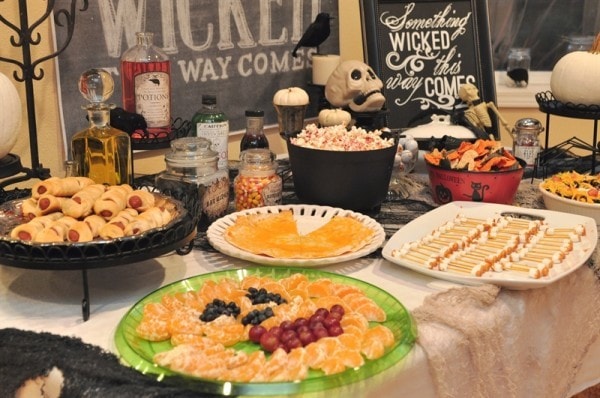
As you can see we did not lack for yummy food or beverage!
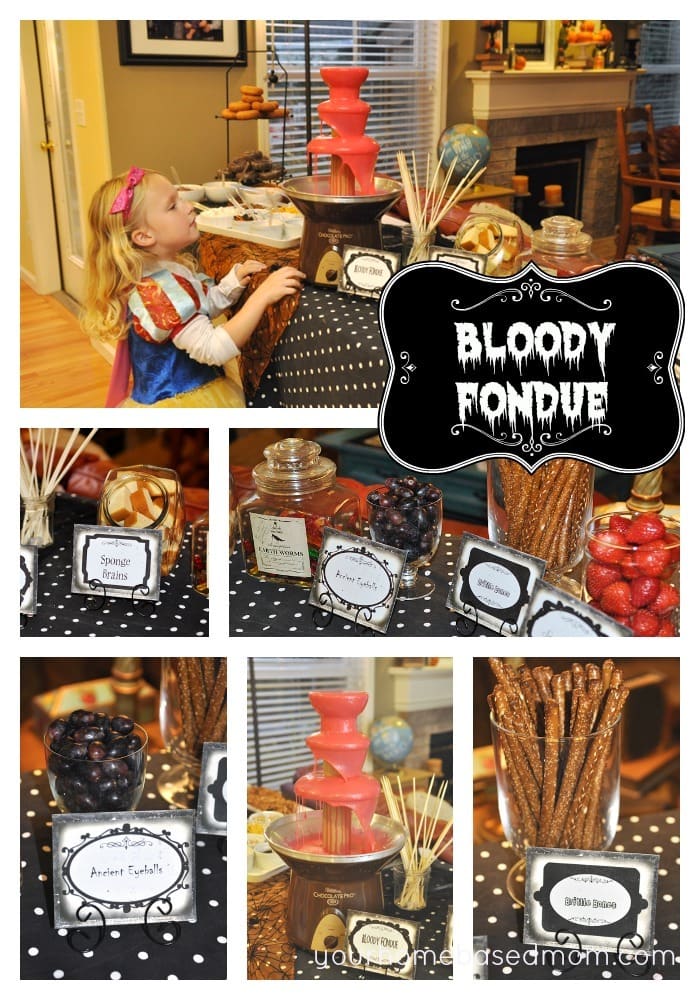
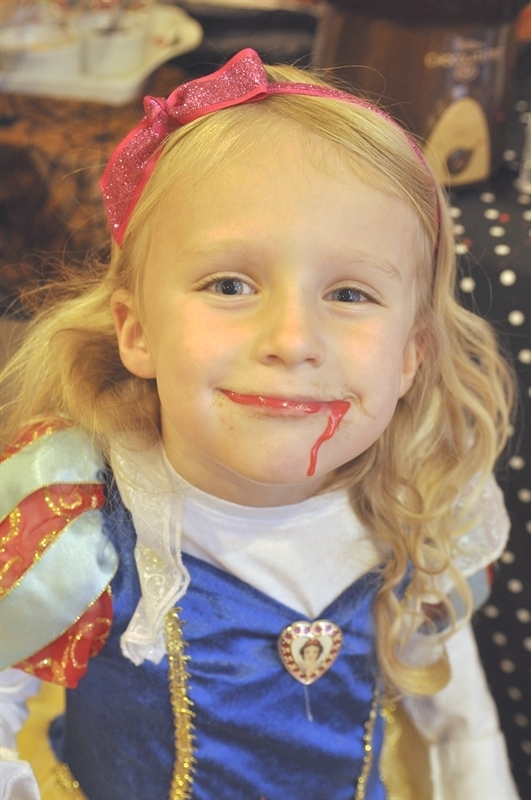
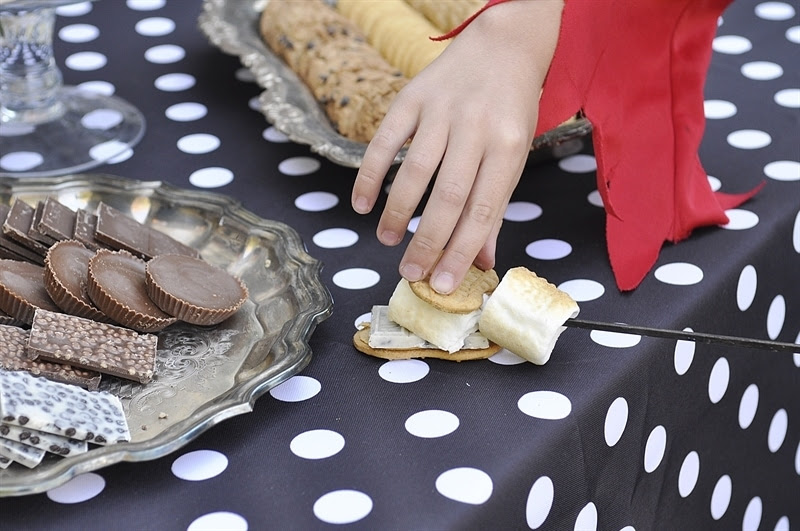
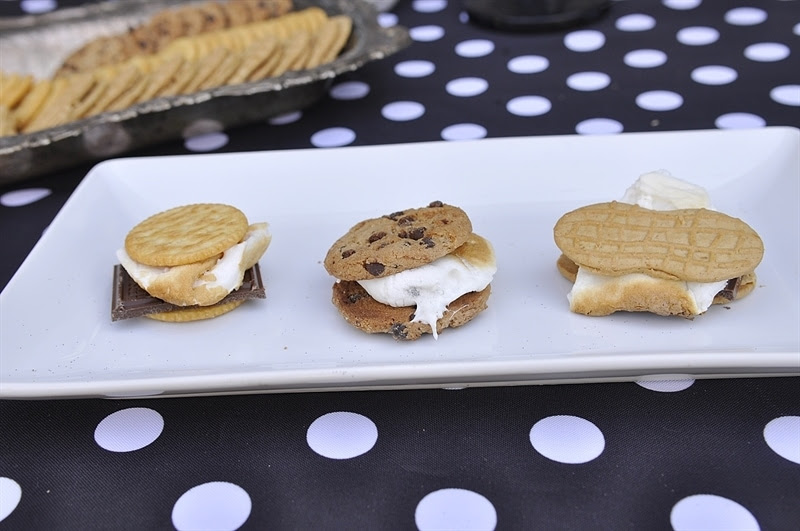
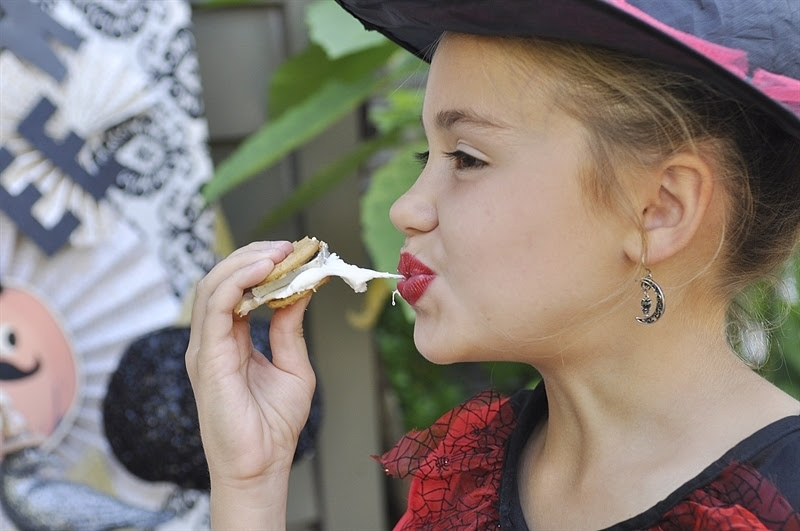
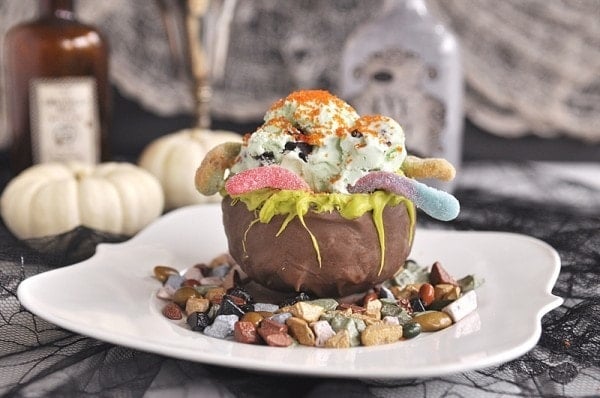
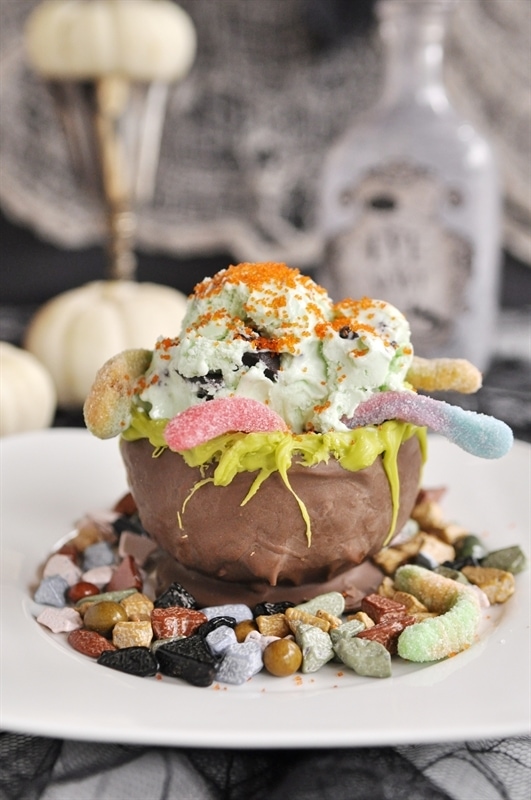
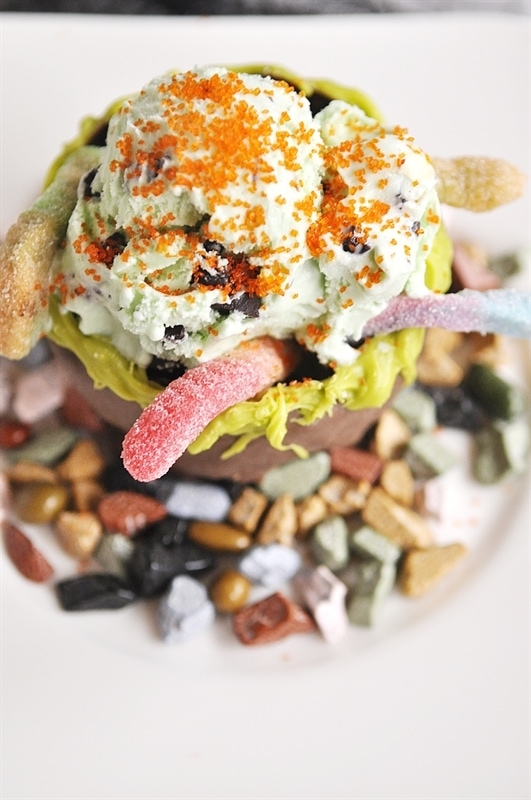
And for dessert we had a Decorate your Own Donut Bar and a Bloody Fondue Bar.  I found the idea for the Bloody Fondue over at Sugar & Spice by Celeste.  We added red food coloring to white chocolate fondue.  It was actually more dark pink than red but you get the idea!  We used strawberries, grapes, pound cake, gummy worms and pretzel rods for dipping

As you can see the kids loved it!

Halloweenie Roast

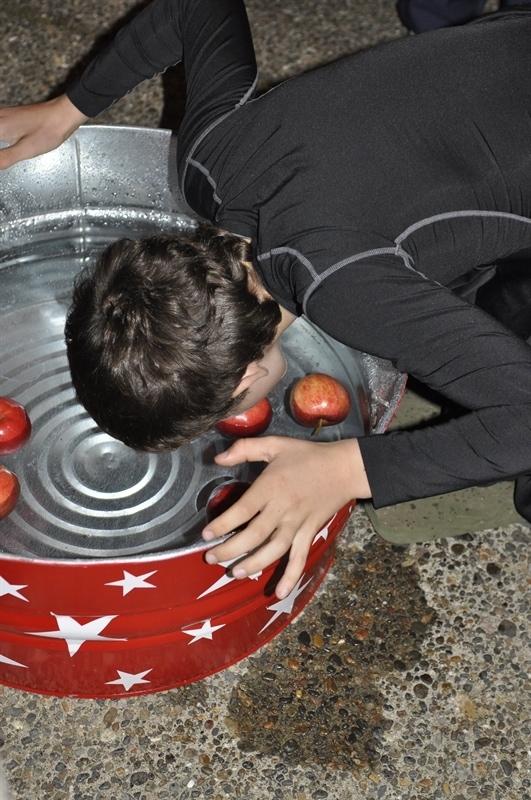
No Halloween party would be complete without bobbing for apples!

Halloweenie Roast

It was a fun party and a wonderful way to spend some time with our neighbors.

Halloweenie Roast

Read Full Post »

A Visit to J.M. Smuckers

Smuckers

Those of you who follow me on Instagram got a glimpse of my trip to the J.M. Smuckers headquarters in Orrville, Ohio a few weeks ago.  It’s was a great trip and I learned lots about the company and the product and met some fun new blogging friends!

photo(4)

I flew into Cleveland Ohio and enjoyed a beautiful ride out into  Amish Country to Orrville, the birthplace and home of J.M. Smuckers.

We had a fun gathering and opportunity to meet the other bloggers that evening and enjoyed some yummy foods made with Smucker products.

Loved meeting so many fun new bloggers.  Here I am with some of my favorites and Mr. Tim Smuckers! Heather from Whipperberry, Sarah from A Thrifty Mom and Kristen from Six Sisters Stuff

photo-1

Our day started bright and early the next day as we headed to the company headquarters.

The first session we attended was Coffee 101.  Although I am  not a coffee drinker it was fascinating to learn the process that is gone through in developing a quality coffee product.  Smuckers also owns Folgers and Dunkin’ Donuts coffee.

Their coffee experts demonstrated the taste testing process they go through – it is really an art!
4L6A6861
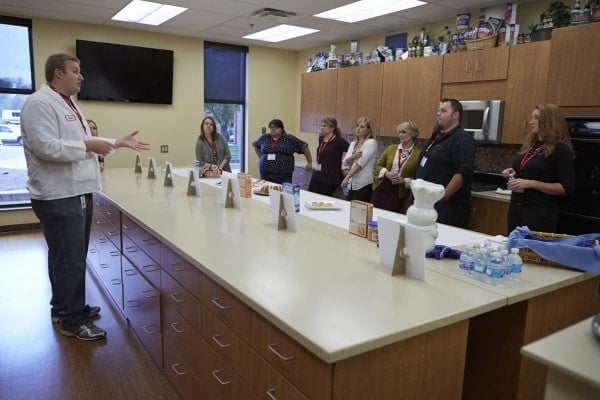
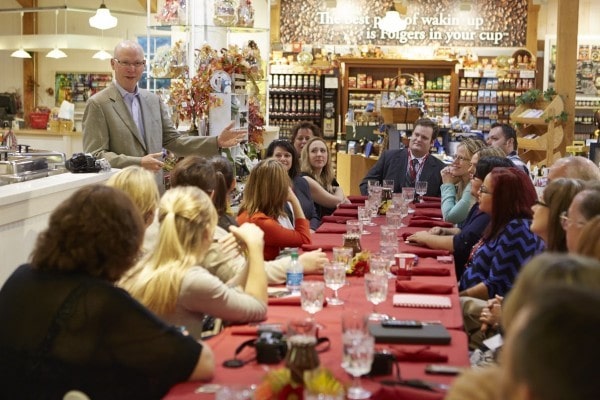
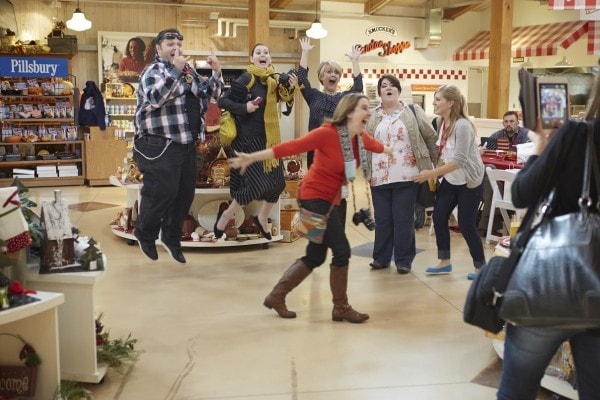
At the end of the presentation they presented each of us with a sealed envelope that contained the name of the type of coffee they felt best fit our coffee drinking profile (we had filled out a survey before the trip)  Mine said Hot Chocolate!!
4L6A7034

We then headed over to the Culinary College for a little cooking fun and learning about Make Ahead Meals for the Holidays!

My favorite trick they shared with us was the Slow Cooker Caramelized Onions I shared earlier this week.  Brillant!  They also put us to work and we got to make part of our lunch.  I was lucky enough to get to work with Kristen from Six Sister’s blog.  As you can see she is a total doll and we had so much fun together!
4L6A7392
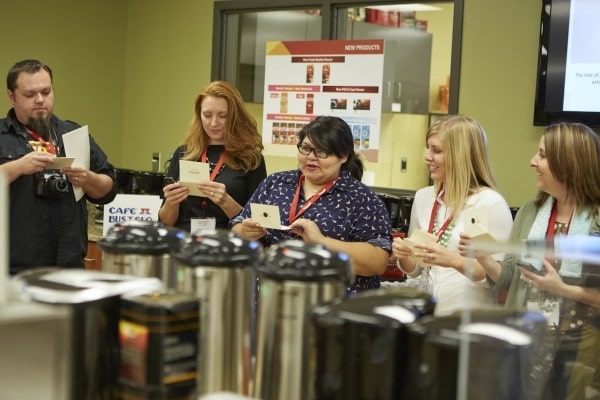
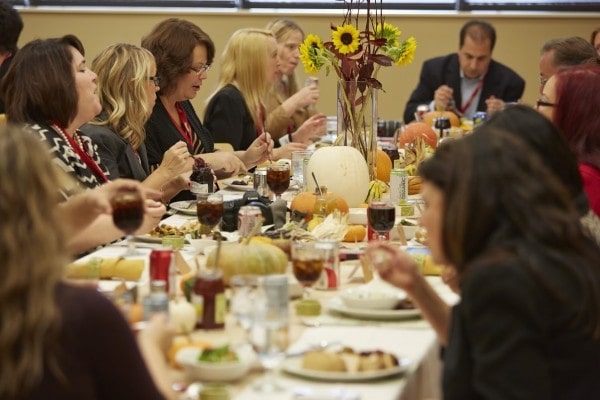
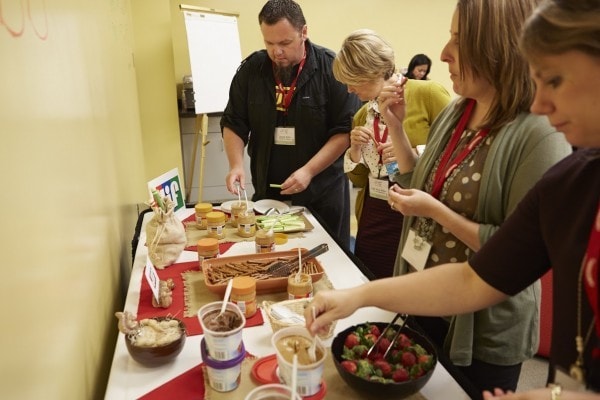
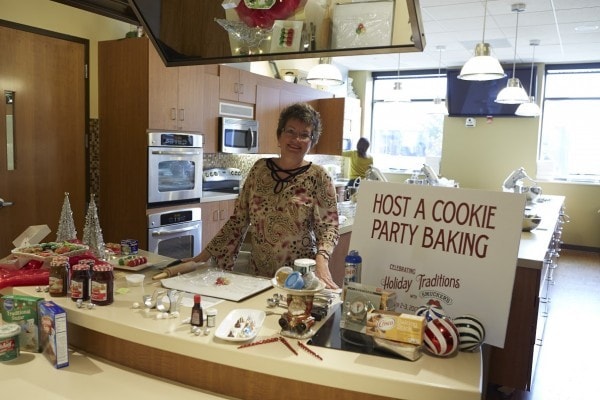
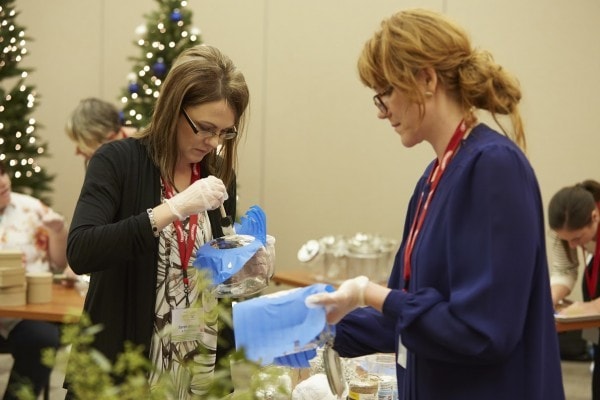
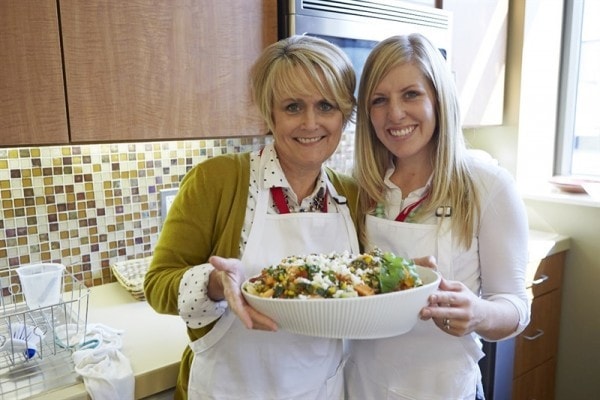
From there we enjoyed a yummy lunch.  Smucker’s fed us very well and between all the taste testing we did and the meals it seemed like we were eating all the time!  One of the meals we enjoyed was a yummy Thanksgiving dinner!
The focus of the visit was Holiday Traditions and what is more traditional than a Thanksgiving dinner!
4L6A7531

4L6A7630

One thing I really enjoyed and appreciated was how many of the Smucker’s employees, executives and owners joined us for meals.  I loved getting to know them and learning more about the company and their jobs.

The afternoon of our first day we had a fun guest speaker.  They brought in Nancy  Hopkins, the senior deputy food editor for Better Homes & Gardens to talk to us.

4L6A7706

We talked about holiday food trends and she shared some of the upcoming magazine covers with us!

4L6A7926

We also enjoyed several tours of the different areas on the Smucker’s campus including their test kitchens and their innovation labs.  We even got to do some taste testing of new products.

4L6A80614L6A8151


We then went for a tour of the original Smucker family home.  The one that J.M. lived it!  It is right on the Smucker’s campus and has been beautifully preserved and used for special gatherings and meetings.  We had a fun group photo out in front.

4L6A8254

And of course we had to have the goofy photo too!
4L6A8277
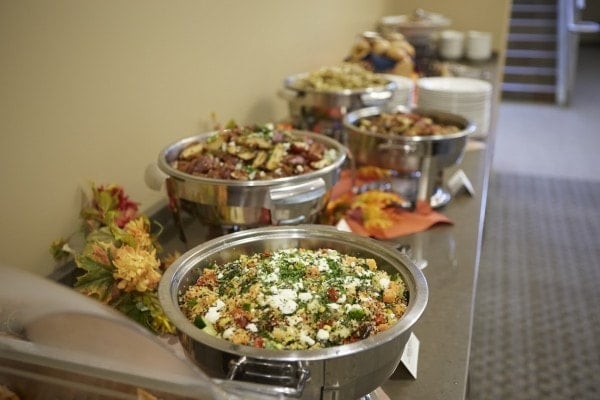
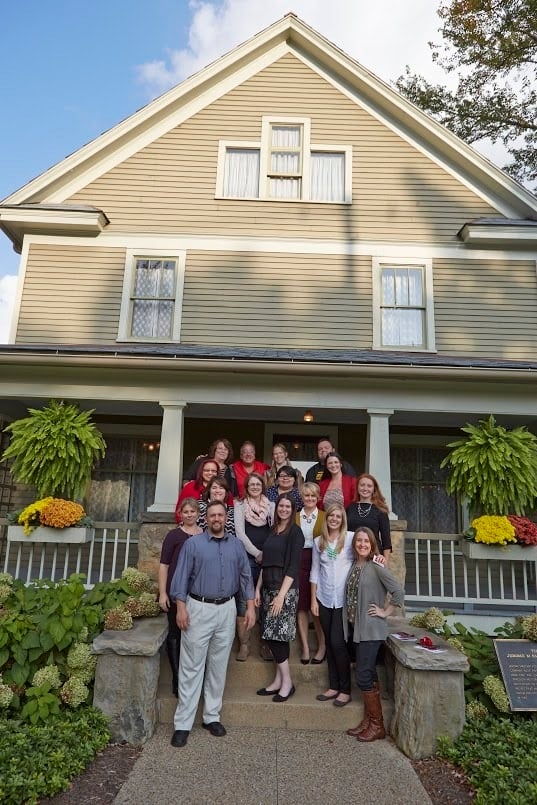
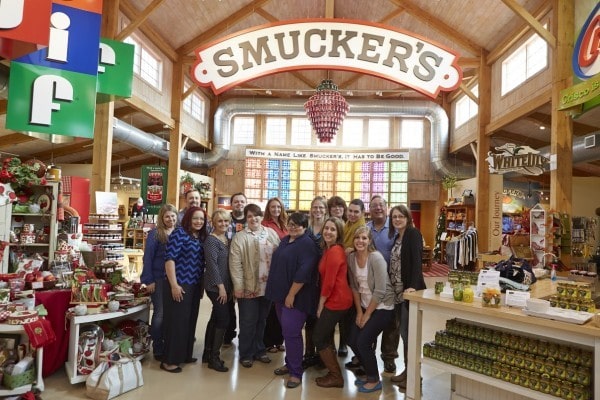
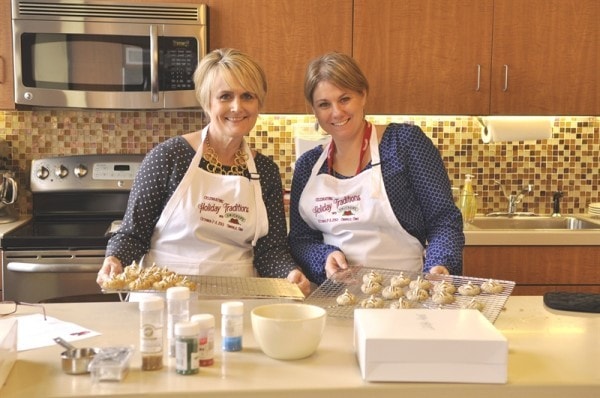
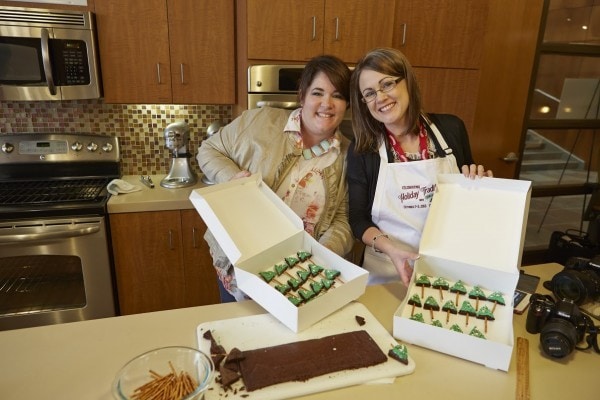
We enjoyed a yummy hors d’oeuvre party that evening and then headed to bed!
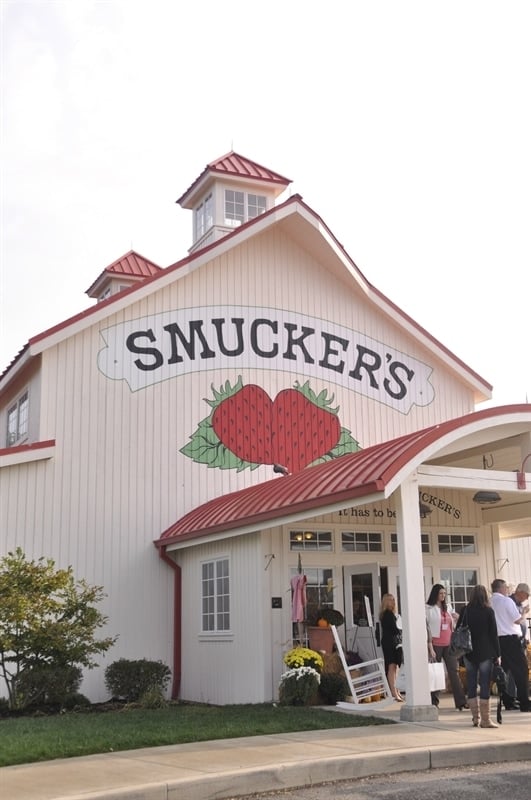
We started early the next morning at 6:45 a.m. for breakfast at the J.M. Smucker Company store & cafe.  I loved this!  I think the one thing that surprised me the most about Smuckers was how many brands are part of the company – it’s just not jam!  At the company store we were able to get a really great overview and feel for all the different brands.

_DSC0628


So many brands you know so well – Jif Peanut Butter,Pillsbury, Crisco, Hungry Jack, Folgers, Dickinson’s to name a few.

We enjoyed a yummy breakfast with lots of delicious Smucker’s jams and syrups and of course Hungry Jack pancakes and waffles.  We also had a special visitor – Mr. Smuckers himself joined us for breakfast and to share with us a little of the company history and culture.

4L6A8575

Smucker’s has a wonderful culture that is based on always putting their consumer first and meeting their needs.  It is has been the philosophy of the company from the very beginning and it has definitely worked well for them.

I took this photo while we were touring the Smuckers home – it is from a letter that J.M. Smuckers wrote to one of his grandsons in regards to his philosophy for doing business: People are always first!

photo(5)

After breakfast we were treated to a shopping spree in the Smucker’s store – so fun!!
4L6A8966

And of course a few more photo opps!  Bloggers love their photos.

4L6A9200

And of course a jumping photo and a photo bomber!
4L6A9185

I think the afternoon of our second day there may have been my favorite.  We had a fun session on hosting a cookie party.

We got to get back in the kitchen and do a little baking and then we did a little crafting!

4L6A9216

We teamed up again and I got to meet and work with Tiffany from My Litter. 

_DSC0656

As I have mentioned already – one of the highlights of the trip was meeting so many new blogger friends.  Here are two more of my new friends with their yummy creations.  Heather from  Whipperberry and Sarah from A Thrifty Mom.

Love these girls!

4L6A9506

We then got to do a little crafting and create our own fun container for our cookies.  We did some glass etching which I had never done before!

4L6A9797

4L6A9748
Here’s the fun cookie jar I created!

photo(22)

We then had a fun session with a professional food photographer and a food stylist.  Learned lots of valuable tips and ideas for improving our food photography.

_DSC0668Heather and I worked together on some food styling.

_DSC0679

I couldn’t leave without a photo with the cute Pillsbury Dough Boy!

photo(44)

We then headed back to the airport!  What a fun, jam packed couple of days we enjoyed thanks to J.M. Smuckers.  Thanks Smuckers for a wonderful trip!

Photo Credit: Nicholas Wojciak.


Read Full Post »

Slow Cooker Cuban Beef

Slow Cooker Cuban Beef makes a delicious street taco!

Slow Cooker Cuban Shredded Beef Tacos

***If you love EASY and DELICIOUS meals that you can make for your family in your slow cooker, please join me over on Instgram where I share ALL slow cooker recipes!  Hope to see you there!  Find me on Instagram at @slowcookerrecipelove ***

Me and my slow cooker or should that be my slow cooker and I have a thing going!  I’m in love.

As I’ve mentioned before I was late to embrace the slow cooker but now that I have that baby has taken up permanent residency on my counter.  I’m cooking in it at least once or twice a week.

We are big into food carts here in the Portland area and one of our favorite things to get at a food cart is a “street” taco.  Today’s recipe makes great “street” tacos!  It can also be used for lots of other yummy things and eaten just as it is too.

Slow Cooker Cuban Shredded Beef Tacos

Love me a recipe that will transform into all kinds of yummy things.

You can cook up a big pot full of this Cuban Beef, shred it up and then freeze it too and have a nice little supply of meals when you need them.

Slow Cooker Cuban Shredded Beef Tacos

This recipe has great flavor thanks to the cumin, orange juice and lime juice and zest that is in it.  I used a beef chuck roast and 2 cups of water let it cook for about 6-7 hours on low in my slow cooker.  The original recipe which I found over at Cook’s Illustrated uses a stovetop method but I’ve got that thing going with my slow cooker.

After the meat was tender and falling apart I shredded it.  One of the things I love most about this recipe is the crisp exterior that forms when you cook it in a pan with some garlic after shredding it.  You get a crispy exterior but moist interior.

Slow Cooker Cuban Shredded Beef Tacos

After frying it with the garlic add in the juice mixture and some onion.

When we make our street tacos I like to use the smaller corn tortillas you can find in most grocery stores.  They are about 4 inches in diameter or so.  Street tacos always use double tortillas.

Slow Cooker Cuban Shredded Beef Tacos

We topped our tacos with some fresh pico de gallo and avocado.  A little cilantro is always nice too.

Slow Cooker Cuban Shredded Beef Tacos

Slow Cooker Cuban Beef

Tender and flavorful shredded cuban beef made in your crockpot.CourseMain Course, Main DishCuisinecubanKeywordslow cooker cuban beefPrep Time15 minutesCook Time6 hoursTotal Time6 hours 15 minutesServings8 servingsCalories228kcalAuthorLeigh Anne Wilkes

Ingredients

  • 2 lbs. boneless chuck roast
  • 2 C water
  • salt and pepper
  • 4 cloves garlic minced
  • 3 tsp canola oil divided
  • 1/4 tsp ground cumin
  • 2 Tbsp fresh orange juice
  • 1 1/2 tsp grated lime zest
  • 1 Tbsp fresh lime juice
  • 1 onion sliced thin
  • 1/4 tsp salt
  • 1/2 C water

Instructions

  • Place roast, 2 C water and salt and pepper into slow cooker and cook on low for 6-7 hours or until meat falls apart and shred easily.
  • Shred beef.
  • Combine garlic, oil and cumin in bowl.
  • Combine juice and zest in another bowl.
  • Heat 1 tsp oil in skillet on high.
  • Add onion and 1/4 tsp salt and cook until onions are golden brown.
  • Add in 1/2 C water over onions and cook until liquid evaporates.
  • Remove onions from pan.
  • Add in 1 1/2 tsp oil into pan and heat
  • Add beef and cook until edges are crisp, about 2-4 minutes
  • Reduce heat and move meat to edges of pan and add in garlic mixture in the center, stir and cook until fragrant and golden brown, about a minute or so.
  • Remove from heat and add in juice mixture and onion.
  • Stir to combine.
  • Season with salt and pepper to taste.

Read Full Post »

Add a Halloween S’mores Roast and a Spooky Soda Bar to your  next Halloween party!

Halloween S'mores Roast - the perfect Halloween Party activity

Every year I host a Halloweenie Roast for my neighborhood kids.  There is always a fire to roast the hot dogs so this year I am going to add a Halloween S’mores Roast to the party!  Kids love making s’mores and it’s the perfect activity for a Halloween party.

Halloween S'mores Roast

I thought a Halloween S’mores Roast was the perfect way to put a fun twist on the traditional s’mores. I invited some of my cute little friends over to help me test out the idea!

Count Dracula Costume

Three witches and a Count!

Halloween S'mores Roast

Instead of the traditional graham cracker s’more I used some of my favorite cookies.  I used chocolate chip, peanut butter sandwich cookie and a Ritz Cracker.   I first tried using Ritz Crackers in a s’more this summer and there is no going back.  It is definitely my favorite way to make a s’more!!

Halloween S'mores Roast

A Halloween S’more Roast is so easy – all you need is chocolate, cookies and marshmallows!

Halloween S'mores Roast

I love our retractable marshmallow roasting sticks.

Halloween S'mores Roast

Of course you need a fire too!

Halloween S'mores Roast

Golden brown marshmallows are preferred but a charred one will do too!

Halloween S'mores Roast

The kids had a fun time choosing their cookie and their chocolate combination.  The peanut butter sandwich cookie with some chocolate is pretty amazing!

Halloween S'mores Roast

But like I said, that Ritz Cracker with some chocolate is my favorite!!  So many possibilities though.  When you use the chocolate chip cookie you don’t even need to add chocolate because your chocolate is in the cookie!

Halloween S'mores Roast

Because I didn’t think the kids had had enough sugar we also had a fun Make Your Own Spooky Soda Bar using your favorite fruit flavored sodas!

Spooky Sodas are sure to be a big hit!

This Spooky Soda Bar was a fun mix and match activity for the kids.   I dressed up the soda glasses a bit by dipping the rim into honey and then into sprinkles.

Spooky Ice Cream Sodas

The party guests got to choose between orange sherbet, lime sherbet and vanilla ice cream.

Spooky Ice Cream Sodas

Then they got to choose which  soda they wanted to use – orange, grape, strawberry or pineapple.  Strawberry soda and orange sherbet was yummy.

Spooky Ice Cream Sodas

One of the favorites was lime sherbet and pineapple.

Spooky Ice Cream Sodas

There really wasn’t a combination they didn’t love!

Spooky Ice Cream Sodas

To top it off we added whipped cream and a set of googly eyes to make it extra spooky!

Spooky Ice Cream Sodas

Making your own Spooky Soda was lots of fun but the best of course was getting to eat them!

Spooky Ice Cream Sodas

Even the Count thought they were pretty good!

Spooky Ice Cream Sodas

Read Full Post »

Coconut Lime Quinoa Rice Salad

We are big rice eaters here at our house. Because I don’t eat potatoes, or very few, we eat a lot of rice. I am always looking for fun new ways to dress it up. We are also big fans of quinoa. When RiceSelect™ sent some of their new Royal Blend® rice blends I couldn’t wait to check them out. One of the blends is combined with quinoa so I decided that was the one. I think a lot of people are still a little scared of quinoa . They aren’t really sure what it is, how to cook it and they think it looks strange.

Coconut Lime Quinoa Rice Salad

Well, if you are trying to introduce quinoa into your family’s diet the Royal Blend® with Quinoa is the way to do it. This blend combines Texmati light Brown rice, red quinoa and Freekah which is another ancient grain. The quinoa has a slightly nutty flavor and the freekeh has a subtle smoky flavor so it all combines for an amazing taste.

Coconut Lime Quinoa Rice Salad

The combination of the three gives you not only an amazing flavor but great texture and color too. The most common question I get about quinoa is how do you cook it? That’s easy – just like rice. Whether the quinoa is by itself or in a blend with rice you can cook it on the stove top or in your rice cooker just like you do rice. I put the RiceSelect Royal Blend with Red Quinoa into my rice cooker – one cup rice blend, two cups liquid. Just fluff it with a fork when it’s done.

Coconut Lime Quinoa Rice Salad

I decided to turn the rice blend into a salad. Instead of cooking the rice/quinoa in water I used coconut milk. I like the Lite Coconut Milk for this. Same amount as I would water – 2 cups liquid to 1 cup rice blend. I decided go for lots of flavor and lots of color!

Coconut Lime Quinoa Rice Salad

Coconut and lime seem to be a popular flavor combination lately so in addition to the coconut milk I used the juice from one fresh lime as well as some shredded carrots, red onion, green onion, basil and chopped pistachios. Can I just tell you this salad tastes as yummy as it looks! I love the little bits of red quinoa in with the rice as well as the yellowish freekah. The carrot, onion and pistachios gives it just the right amount of crunch and color. This salad can be served cold, warm or I like it best at room temperature.

Coconut Lime Quinoa Rice Salad

AuthorLeigh Anne Wilkes

Ingredients

  • 2 C light coconut milk
  • 1 C Royal Blend with Quinoa
  • 1/2 C red onion chopped
  • 1 C carrot grated or julienned
  • 3 green onions chopped
  • 1/2 C pistachios shelled and chopped
  • 3 Tbsp fresh basil chopped
  • juice of 1 lime
  • 1/2 tsp salt

Instructions

  • Cook rice blend in coconut milk.
  • Add in onion, carrot, green onion pistachios, basil, salt and lime juice
  • Can be served warm, cold or at room temperature

Read Full Post »

Cast a spell over your guests with this fabulous Witch’s Cauldron Halloween Sundae.

For more fun Halloween ideas try these Candy Corn Floats, Candy Corn Quesadilla and Candy Corn Cupcakes.

Chocolate Witch's Cauldron filled with ice cream

I love Halloween.  I think I actually enjoy it more now than I did when my children were younger.  It seemed like when they were younger all the time and energy I had to devote to Halloween went towards making and putting together Halloween costumes for my children.  Yes, I was one of those mother’s that always made their children’s costumes.  No store bought costumes here.  I was usually the room mom so all my party planning energy went towards that.

chocolate cauldron with ice cream

But now I put my Halloween party planning energy towards our annual Halloweenie Roast.  I love hosting this yearly event for all my neighbors.  It is always an opportunity to try out some new fun, spooky Halloween treat and this year we may just be enjoying some Witch’s Cauldron Halloween Sundae.

These little chocolate cauldrons are so fun to make!  You will need some small balloons and melting chocolate.

witches sundae

How to Make Chocolate Bowls

Wash your balloons before you start and then blow them to the size you want your cauldrons to be.  Melt your chocolate and then dip the balloon into the chocolate.  The first time I did it I didn’t dip the balloon in far enough.  You want the chocolate to come up more than half way to make a nice cauldron shape.  Place on a wax paper lined cookie sheet and allow to set up.  You can place them in the refrigerator.

balloons being dipped in melted chocolate

After they are set up, melt some green melting chocolate and use a clean brush to apply the chocolate to the edges of the cauldron.  Be sure your chocolate is not too hot as it will melt the edges of the cauldron. A little melting is o.k.

painting chocolate bowls with melted green candy melts

Allow that to set up again in the refrigerator.  When you are ready to party just fill them with your favorite green ice cream.  I used mint chocolate chip but lime sherbet would work too.  I bought some chocolate rocks at the bulk food section of my grocery store to place around the cauldron and then a sprinkle of orange decorating sugar on top.  How cute is that!

Halloween Sunday served in an edible chocolate witch's cauldron

It’s almost too cute to eat but you’ll have a lot of fun eating!

overhead shot of chocolate cauldron

Witch’s Cauldron Halloween Sundae

Fun and delicious witch’s cauldron Halloween sundaes made with edible chocolate bowls.CourseDessertCuisineAmericanKeywordHalloween, Halloween sundae, ice creamPrep Time30 minutesTotal Time30 minutesServings6 sundesCalories166kcalAuthorLeigh Anne Wilkes

Ingredients

  • 12 ounces of chocolate candy coating for melting
  • 6 small balloons
  • 4 ounces of green candy coating
  • green ice cream
  • orange decorating sugar
  • candy rocks

Instructions

  • Melt chocolate according to directions on package.
  • Inflate balloons to about 4 inch diameter.
  • Dip the balloons into the chocolate a little more than halfway up the balloon.
  • Dip several times to make sure the whole area is covered well.
  • Place on a cookie sheet covered with wax paper.
  • Place in the refrigerator to harden
  • Melt green candy coating
  • Use a clean brush to apply to edges of cauldrons. Be sure chocolate is not too hot as it will melt the edges.
  • Refrigerate again to firm up chocolate.
  • Fill with ice cream.
  • Sprinkle with sugar
  • Place chocolate rocks around cauldron

Read Full Post »

Bony Halloween Breadsticks

These bony Halloween breadsticks are sure to be a huge hit at your Halloween party.  Kids and adults will love them.

We love Halloween at our house and have lots of favorite Halloween foods.  This Candy Corn Quesadilla is a favorite even with non candy corn lovers.  A Mummy Brie is always a hit with adults and kids.  And Halloween Seven Layer Dip is a family favorite.

plate of Halloween breadsticks

Each year for Halloween we host a Halloweenie Roast for our neighbors. The tradition has continued even though our own children don’t live at home anymore.  There is always a hot dog roast and lots of other yummy and spooky food.  The majority of my neighborhood kids right now are boys so they love the spooky stuff and these Bony Halloween Breadsticks are always a hit.

breadsticks on a plate

They are quick and easy to make with store bought pizza dough, marinara sauce and Parmesan cheese.

How to Make Bony Halloween Breadsticks

  • Roll out the breadsticks out as long and thin as you can get them.
  • Brush them with marinara sauce and put them on a greased cookie sheet.

You can make your pizza dough from scratch using this recipe.

And this pizza sauce recipe would be perfect for dipping if you prefer homemade.

breadstick dough on cookie sheet

  • Sprinkle with Parmesan cheese and some Italian seasoning and garlic powder.
  • Bake at 350 degrees F for 10 minutes.

Of course, they will look spookier if you serve a skeleton head on the side!

closeup of bony breadsticks

Bony Halloween Breadsticks

These bony Halloween breadsticks are sure to be a huge hit at your Halloween party this year kids and adults will love them
CourseAppetizer
CuisineAmerican
KeywordHalloween breadsticks
Prep Time15 minutes
Cook Time10 minutes
Total Time25 minutes
Servings12
Calories119kcal
AuthorLeigh Anne Wilkes

Ingredients

  • 1 lb. pizza dough
  • 2 cups marinara sauce
  • 1/2 cup Parmesan cheese grated

Instructions

  • Roll out pieces of pizza dough into long “bones”
  • Brush with marinara sauce and place on a greased cookie sheet
  • Sprinkle with Parmesan Cheese
  • Bake at 350 degrees F for 10 minutes or until cooked through and lightly golden brown.

Read Full Post »