Feeds:
Posts
Comments

Archive for November, 2012

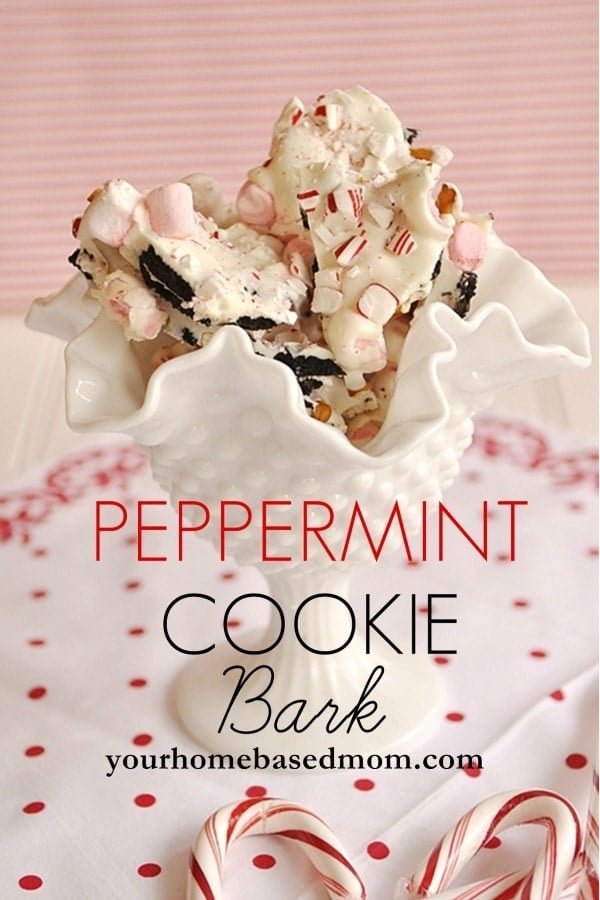
Peppermint Cookie Bark

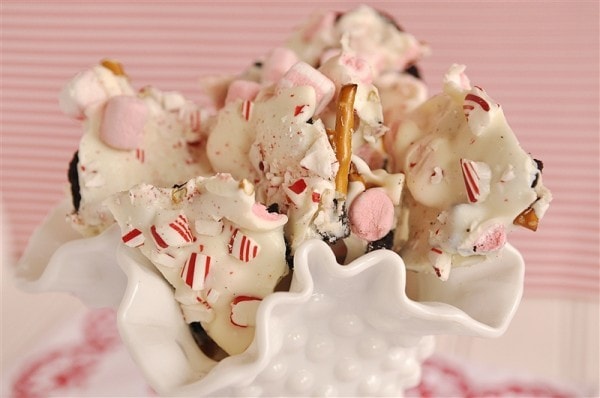
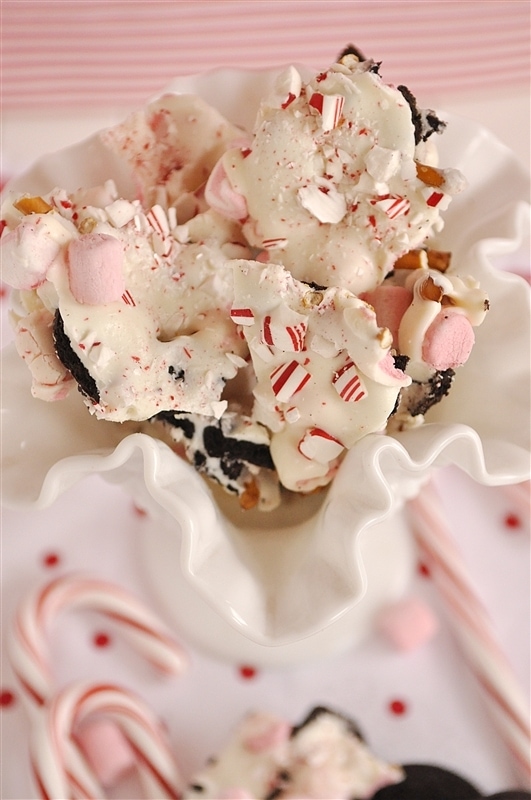
This Peppermint Cookie Bark is so fun to make and the perfect thing to add to your holiday cookie plate.

holiday treats

So the love affair with peppermint continues….

I just can’t seem to get enough of it! I have also had a love affair with cookie bark over the years if you look through my blog archives! I think I have a version for every holiday and season of the year.

Two years ago I shared my Christmas version- Reindeer Corn Cookie Bark.

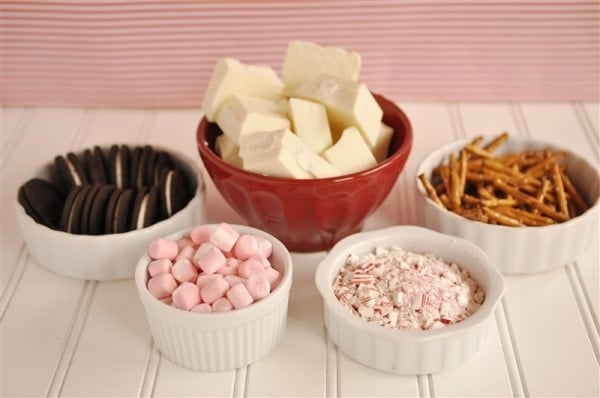
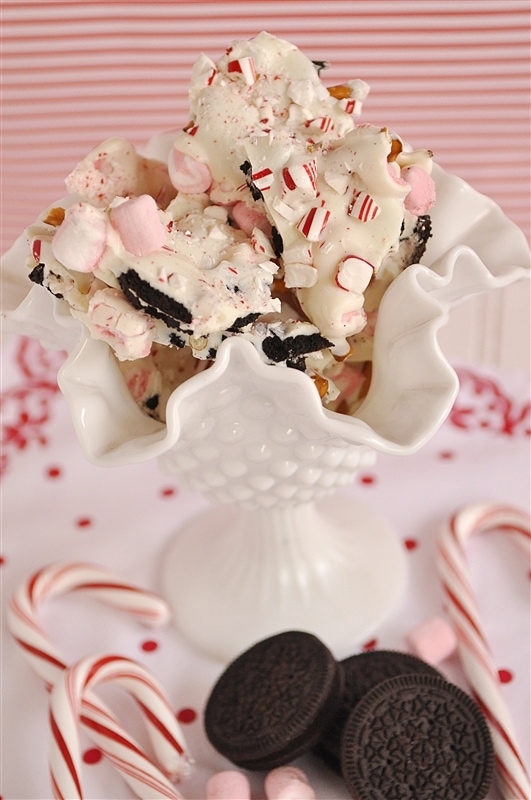
I used one of my favorite holiday cookies – Peppermint Jo Jo’s from Trader Joes. Now if you aren’t lucky enough to have a Trader Joes near you you can use regular Oreos or the holiday Oreos that have red filling in them. I also hear there are Candy Cane Oreos out but I can’t find them! Those would be perfect. But you need some type of cream filled cookie.

holiday treats

I also like to add in pretzels. Cookie Bark is very sweet so I love the little bit of salt that the pretzels add in to break up all the sweet just a bit.

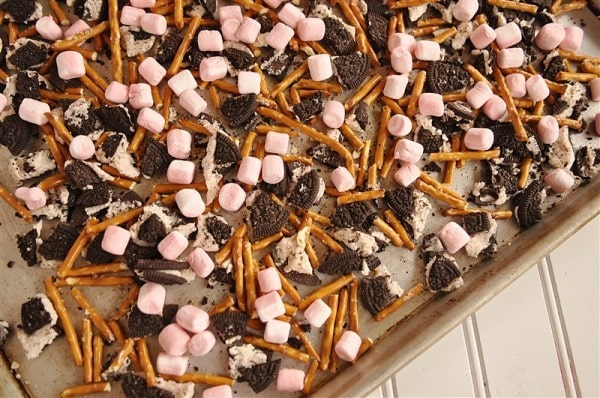
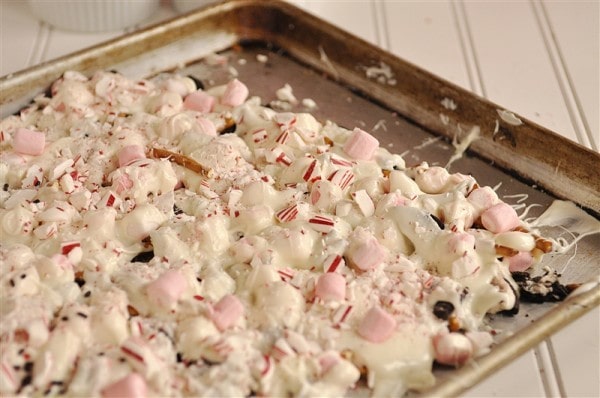
I just break everything up and put it on a cookie sheet.

My other peppermint find of the season was a bag of peppermint marshmallows so I added those in too!!

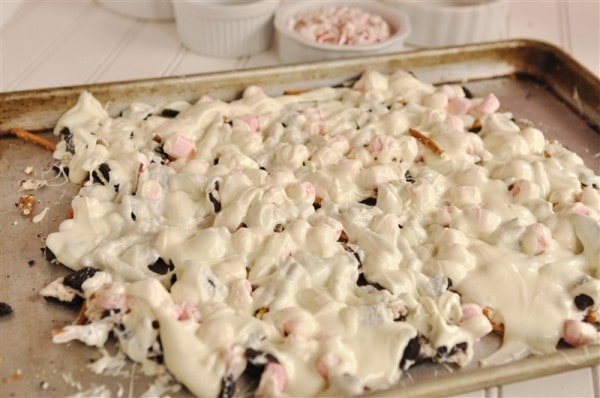
The cookie bark is covered with almond bark and then sprinkled with more peppermint goodness – crushed up candy cane.

holiday treats

The next step is to let it harden up.  If you are in a hurry, like I usually am, pop it in the refrigerator and it will set up quickly.  Once it is set up you can break it into pieces and eat!

A bag of cookie bark is one of my favorite things to give as a holiday treat to friends and neighbors.  They don’t seem to mind either.

All wrapped in in a little cellophane bag with a pretty bow and you are good to go!

The perfect holiday treat, peppermint cookie bark is a combination of cream filled cookies, peppermint candy, and white chocolate.CourseCandyCuisineAmericanKeywordpeppermint cookie barkPrep Time30 minutesCook Time0 minutesChill30 minutesTotal Time1 hourServings20 servingsCalories167kcalAuthorLeigh Anne Wilkes

Ingredients

  • 14 whole cream filled cookies broken up. I used the peppermint Jo Jo’s from Trader Joes.
  • 1 1/2 C pretzels broken into pieces. I used the small stick pretzels
  • 1 lb. white chocolate almond bark or melts found in the bulk food section
  • 1 C peppermint marshmallows
  • 1/2 C crushed candy cane

Instructions

  • Cover a large cookie sheet with wax paper.
  • Spread broken cookies, pretzels and marshmallows onto the waxed paper.
  • Place Almond bark in a microwavable container and cook for 1 1/2 minutes. Stir and then microwave for another 30 seconds until melted and smooth. White chocolate melts faster and burns easier than chocolate.
  • Drizzle the melted chocolate over the cookie mixture, spreading with spatula if needed to coat evenly.
  • Sprinkle crushed candy cane while it is still wet. Do not let it harden.
  • Place cookie tray into refrigerator until set and firm. Remove and gently break bark into small pieces.
  • Store in air tight container.
Read Full Post »

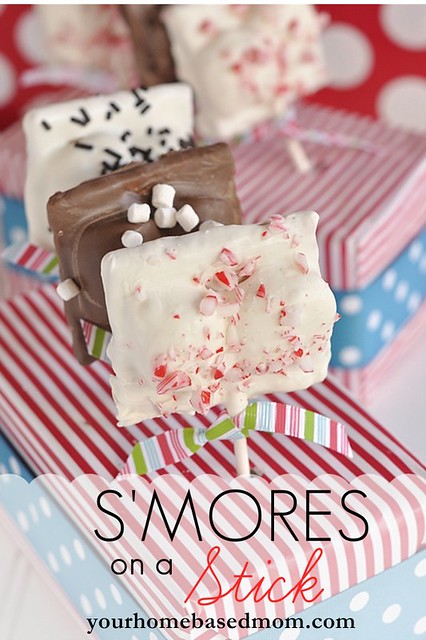
S’mores on a Stick

s'mores on a stick

This time of year I am always on the lookout for a fun new food gift idea for the holidays.  If you are like we are there are lots of people on your holiday list that you’d like to give just a little token of holiday cheer to without spending a lot of money.

S'mores on a stick ingredients

Last week I was standing in line at the local craft store and was checking out all the fun little treats they like to tempt you with while you wait in line when I saw a S’more on a Stick.  I instantly fell in love and decided I could make my own version at home.  And so I did!  And you can to!!

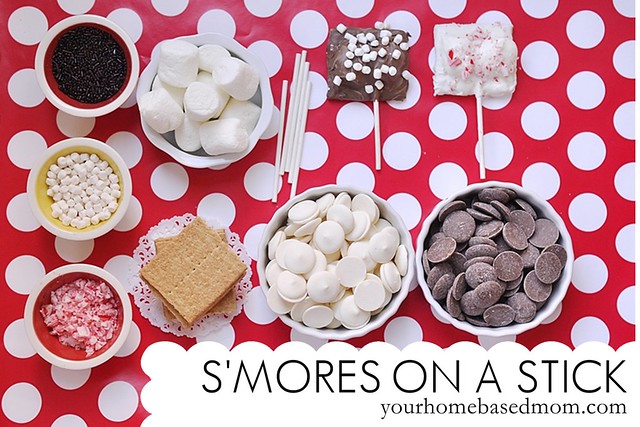
Of course you will need some graham crackers, marshmallows and chocolate. I also threw in some crushed up candy cane, chocolate jimmies and minature marshmallows for fun!

s'mores on a stick
s'mores on a stick
s'mores on a stick
s'mores on a stick
s'mores on a stick

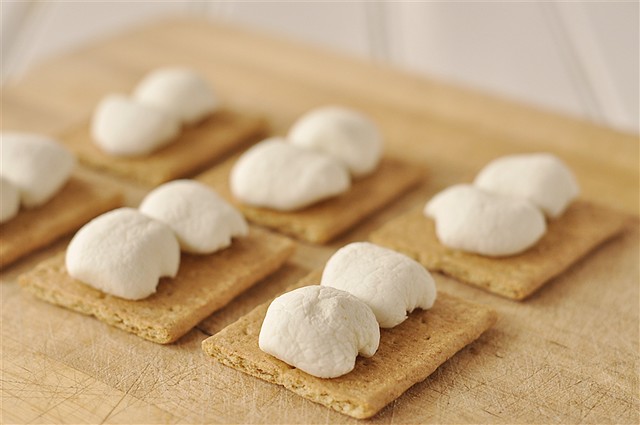
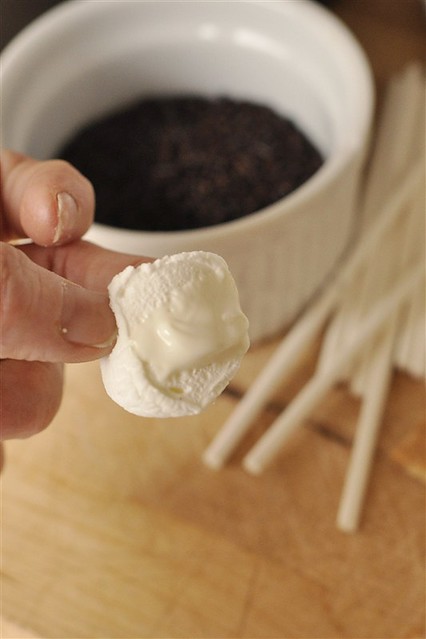
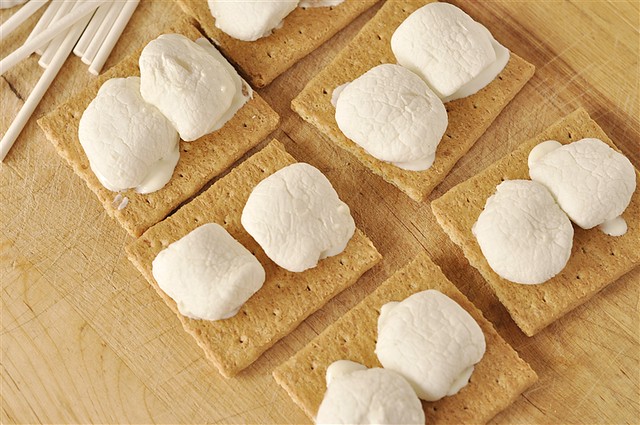
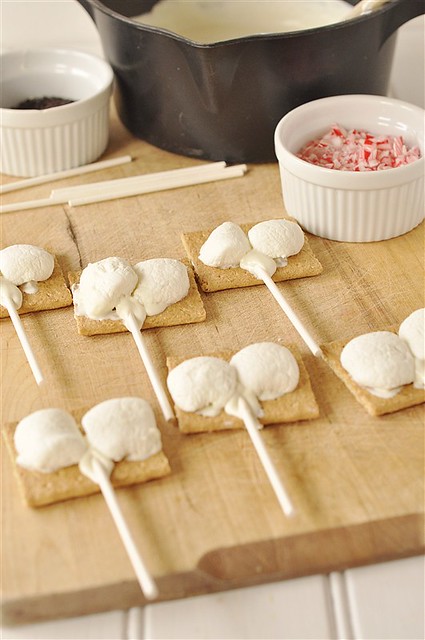
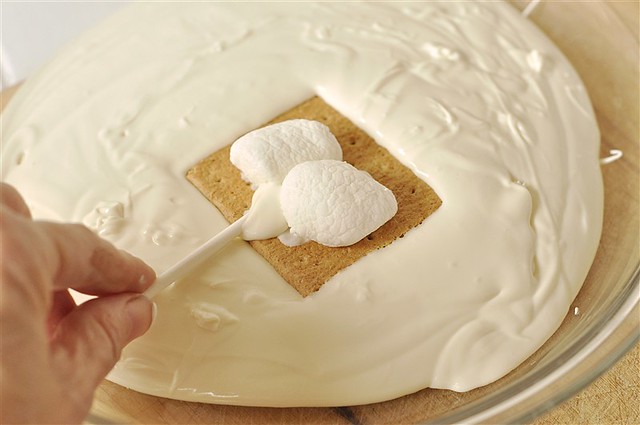
Break your graham crackers into squares and cut your large marshmallows in half. I like to use the Wilton Melts because they melt easily and smoothly in the microwave. I used both white and milk chocolate. After your chocolate is melted you need to glue your marshmallows down to the graham cracker by dipping the marshmallow into the chocolate. It’s your glue! Glue down both halves of the marshmallow. So you may notice that my marshmallows are a little wrinkly. My bag of marshmallows was a little old. Buy a fresh bag of marshmallows!! Next you need to glue in your stick. Dip the end of the stick into the chocolate and then insert between the two marshmallows and allow to harden. I poured my melted chocolate into a pie plate so that I had plenty of flat surface to dip into. You want a wide, shallow container. After your glue job has set you are ready to dip the graham cracker into the chocolate. I dip the back side in first. Turn it over and dip the front in. You may need to use a spoon to fill in the chocolate a bit if it doesn’t cover totally. Tap it gently to remove excess chocolate. Before the chocolate sets up sprinkle with your topping of choice. Maybe some candy cane.

Or chocolate jimmies! Lay them onto wax paper to set up and harden. If you are in a hurry you can put them in the refrigerator and they will harden faster. I added a little ribbon to the stick to dress them up a bit.

Add a little plastic bag (available in the cake decorating section of the craft store) over your S’more on a Stick, tie with a piece of ribbon and you are ready for gift giving season! Enjoy finding the pretty and delicious in your day!

S’mores on a Stick

Ingredients

  • Graham Crackers 1 square per s’more
  • Large Marshmallows 1 per s’more
  • Chocolate and White Chocolate Melts
  • Crushed candy cane mini marshmallows and or jimmies
  • Lollipop Sticks

Instructions

  • Break graham crackers into squares and cut marshmallows in half.
  • Melt chocolate in microwave.
  • Dip marshmallow half into chocolate and “glue” both halves to the graham cracker square.
  • Dip end of stick into melted chocolate and insert between the marshmallow halves and allow chocolate to harden.
  • Dip back side of s’more into melted chocolate and then the front side. Tap off excess chocolate.
  • Sprinkle with topping of choice
  • Set on wax paper to dry and harden.

Enjoy finding the pretty and delicious in your day!

Leigh Anne

You can also visit me on Facebook, Pinterest, Twitter or Instagram.

Read Full Post »

Thanksgiving Decor

I spent the weekend getting my house ready for Thanksgiving and wanted to share a few photos. 

Thanksgiving Decor

The newest addition to my family room mantel decor is this fun “mock” chalkboard piece I created on my Silhouette Cameo.

I loved the quote and it incorporates two of my favorite words – thankful and happy!
Thanksgiving Decor
The wooden piece hanging next to it on the wall is an old floor grate or something I picked up at Goodwill. The other decor are items I have picked up over the past few years at Home Goods.

This side table is also in my family room.
Thanksgiving Decor
The framed print is one I found last year here. I had it printed at Costco and then framed it.
Just tear the covers off a few books for this quick and easy decor.
Thanksgiving Decor

 I am also in love with this cute little pumpkin my friend Dawn made for me.  It looks perfect sitting on an old vintage book from my mother in law.

Thanksgiving Decor
The front entryway is still a work in progress. The large quote is from the Wedding Carnival and I am thinking of making something the same size with a Thanksgiving/Gratitude quote on it – what do you think?
Thanksgiving Decor

Read Full Post »

PicMonkey Collage1

Being the mother of two girls there are always a lot of girlfriends on the Christmas gift giving list.  They love giving gifts to their friends but that can get expensive when you have as many friends as most teenage girls do!!  Each year we would look for a gift that was easy to make, inexpensive yet cute and fun.

Pom Pom Gifts
pom pom headbands
Pom Pom Gifts
Pom Pom Gifts

Even though my girls are now in college and they are in charge of their own gift giving I find myself looking for fun, inexpensive gift ideas.  Lately I have been having fun with pom poms creating some  cute Christmas decor.  I decided they would also make cute pom pom headbands and a bib necklace as well.  Pom Pom’s are easy to find (picked mine up at Michaels and Joannes) and they are inexpensive (Bag of 300 for about $6.00)  That goes a long ways.

You can even buy the pom poms that come on the roll and just cut them off.  You will also need some felt, hot glue, some head bands (hard or elastic) and for the necklace a necklace cord.  All of these things can be picked up at the craft store or drugstore for just a few dollars.

Pick out your felt color and pom poms and cut your felt into the approximate size felt you want.  It will end up being slightly smaller once you trip the excess away.

Next lay your pom poms onto the felt in the arrangement you’d like them.

And then hot glue them down.  You must use a well used glue gun like mine :)!!

Pom Pom Gifts
Pom Pom Gifts
Pom Pom Gifts
Pom Pom Gifts


Then trim away the excess felt around the edges, close to the pom poms.

The final step is to glue it onto the headband with some more hot glue.  Be sure and put the headband on first and position the pom pom piece where you like it.  Then remove from your head before you  hot glue it on!!

Pom Pom Gifts
Pom Pom Gifts
Pom Pom Gifts

Have fun with color combinations

For another version take an elastic headband and wrap it around a bowl or container. Then hot glue the pom poms onto the headband.

Be sure and clean off the hot glue threads.

If you aren’t into headbands but would prefer a bib style necklace that is easy to do too!

Just lay your pom poms out in the shape and size you’d like the bib to be.

Pom Pom Gifts
Pom Pom Gifts

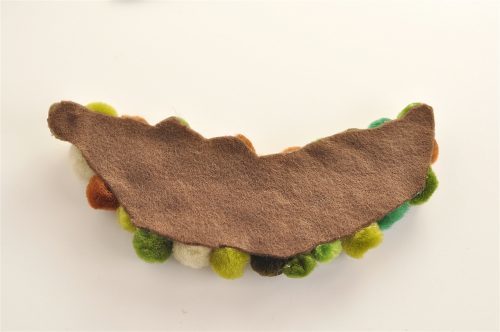
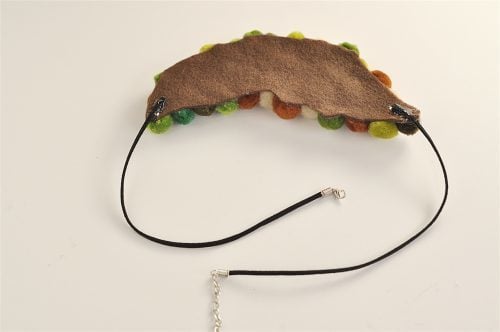
Hot glue them in place. And then trim around the bib. Depending on the length you want it, I cut the necklace cord in half and then glued each end to the end of the bib

Pom Pom Gifts

Read Full Post »