Feeds:
Posts
Comments

Archive for November, 2016

favorite-family-games-for-family-game-night

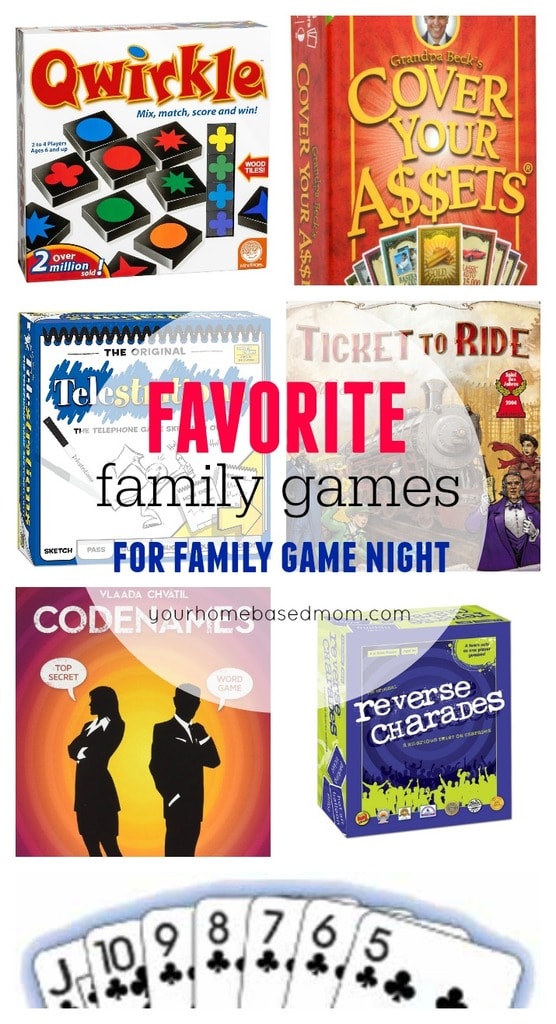
Sharing all the Wilkes Family Favorite Family Games – perfect for your next family game night.

This post contains affiliate links

We are game people.

Any time our immediate or extended family is together, there will always be games.  Fortunately, I married into a game playing family also.  We like card games and we like board games. We like playing together.

Today I’m sharing with you some of our all time favorite games.  I have a closet full of games, but these are the ones we play over and over again.  Many of these were played this past Thanksgiving weekend, over and over again!

Wilkes Family Favorite Family Games

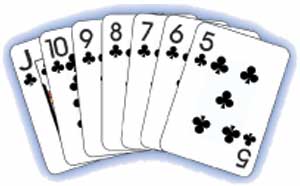
  1.  Samba – Our all time favorite card game to play is Samba or we also call it Canasta.  This game is played with three decks of face cards.  We had some fun samba tournaments this Thanksgiving weekend. Jim’s family loves this game and so does mine.  When you join the Wilkes or Best family, the first thing you have to do is learn how to play samba.
how-to-play-samba-1
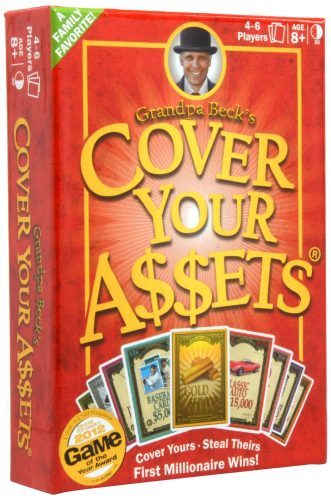
  1.  Cover Your Assets – we played this one numerous times this Thanksgiving Day weekend.  In this game you race to stack and protect your assets before other players can steal them.
Cover Your Assets
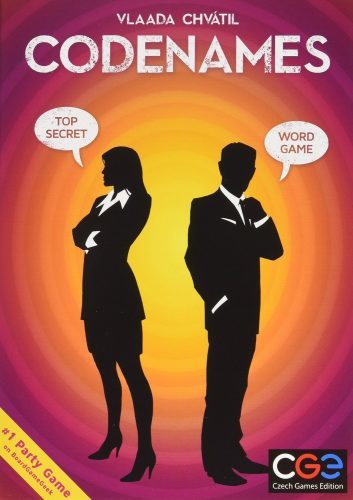
  1.  Code Names – my kids brought this game home with them this weekend and I loved it.   The goal is to discover your team’s secret agents by giving one word clues.
Code Names
  1. Telestrations – there are always a lot of laughs with this game.  It is the visual version of the old childhood favorite “telephone game.” You draw what you see, then guess what you saw to reveal hilarious outcomes!
Telestrations
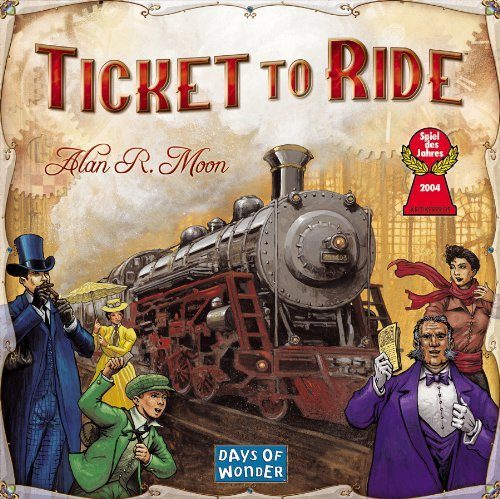
  1. Ticket to Ride – this has been a family favorite for years and always one of the first boards games to be played.  The goal is to complete your train routes and travel from one end of the country to the next.
Ticket to Ride
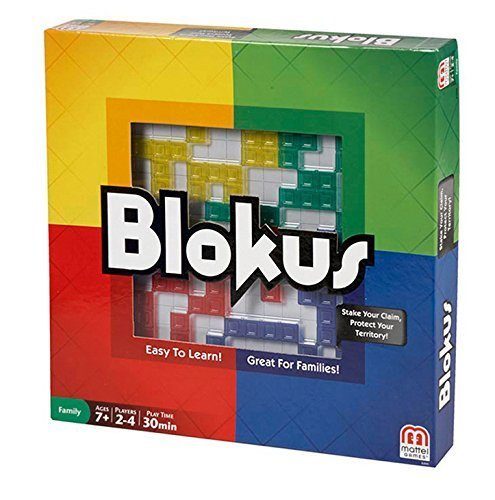
  1. Blockus – this is another one we’ve been playing for years and is for all the strategy lovers in your family (we have a few).   Players take turns placing their 21 pieces on the board, each piece played must touch another piece of the same color, but only at the corners.
Blockus
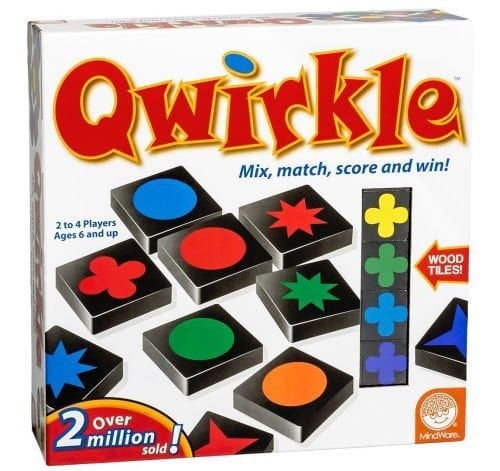
  1. Qwirkle –  this is a great game for all ages to play together.  Qwirkle is the perfect game to hone player’s tactical maneuvers, strategical planning, and forward thinking.
Qwirkle
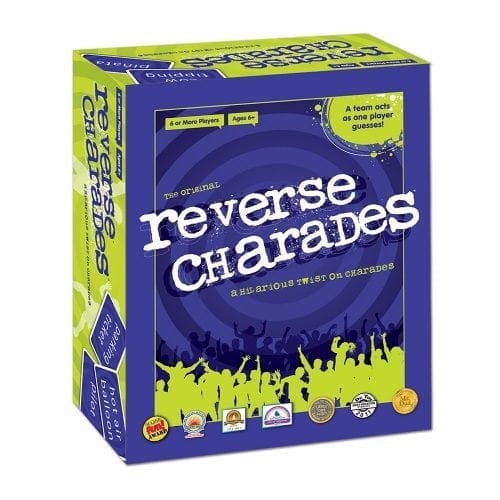
  1. Reverse Charades –  Instead of one person acting out a clue for a team to guess, a team acts out clues for one person, so now everyone is in on the fun!
Reverse Charades

I’d love to know what your family’s favorite games are!  Leave me a comment and let me know.

Read Full Post »

42 & Pine

It’s time I make a formal introduction.

I want you to meet 42 & Pine.

img_0044

If you follow me on Instagram, you know I have a love for funny and a little sassy quotes and sayings.  I also have a love for bags.  Bags of all shapes and sizes, but especially little bags.  So, along with my youngest daughter Tessa, we decided to turn these two favorite things into a one little product and a fun business for the two of us.   Thus, 42 & Pine was born,

img_0438

42 & Pine is a mother, daughter duo based on opposites sides of the country who make canvas pouches for your every need. And by every need we mean, to hold all those lipsticks you have floating at the bottom of your purse.

Our bags are hand-made and printed in Portland, OR, so that you can have a piece of this amazing city too.

img_0131

We often get asked where the name 42 & Pine came from.  It is actually the address of our very first home and the home that we brought Tessa home to when she was born!  It seemed the perfect name for our new business.  Our love for the Pacific NW runs deep.

We’d love for you to visit our new shop.  You can find us here at 42 & Pine and also on Etsy.  We currently have 11 different designs and look forward to adding more.  If you have a favorite saying you’d like to see on a bag let us know!

img_9960

In honor of Small Business Saturday we are having a sale!  All our bags are 20% off so hurry over to our shop and do a little shopping!!  Use the code THANKS20.

42 & Pine

You can also follow us on Instagram and Facebook.

img_0094Thanks to our amazing photographer Ellie Cox Photo for all the wonderful pictures.

Read Full Post »

Oreo Snowman

This Oreo Snowman is almost too cute to eat and it is such a fun holiday gift idea.  The neighbors are going to love it!

Today we are welcoming Toni from Design Dazzle to Bake Craft Sew.  This lady is one talented decorator!  Be sure and visit her page to check out all the pretty she’s got there.  I’m hoping she will come over and help me decorate my Christmas tree!  Welcome Toni

snowman

Easy Holiday Gift Idea

I love simple projects and activities that kids can be a part of, and even better, create together as a family! This Oreo snowman is a great way to involve the kids in making their own treats or gifts; and this is something that would make a sweet treat for a friend, teacher or neighbor gifts for the holidays! Whatever the occasion, whomever receives it will absolutely love it! And who doesn’t like Oreo’s?

Oreo Snowman Supplies

  • white fudge covered Oreos
  • candy corn or orange fondant
  • black edible ink marker
  • Twizzlers Twists, Rainbow – licorice
  • white Candy Melts (Wilton is a good brand)
  • white chocolate chips or coconut (optional)

How to Make An Oreo Snowman

  • Lay out your snowman and decide on how you wish to assemble it. You can give it three Oreos for the body (as shown) or, you use two if you’d like. Also, if you can’t find white fudge Oreos, you may dip your own Oreos in white melting chocolate or melting candy. Here is a link to detailed instructions as to how to properly melt and use melting candy.
  • To make the licorice scarf, tie the licorice into a knot and make it loose enough to fit comfortably around the snowman’s neck area (between the two Oreos). A rainbow Twizzler licorice was used, so there was a variety of colors to choose from. Red licorice works just as well, too.
  • “Glue” on the candy corn nose. This can be done by melting a couple of white chocolate candy melts, and applying a small portion to the candy corn. Place the candy corn on the Oreo and let it harden. If you can’t find candy corn, use orange fondant and make a triangle nose.
  • Draw on your snowman’s face with an edible ink marker. You can also draw on some coal buttons or “glue” with melted candy colorful candies in place of buttons.
  • Use melted white candy melts to “glue” the Oreos together. Put the melted candy where the Oreos connect, focusing the placement on the back of the Oreos so that the melted chocolate doesn’t seep through to the front. Don’t forget to secure your licorice scarf on your snowman too! If placing in a cello bag, you do not need to “glue” the snowman together.
  • Once the snowman is completely assembled and dried, carefully place the snowman in a cellophane bag. Place white chocolate chips or coconut at the bottom of the cello bag to create the look of snow.

And you are set! Your snowman is ready to be eaten or sent off to a friend!

Read Full Post »

Molasses Pound Cake

Molasses Pound Cake Recipe

Pound Cake with delicious molasses flavor.

CourseDessert

Cuisineeuropean

Prep Time15minutes minutes

Cook Time1hour hour

0minutes minutes

Total Time1hour hour 15minutes minutes

Servings8 servings

Calories383kcal

AuthorLeigh Anne Wilkes

Ingredients

  • 10 Tbsp butter softened to room temperature
  • 1/2 cup sugar
  • 3 eggs large, and at room temperature
  • 1/2 cup milk at room temperature
  • 1/2 cup molasses
  • 2 cups flour
  • 1/2 tsp baking soda
  • 1/2 tsp salt
  • 1 tsp cinnamon
  • 1/4 tsp nutmeg

Instructions

  • preheat the oven to 350 degrees
  • grease well a metal loaf pan
  • cream the butter with sugar until very light and fluffy (about 5 minutes)
  • beat in the eggs one at a time, scraping the bowl after each addition
  • add the milk and molasses
  • whisk together the flour, baking soda, salt, and spices – and add to the wet ingredients
  • mix until the ingredients are combined
  • pour batter into the prepared loaf pan and bake for 50-60 minutes (test for doneness at 50 minutes – a pick inserted into the center will come out clean)
  • cool on pan 10 minutes, and then complete cooling on a rack before cutting

Notes

This recipe makes one loaf of molasses pound cake.

Read Full Post »

Apple Pie Caramel Apple Slices

These Apple Pie Caramel Apple Slices are the perfect way to enjoy a caramel apple without the whole apple.

bakecraftsewbanner

For the month of November, I have joined up with Cindy from SkiptomyLou who will be doing sewing ideas, while Mique from Thirty Handmade Days, will be posting craft ideas,  will share how to decorate in holiday style.  Of course you are going to find lots of great baking ideas here!  All the ideas you are going to need for creating fun and delicious food treats for all your friends and neighbors.

I love a good caramel apple whether it comes from the candy store or I make them at home.  My favorite recipe for caramel apples can be found here.

The apple pie version is my favorite.  It’s dipped in caramel and then white chocolate and then sprinkled with cinnamon sugar.  Yum!! But sometimes you want a caramel apple without the whole apple.  You just need a couple of bites.  That’s where these Apple Pie Caramel Apple Slices come in.

Apple Pie Caramel Apple Slices

With these slices you get all the goodness of a caramel apple in just a few bites.  I used dried apples that I found in the bulk food bins at Winco.  I did pick through a bit to make sure I got whole, niced shaped slices.  I sipped the slices into my favorite caramel – Pete’s Caramel.  It is the best and so easy to work with.  Dip half the apple into caramel.  I like to melt my caramel either in the microwave or in the slow cooker.  The slow cooker is best if I am doing a big batch.

Apple Pie Caramel Apple Slices

Lay them on some parchment paper and allow the caramel to set up.

Apple Pie Caramel Apple SLices

Then melt your white chocolate and dip the caramel end into the chocolate.  I melt the chocolate in the microwave in a bowl.

Apple Pie Caramel Apple SLices

Then the final touch is to sprinkle the wet chocolate with a cinnamon/sugar mixture.

Apple Pie Caramel Apple SLices

Once the chocolate sets up they are ready to eat!  Of course, you could always package some of them up and give them as gifts.  Or then again, you can eat them all yourself.

Apple Pie Caramel Apple SLices

You can make them up a day or two ahead of time but I found they are best if they aren’t more than a day or two old.  Keep them cool or your caramel and chocolate may melt.

Apple Pie Caramel Apple Slices

Apple Pie Caramel Apple Slices

AuthorLeigh Anne Wilkes

Ingredients

  • Dried apple slices
  • Caramel melted (I use Pete’s Caramel)
  • White Chocolate or Almond Bark melted
  • 1/2 cup sugar
  • 1 – 2 tsp cinnamon

Instructions

  • Mix together sugar and cinnamon, set aside.
  • Dip apple slices into caramel.
  • Set on parchment paper to dry
  • Dip into melted white chocolate
  • Sprinkle with cinnamon sugar mixture while still wet.
  • Allow to set up on parchment paper.
  • Store in an airtight container.

Read Full Post »

These Dark Chocolate Fruit and Nut Bites will be the easiest homemade gift you make this year!

dark-chocolate-fruit-nut-bites

I am so excited to have my friend Kim from Today’s Creative Life here today.

Homemade gifts from the kitchen are always my plan for my neighbors. It’s gotta be something easy, because no matter how organized I am, I seem to be scrambling the week of Christmas. A

This year, I will be making these mouth watering dark chocolate fruit and nut bites.

Dark Chocolate Fruit and Nut Bites | Easy holiday gifts from the kitchen. Great for neighbor gifts or to have on hand for last minute gift giving. Free Christmas tag found on TodaysCreativeLife.com

With Christmas neighbor gifts, it doesn’t have to be anything big, it’s the gesture that counts. You can make any gift look festive with some cute packaging like these fox and deer Merry Christmas tags.

Dark Chocolate Fruit and Nut Bites | Easy holiday gifts from the kitchen. Great for neighbor gifts or to have on hand for last minute gift giving. Free Christmas tag found on TodaysCreativeLife.com

Supplies needed:

  • Dark Chocolate – I used the dark chocolate bars from Trader Joe’s.
  • A selection of dried fruits and nuts
  • Sea Salt
  • Parchment paper
  • 2 or 4 cup glass measuring cup
  • small ladle or spoon

I shopped the fruit and nut aisle of Trader Joe’s and grabbed a variety of flavors, shapes and color.

Dark Chocolate Fruit and Nut Bites | Easy holiday gifts from the kitchen. Great for neighbor gifts or to have on hand for last minute gift giving. Free Christmas tag found on TodaysCreativeLife.com

I also grabbed about 4 or 5 dark chocolate bars. I broke them apart and melted them in my microwave. I checked on it about every 30 seconds to make sure it didn’t burn, stirring at each interval.

Dark Chocolate Fruit and Nut Bites | Easy holiday gifts from the kitchen. Great for neighbor gifts or to have on hand for last minute gift giving. Free Christmas tag found on TodaysCreativeLife.com

Once melted, I used a small ladle to pour directly onto parchment paper. They will flatten into the most wonderful little discs.

Dark Chocolate Fruit and Nut Bites | Easy holiday gifts from the kitchen. Great for neighbor gifts or to have on hand for last minute gift giving. Free Christmas tag found on TodaysCreativeLife.com

This is where the fun begins! Grab your fruit and nuts and add to the tops of each disc.

Dark Chocolate Fruit and Nut Bites | Easy holiday gifts from the kitchen. Great for neighbor gifts or to have on hand for last minute gift giving. Free Christmas tag found on TodaysCreativeLife.com

Break up or chop the walnuts, macadamia nuts, pecans, and cashews. I used kitchen shears to cut the dried mango and candied ginger into small bits.

Once you’ve placed all your goodies on top, let it sit for about 10 minutes before sprinkling a little sea salt on top.

Dark Chocolate Fruit and Nut Bites | Easy holiday gifts from the kitchen. Great for neighbor gifts or to have on hand for last minute gift giving. Free Christmas tag found on TodaysCreativeLife.com

I just love how they look! They look so fancy. No one will guess that they only took about 10 minutes of my time.

I had planned on just stacking them in a clear cellophane bag and tying them with a festive ribbon and a gift tag.

So easy and so beautiful!

Dark Chocolate Fruit and Nut Bites | Easy holiday gifts from the kitchen. Great for neighbor gifts or to have on hand for last minute gift giving. Free Christmas tag found on TodaysCreativeLife.com

I ended up using these cute little gift boxes I found at Michaels. I adore the scalloped top and they already come with ribbon. Even easier!

Dark Chocolate Fruit and Nut Bites

Dark chocolate, dried fruit, and nuts in a bite size treat.

CourseDessert

CuisineAmerican

Prep Time10 minutes

Cook Time0 minutes

0 minutes

Total Time10 minutes

Servings24 serviings

Calories139kcal

AuthorLeigh Anne Wilkes

Ingredients

  • 14 oz Dark Chocolate 4 dark chocolate bars
  • 1 c dried fruit
  • 1 c nuts
  • sea salt

Instructions

  • Assemble your fruits and nuts on a plate. Break up larger nuts and slice larger fruits.
  • Break up and melt the chocolate bars in your microwave in 30-second intervals. Stir at each interval.
  • Once the chocolate is melted, use a small ladle to scoop and pour the chocolate onto parchment paper.
  • Start placing the fruits and nuts onto each chocolate disc.
  • Let sit for about 10 minutes before sprinkling a small amount of salt onto each disc.
  • Let them sit for at least 2 or 3 hours before stacking for gift giving.

Read Full Post »

Easy Tomato Basil Focaccia Bread Recipe

Easy Focaccia Bread Recipe loaded with fresh tomatoes and basil.CourseBreadCuisineItalianPrep Time55 minutesCook Time25 minutes0 minutesTotal Time1 hour 20 minutesServings12 servingsCalories81kcalAuthorLeigh Anne Wilkes

Ingredients

  • 3-1/4 cups all-purpose flour
  • 1 packet Fleischmann’s® RapidRise™ Yeast
  • 1 tablespoon sugar
  • 1 teaspoon salt
  • 1-1/2 cups water
  • 4 tablespoons extra virgin olive oil divided
  • 3 tablespoons shredded Parmesan cheese
  • 1/2 tsp sea salt
  • 3-4 fresh basil leaves
  • 1 C cherry tomatoes halved
  • olive oil for drizzling

Instructions

  • Combine flour, dry yeast, sugar and salt in a large mixing bowl and stir until blended.
  • Combine water and 2 tablespoons olive oil in a 2-cup glass measuring cup OR microwave-safe bowl. Microwave on HIGH in 15 second increments until very warm but not hot to the touch (120° to 130°F).
  • Add to flour mixture. Stir with a spoon until well mixed.
  • Drizzle 2 Tbsp olive oil into 9 x 13 pan and spread dough into pan. (Don’t worry if the dough isn’t even or filling the corners.) Cover with towel; let rise in warm place until doubled in size, about 30 minutes .
  • Push halved tomatoes into dough with cut side down.
  • Sprinkle with Parmesan cheese and sea salt.
  • Drizzle with remaining olive oil.
  • Let rise, uncovered, an additional 15 minutes while oven preheats to 375°F.
  • Bake for 25 to 30 minutes or until golden brown. Cool slightly. Cut and serve with extra oil for dipping if you’d like.

Read Full Post »