Feeds:
Posts
Comments

Archive for December, 2017

Breakfast with Santa {2017}

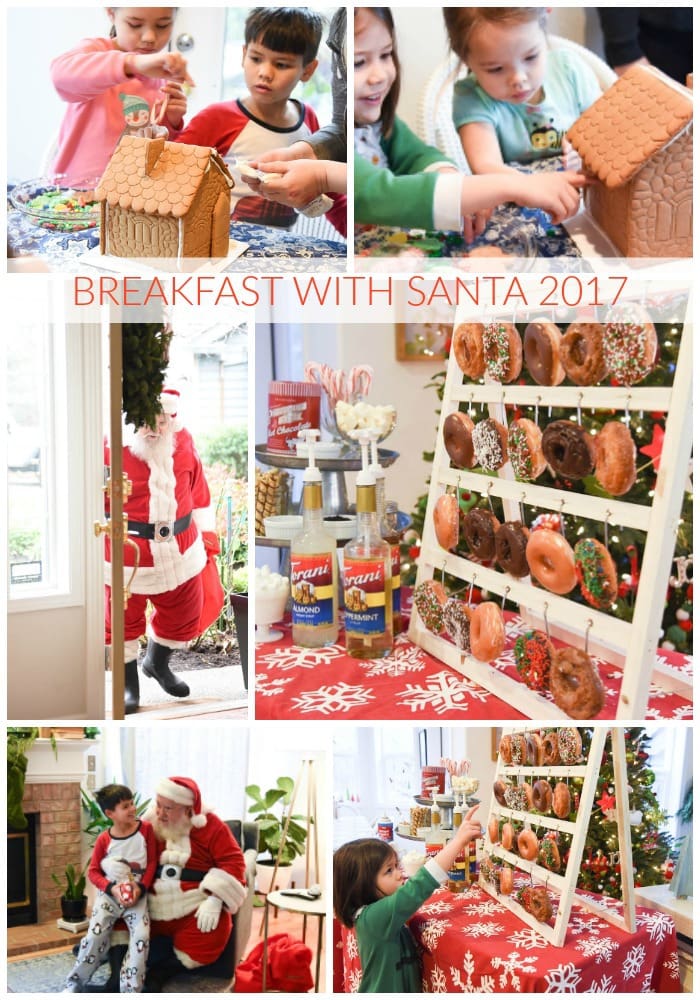
This weekend we hosted our 12th annual  Breakfast with Santa.  I can’t believe we’ve been doing this for 12 years!

Breakfast with Santa

Our tradition of inviting our neighbors to a Breakfast With Santa began when my children outgrew our tradition of going to Breakfast with Santa in downtown Portland at the old Meier and Frank store.   I wasn’t quite ready to drop the tradition even though they were, so I decided to host my own Breakfast with Santa at our home, complete with the pancake breakfast and a visit from Santa.  That was back in 2005 and we’ve been hosting our Breakfast with Santa ever since!

For the last two years none of my children have been home to attend the breakfast but I love doing it so much that the tradition continues!  I recently found a photo from the first year we did it and all of the kids who were there  but one has now graduated from high school and three of them have graduated from college!  Good thing some new neighbors with little kids moved into the neighborhood.  But the great thing is, the big neighborhood kids enjoy coming!  In fact this year, one came home for the weekend from college and another traded shifts at work so she could be here.

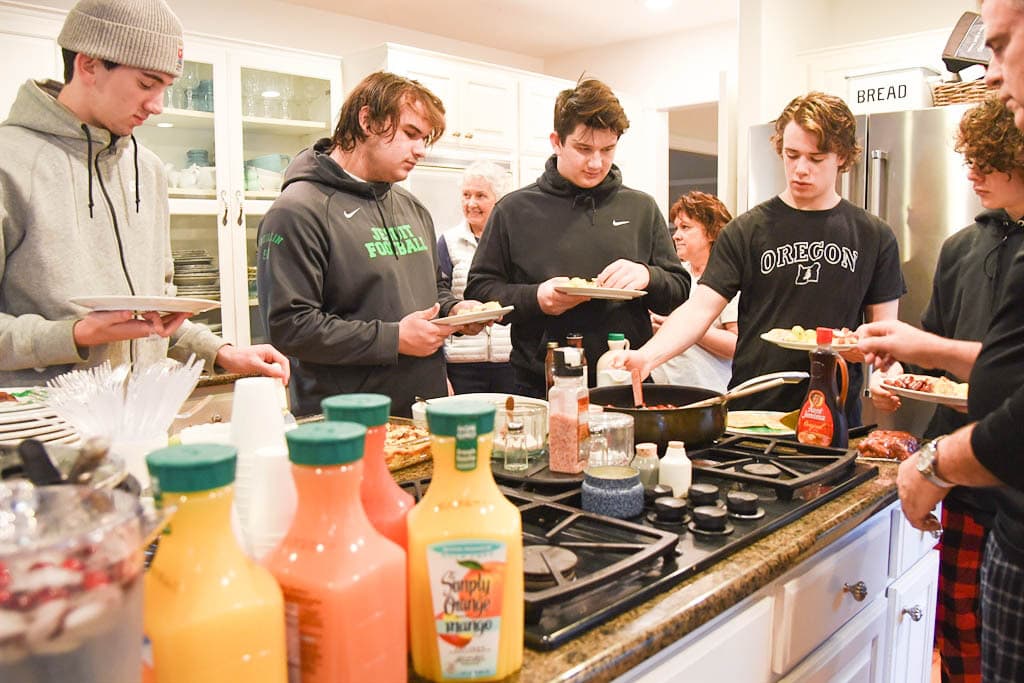
Everyone is invited to attend wearing their pajamas.  We have a pancake breakfast with little sausages.  This year we went through five packages.  Those big boys love them!!

Everyone brings a dish to share – potato dish, egg dish, fruit, juice, sausages and we provide the buttermilk pancakes with my famous cinnamon syrup, hot chocolate bar and this year we added a donut rack.  It was the hit of the party!  What is not to love about a donut rack.  They are made by Urban Hardware Company and I think every party needs a donut rack.  I know it will be making an appearance at all of my future parties.

Donut Rack

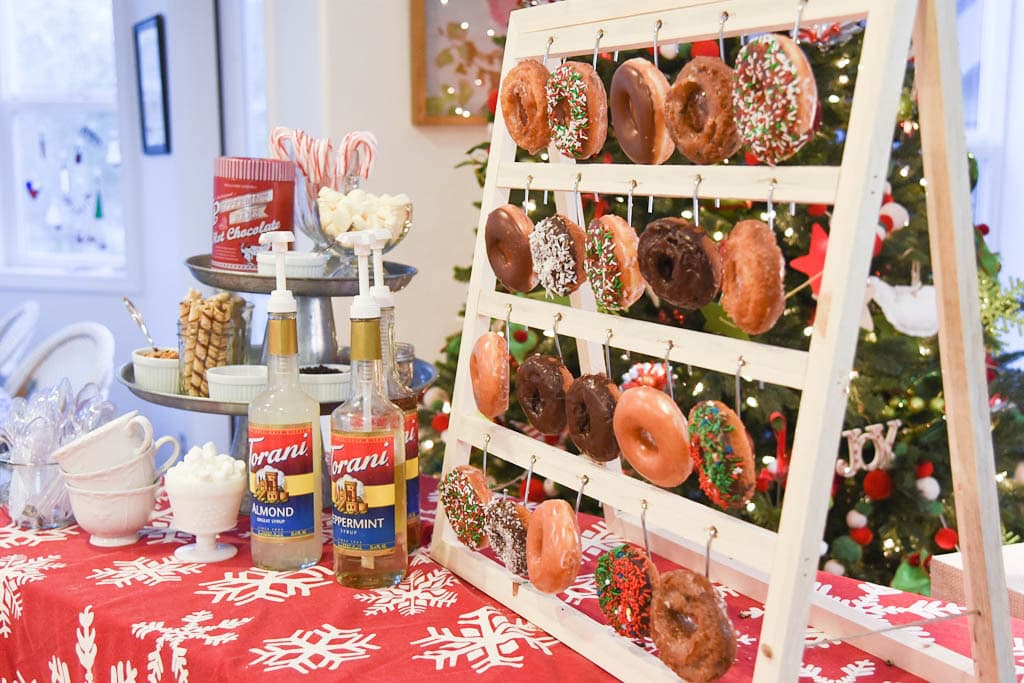
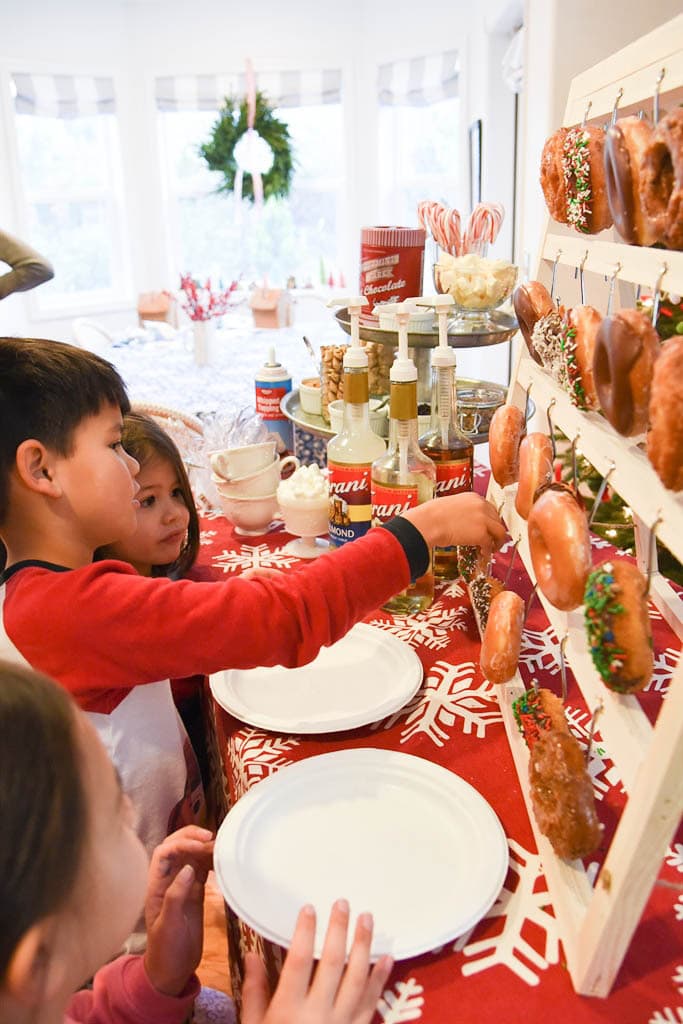
The donut rack was the perfect addition to our hot chocolate bar.  Who could resist a donut rack.

Donut Rack
Donut Rack

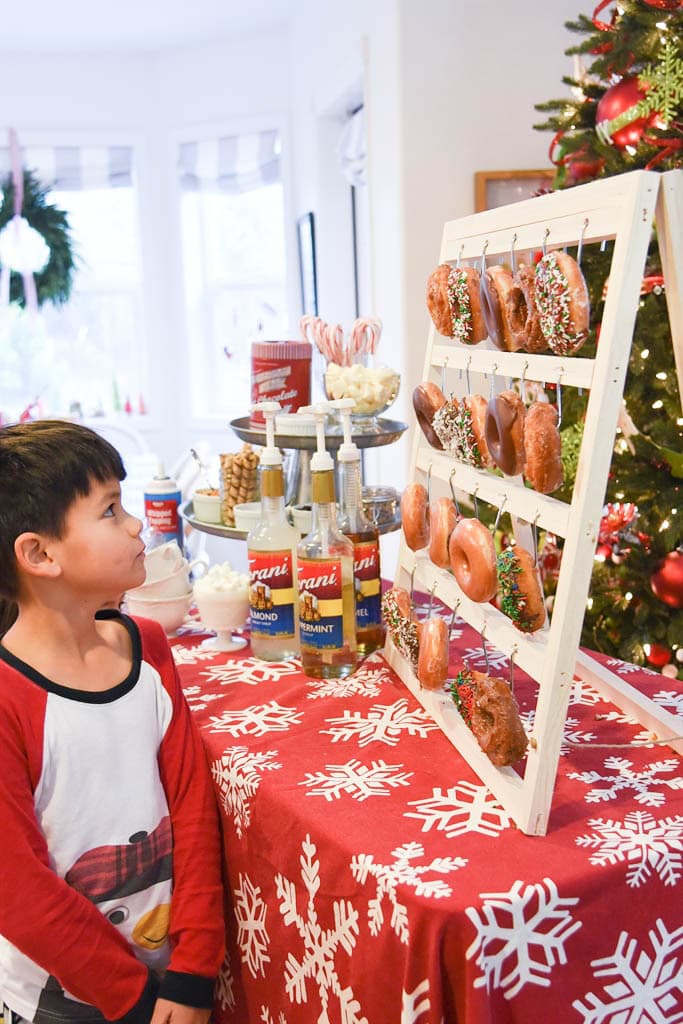
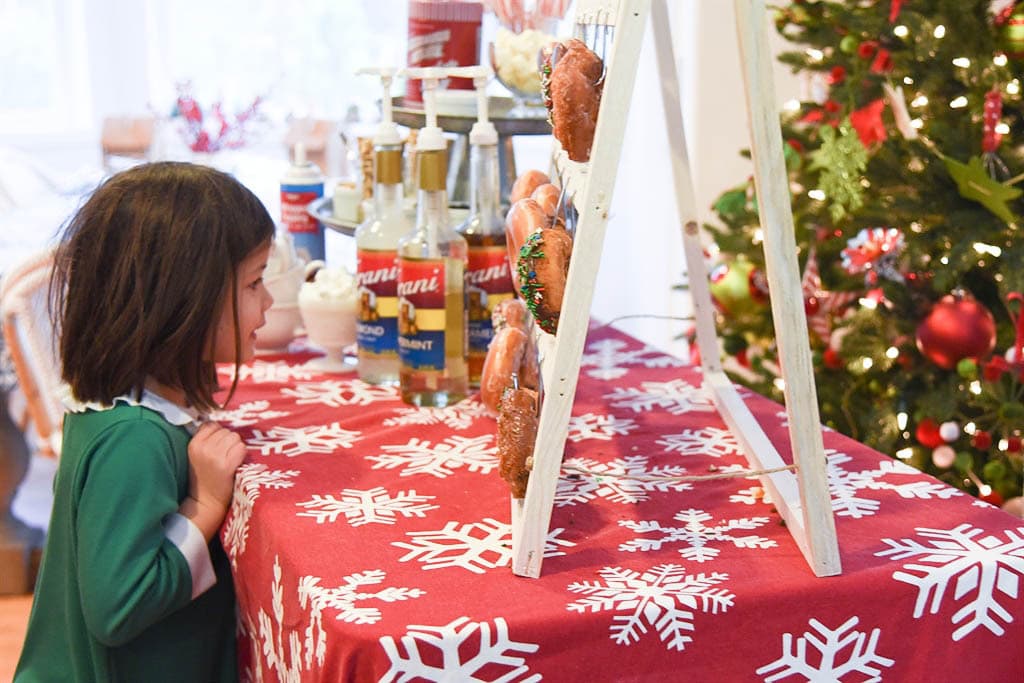
The hardest part was choosing which donut to try!  One trick I learned is that raised donuts stay on a little better than cake donuts because they are lighter.

Donut Rack

Jim is in charge of cooking pancakes.  The boys love those little sausages and we went through five packages this year!

Breakfast with Santa

After breakfast we decorate gingerbread houses (preassembled from Costco!) and wait for our special visitor to arrive.

Breakfast with Santa

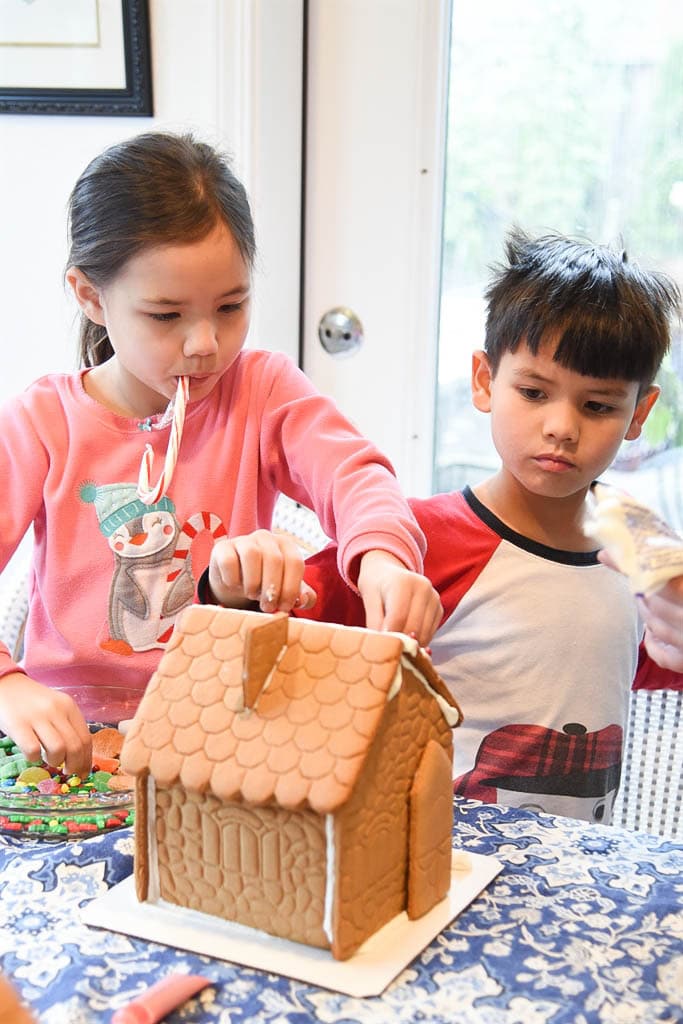
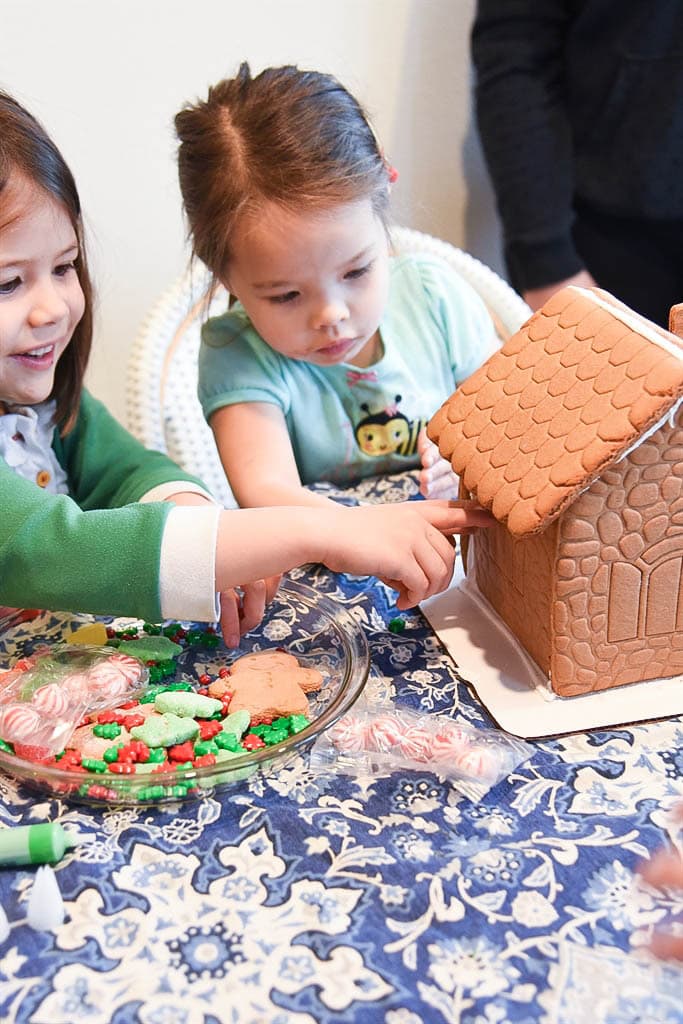
I am so glad one of my neighbors still has small children!

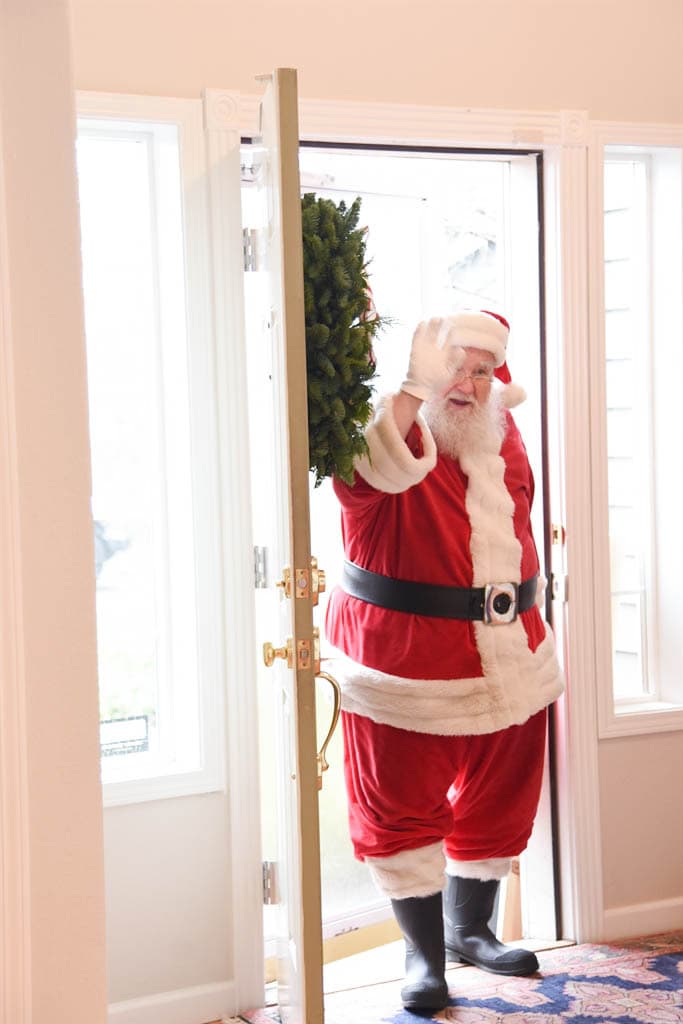
Santa brings a gift for each child (I leave a bag full of gifts outside for him to pick up on his way in.  Shhh…  don’t tell)  We are so lucky that Santa goes to church with us!

Breakfast with Santa

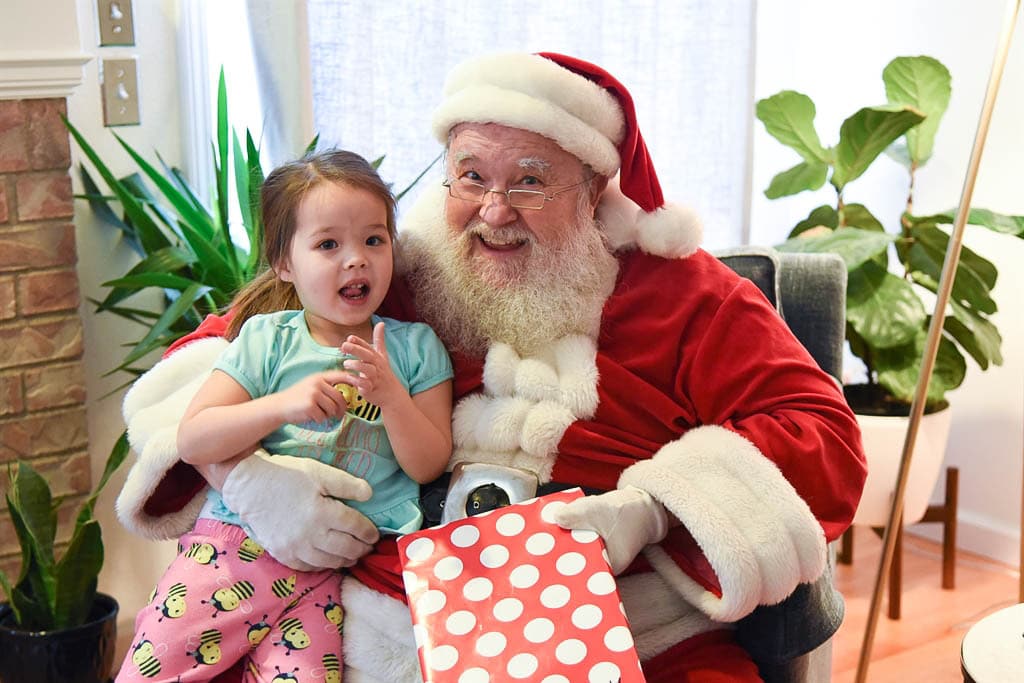
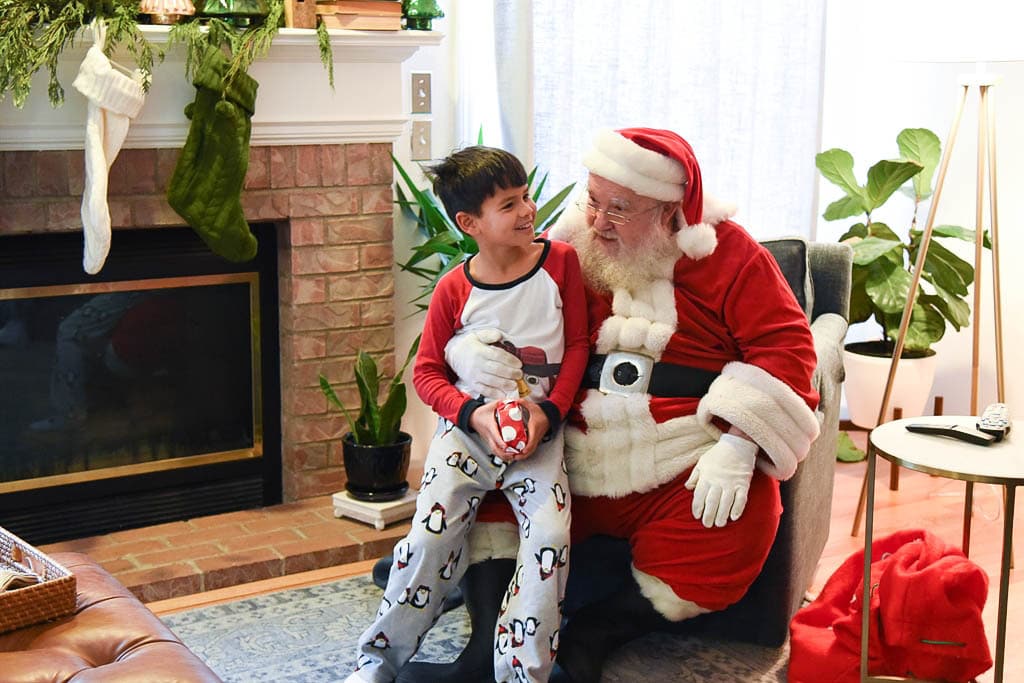
Even the big kids get a gift from Santa and sit on his knee!

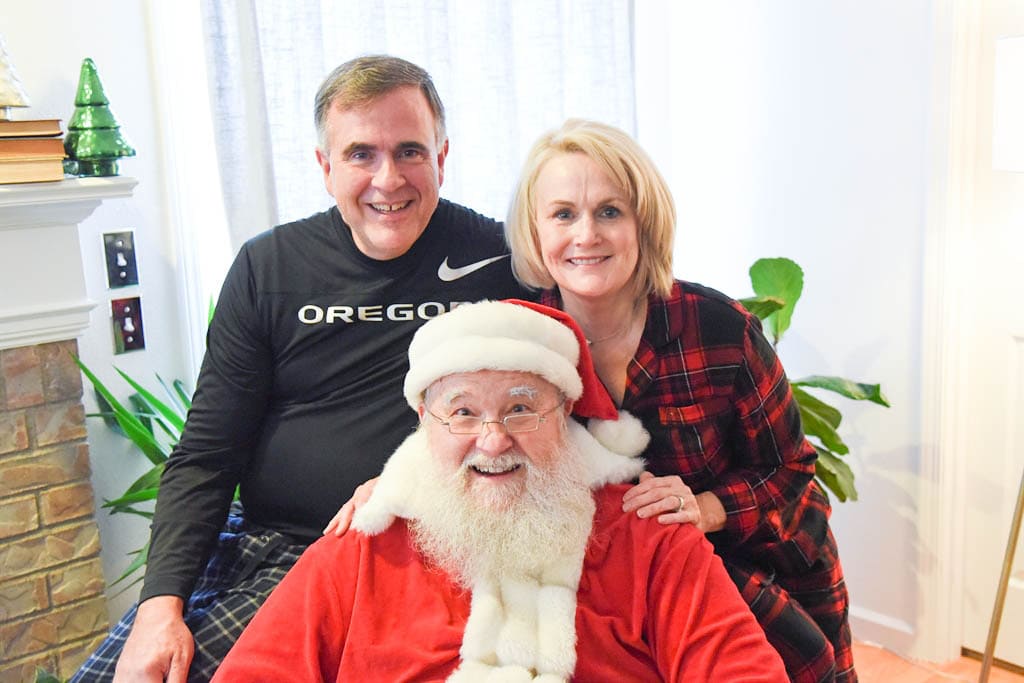
Even though none of our kids were there we still got our picture taken with Santa!

Breakfast with Santa

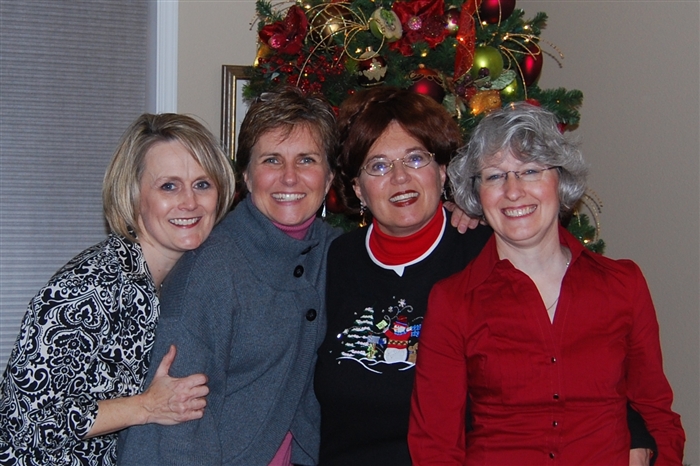
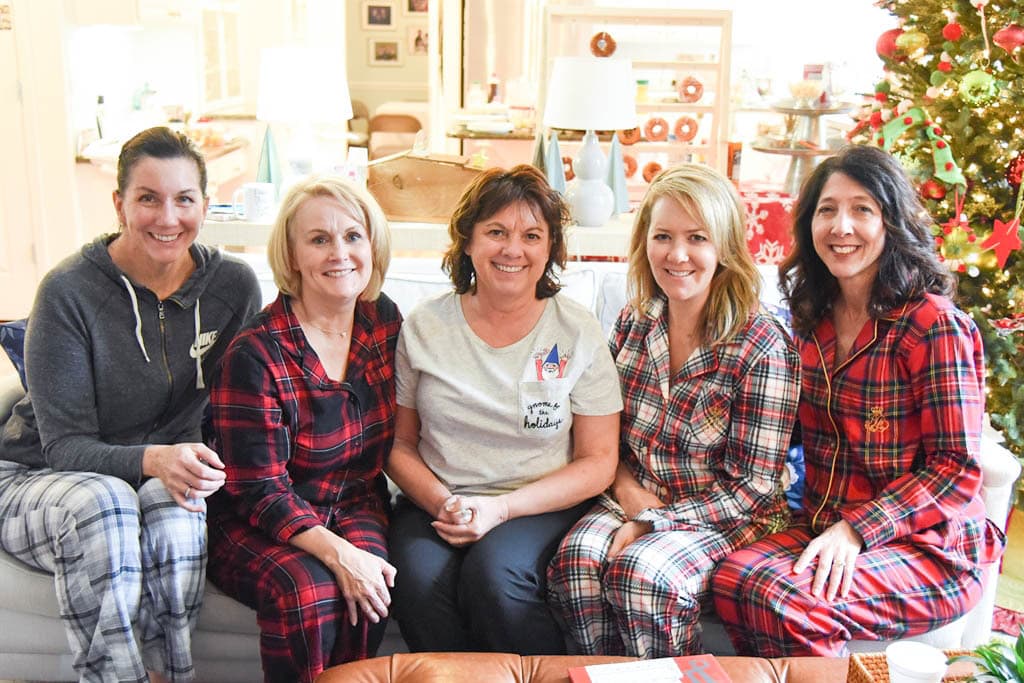
Our annual cul de sac mom photo!

Breakfast with Santa

I’m not sure what I’m going to do when all my neighbor kids are grown and gone from home too!!  I may have to ask for volunteers!!

Read Full Post »

Spicy Tomato Pasta | Amatriciana Pasta

This traditional Italian spicy tomato pasta is also called Amatriciana.  It’s simple to make but packed full of flavor.CourseMain Dish, Pasta Main DishCuisineItalianPrep Time15 minutesCook Time20 minutes0 minutesTotal Time35 minutesServings4 servingsCalories571kcalAuthorLeigh Anne Wilkes

Ingredients

  • 2 Tbsp olive oil
  • 12 oz pancetta or bacon diced
  • 1 cup onion diced
  • 3 tsp garlic minced
  • 1 tsp red pepper flakes
  • 28 oz crushed tomatoes
  • 1 tsp sugar more to taste if needed
  • 1 lb. spaghetti or linguine noodles cooked al dente
  • Parmesan cheese grated
  • 2 Tbsp fresh basil chopped
  • salt and pepper to taste

Instructions

  • Heat oil in pan and add bacon or pancetta.  Cook until crispy
  • Add in garlic and onion and cook until softened.
  • Add in tomatoes, red pepper flakes and sugar.  Add salt and pepper to taste and additional sugar if needed.  Bring to a boil and cook until slightly thickened. 
  • Add in fresh basil and serve over pasta.  Garnish with Parmesan cheese and additional basil if wanted.

Read Full Post »

Quick and Easy Cheese Board

Impress your family and guests by putting together a quick and easy cheese board for your next holiday party or family feast.

Quick & Easy Cheese Board

This post is sponsored by Albertsons and Safeway but all opinions are my own.

The holidays are here, ready or not!  I love a holiday party and over the years I’ve learned a few tricks on how to make it easy and painless!  One of my very favorite things to serve at a holiday party is a cheese board.  It is always a crowd pleaser and the perfect guest whether it be a family gathering,  an office party or a neighborhood potluck.  People love to gather around the cheese board and try all the different cheeses, meats and other offerings.

I love to keep all the ingredients for the cheese board on hand during the holidays because whether it is an unexpected guest or the arrival of out of town guests for the holidays, being able to put together a quick and easy cheese board in a matter of minutes is the perfect way to make them feel welcome.   My kids love it when I have a cheese board waiting for them when they arrive home after a long flight.  They are always hungry!

Quick and Easy Cheese Board

Today I’m going to share with you how I quickly and easily put together my cheese board.  Thanks to Albertsons and Safeway it comes together in literally minutes.  One trip to your local Albertsons/Safeway store and you’ve got everything you need.  If you don’t have time to actually go to the store many of the stores have grocery delivery service available!! Have you always wanted to try home grocery delivery!?  Now is your chance.  Albertsons/Safeway is offering all my readers a discount of $25.00 off and free delivery on a $100 minimum order.  Use the code SEASONSEATINGS.  Valid until 1/4/18.

Quick and Easy Cheese Board

A good cheese board of course starts with cheese!  I used a variety of cheeses from the Organics® line and the Lucerne line. One of my favorites is the white cheddar cheese! The trick to a good cheese board is a good selection of cheeses!  Be sure and check the deli section of the store for even more variety of cheeses.

Quick and Easy Cheese Board

A little drizzle of something sweet over the cheese is an amazing combo.  If you haven’t tried it, you must.  Honey and jam are both good choices!  A blackberry or raspberry jam is my favorite.

Quick and Easy Cheese board

In addition to a variety of crackers (I used the Organics® Pita Crackers), I like to add in some nuts (almonds) and dried fruits (dates and apricots).  I just add them in and around the other items on the board.  I love the whole board to be covered with goodness.

Quick & Easy Cheese board

We also like some meat on our cheese board, especially my boys.  You can fine a nice selection in the deli section of your local Safeway/Albertsons.  Another favorite thing I add to my quick and easy cheese board is some hummus and baby peeled carrots, perfect for dipping!

Quick and Easy Cheese board

The final touch on the cheeseboard is some fresh fruit and herbs.  I love to use dark purple grapes, a pomegranate and pear or apple slices.  Just fit them in and around everything else that is already on the board. Fresh Rosemary or Sage make a lovely final touch to the cheese board.

To recap, here is what you need:

Selection of cheeses

Variety of meats

Nuts

Dried Fruit

Crackers

Hummus

Carrots

Honey

Jam

Variety of fruit and fresh herbs

The best part of the quick and easy cheese board is you can get everything you need in one stop.  You will love all the oohs and ahhs you will get from your party guests too when they gather around the cheeseboard and see your beautiful creation.  It’s so fun to eat too!

Read Full Post »

Connections

This post is a day late because yesterday, Monday, a typical “office day” for me was also a day off of school for the girls.  So I decided to take the day off  too and play with my girls.  We enjoyed a day together and took a field trip to the IKEA store that opened this summer here in Portland – it is like a Disneyland for the house!  We had fun and decided to re-decorate Cali’s room while we were there.  I love being a homebased mom and having the flexibility to take a day off whenever I want and the opportunity to connect with my girls!  Today I want to talk about connections

This last week was a busy one.  Thursday and Friday were my annual holiday customer open house.  Despite the work that it takes, I look forward to it because it is an opportunity for me to connect with my customers.  They come to my home, I serve them some of my famous hot apple cider (yes, I’ll share the recipe), they do some shopping and we have an opportunity to visit.  It is a chance for me to ask about their family and what they have been up to lately.  I love my homebased business and the opportunity it gives me to form relationships and connections with my customers, many of whom have become my friends.

dsc_0159.jpg

Some of my wonderful First Line Team Members

On Saturday I hosted my annual “First Line Holiday Breakfast”, an event I have done for about 12 years!  I love the opportunity to have my team members in my home, serve them a yummy breakfast (lots of good recipes to share) and have a chance to connect.  We do talk a little business (of course) but it is an opportunity to just visit and get caught up on each other’s lives – we had a great conversation this year about cell phone etiquette and text messaging!

Following my team breakfast that afternoon,  I hosted a holiday tea party for a group of my girlfriends – we call ourselves “The Beach Babes”. (I did ALOT of cooking on Saturday).  The Beach Babes have known each other for 17 years and our first trip together was to the beach – thus the name.  We enjoyed lots of yummy “tea food” (recipes to come) and lots of good conversation, connections and our annual book exchange.

dsc_0197.jpg

THE BEACH BABES

As you can see I had fun connecting this past week!  One of the biggest advantages of direct sales, our number one weapon against so called “retail competition”, is our ability to connect.  Because of the nature of our business we have the opportunity to develop relationships with our customers – relationships that a retail store can never have.  It is the connections and relationships we form with our customers that create loyalty.  It (along with an awesome product)  is what keeps them coming back to us.

The connections and relationships we form with our team members are what create loyalty to our company and our teams.  It is what keeps team members going during rough times with their business, times when they may feel like quitting.

In this age of technology – emails, text messaging, message machines, fax machines etc. those personal connections can become fewer and fewer.  One of my goals for the new year is to make more personal connections with my family, my customers, my team members and my friends!  Instead of sending off that email to a team member or customer- pick up the phone and call.  Even if you have to leave a message – the sound of your voice can make a difference.  Invite a girlfriend out to lunch (I’m usually available!) or take the day off and play with your kids!   Let’s connect!

 Hot Apple Cider

Ingredients

  • 1 gallon apple cider
  • 1 1/2 cups orange juice
  • 1/2 cup brown sugar
  • 6 cinnamon sicks
  • 12 whole cloves
  • 12 whole allspice

Instructions

  • Mix together and bring to a boil.
  • Simmer at least 30 minutes.
  • The longer it simmers, the better it gets!

This cider is so good that both of my college boys have called home asking for the recipe.  When I went to visit them a month ago I took them each their own little “cider” kits – cinnamon sticks, allspice and cloves!

Read Full Post »

Mickey Mouse Cookie Bark

Mickey Mouse Cookie Bark

MICKEY MOUSE COOKIE BARK is the perfect sweet treat for the mouse lover in your life!

Last month we had a trip to California planned to see the musical Hamilton. I knew we would have a free Saturday while we were there.  My husband and son were going to a ball game and so it would be my girls and I hanging out together.  I knew exactly what I wanted to do!  Go to Disneyland!!!

Mickey Mouse Cookie Bark

I grew up going to Disneyland a lot.  My grandparents lived in Southern California and every summer when we would visit there would be a trip to Disneyland.  I have been in love with that magical place ever since and loved taking my children there and now I love going with my adult children.  I can’t wait to someday go with my grandbabies!!  I still love to ride the tea cups.

Today I’ve joined with a group of bloggers to give you the opportunity to win a FREE trip to Disneyland!  We’ve each come up with a fun Disney themed gift idea.  I’ve got some fun and yummy MICKEY MOUSE COOKIE BARK for you – it would make the perfect holiday gift for all the Disney fans in your life.

Mickey Mouse Cookie Bark

I used a combination of pretzels, Oreos and red M & M’s and then covered it with a thick layer of melted candy bark.

Mickey Mouse Cookie Bark

Before it sets up, sprinkle with extra M & M’s and colored sprinkles.  I used the mini Oreo cookies and M & M’s to make little Mickey’s!  How cute is that!

After it sets up just break it up into pieces.

Mickey Mouse Cookie Bark

Wrap it up in some cellophane bags with a cute bow and you’ve got a perfect gift for all those Mickey Mouse fans!

Mickey Mouse Cookie Bark

Fun cookie bark with a Mickey Mouse themeCourseDessertCuisineAmericanKeywordMickey Mouse cookie barkPrep Time10 minutesCook Time5 minutesTotal Time15 minutesServings12 servingsCalories191kcalAuthorLeigh Anne Wilkes

Ingredients

  • 14 Oreo cookies broken in large pieces
  • 1 1/2 cups pretzels broken in large pieces
  • 24 oz. white almond bark
  • 1 cup M & M’s red
  • mini Oreos
  • red, black and yellow sprinkles

Instructions

  • Cover a large cookie sheet with parchment paper
  • Spread broken cookies, pretzels and about 3/4 C of the M & M’s onto the waxed paper
  • Place white chocolate in a container and microwave for 1 1/2 minutes
  • Stir and then microwave for another 30 seconds until melted and smooth
  • White chocolate melts faster and burns easier than chocolate
  • Drizzle the melted chocolate over the cookie mixture, spreading with spatula if needed to coat evenly
  • Sprinkle remaining M & M’s  and colored sprinkles over the chocolate while it is still wet
  • Place cookie tray into refrigerator until set and firm
  • Remove and gently break bark into small pieces Store in air tight container

Read Full Post »