Feeds:
Posts
Comments

Archive for November, 2015

Donut Tree Dessert

Hello everyone! My name is Jen and I blog over on a little corner of the web at a spot called PinkWhen. Today I am going to share with you a very Merry Christmas Donut Tree Dessert.

To get started, you will want to have a few things on hand:

  • favorite chocolate cake mix
  • green and yellow chocolate dipping chocolates
  • festive sprinkles
  • donut maker

Once you have your cake mix ready and your donut maker heated, start filling the machine with batter. You can either measure out 2 Tablespoon of batter for each donut, or you can use a nifty pancake batter dispenser. It works like a charm and is less mess.

After the machine is filled, close the lid and allow them to bake for 5 minutes. Carefully remove the donuts and place them on a wire rack to cool.

Melt the dipping chocolate and start dipping the donuts to make the tree. I did a few yellow for the top, and the rest were dipped green. Add the sprinkles to the covered donuts, and allow to fully cool.

Arrange the completed donuts on a serving tray and watch as they quickly disappear. I even added a few decorations and bells to make the dish a little more festive and inviting.

This is a fun and easy Christmas dessert, and one that everyone will enjoy.

Thank you again for allowing me to guest post over here with Leigh Anne today! I hope you enjoy this festive recipe.

Read Full Post »

Symphony Brownies

Symphony Brownies

Symphony Brownies are a beautiful melody of chocolate and crunchy toffee goodnessand one of the easiest brownies you will ever make.CourseBar CookiesCuisineAmericanPrep Time5 minutesCook Time45 minutesTotal Time50 minutesServings15 piecesCalories1kcalAuthorLeigh Anne Wilkes

Equipment

  • Baking Dish (9×13)

Ingredients

  • 1 brownie mix along with ingredients called for on back of box.
  • 3 8 oz. Symphony candy bars

Instructions

  • Mix the brownies according to box directions (I use the cakelike brownie instructions).
  • Line a 9 x 13 pan with tinfoil and spray with cooking spray (makes for easy clean-up).
  • Pour 1/2 the brownie mix into the pan.
  • Place the 3 candy bars(wrappers removed of course) side by side on top of the mix.
  • Don’t break or chop up the candy bars – they will be whole.
  • Pour the remainder of the brownie mix over the top.
  • Bake according to directions.
  • Let cool and lift the tinfoil out of the pan.
  • Cut and serve.

Read Full Post »

Make Your Own Cookbook

Make your own cookbook with all your favorite family recipes!

Make your own family cookbook

One of favorite Wilkes Family Christmas traditions is our annual Cookie Baking Day.   My kids are pretty tradition oriented and they insist on the same cookies year after year.  I do manage to sneak in a new recipe or two each year though.  I decided it would be fun to put together a cookbook of all their favorite cookie baking day recipes, the ones we use year after year as a gift for my kids.   My children are all grown up and living away from home and I hope that someday they will host their own cookie baking day.  This cookbook will come in handy then!

Annual Cookie Baking Day COokbook

Blurb made it so easy to do!  I have used Blurb for other projects such as turning my family blog into a printed book.  Using it to create my cookbook was easy and fun!

Annual Cookie Baking Day COokbook

I am excited to have all of our family favorites  in one place and in a beautiful printed book.

ANnual Cookie Baking Day
Charlottes-Web-4-2-e1447700806530

I included Grandma Zola’s caramels recipes too because candy making is an important part of our cookie baking day too! 
For fun, at the back of the cookbook, I included some of the photos we had taken on our Annual Cookie Baking Day.

Family Cookbook

Blurb makes it so easy to put together with great tutorials and downloadable templates and I love having all our family favorite cookie and candy recipes all in one place.  I also love that it is so easy to make extra copies to share with my kids!

Wilkes Family Christmas Cookie Cookbook

Read Full Post »

Easy Garlic Cheese Rolls

Easy Garlic Cheese Roll Recipe

A quick and easy recipe to make delicious garlic cheese rollsCourseBreadCuisineAmericanPrep Time40 minutesCook Time20 minutesTotal Time1 hourServings12 rollsCalories63kcalAuthorLeigh Anne Wilkes

Ingredients

  • 2 to 2-1/4 cups all-purpose flour
  • 2 tablespoons sugar
  • 1 packet Fleischmann’s® RapidRise Yeast
  • 1/2 teaspoon salt
  • 1/2 cup milk whole, 2%, 1% OR skim
  • 1/4 cup water
  • 2 tablespoons butter OR margarine
  • 12 cubes of mozzarella cheese
  • 2 Tbsp butter
  • 1 garlic clove minced
  • 1/2 tsp Italian seasoning
  • 1/3 C freshly grated Parmesan Cheese

Instructions

  • Combine 3/4 cup flour, sugar, dry yeast and salt in a large mixer bowl and stir until blended.
  • Combine milk, water and butter in a small microwave-safe bowl. Microwave on HIGH in 15 second increments until very warm but not hot to the touch (120° to 130°F. Butter won’t melt completely). Add to flour mixture.
  • Beat 2 minutes at medium speed of electric mixer, scraping bowl occasionally.
  • Add 1/4 cup flour; beat 2 minutes at high speed. Stir in just enough remaining flour so that the dough will form into a ball.
  • Knead on lightly floured surface until smooth and elastic and springs back when lightly pressed with 2 fingers, about 6 to 8 minutes. Cover with a towel; let rest for 10 minutes.
  • Cut dough into 12 equal pieces; flatten each piece of dough and place a cube of cheese in the middle.
  • Cover the cheese with the dough and place the ball of dough seam side down into a greased 8 inch round or square pan. Cover with towel; let rise in warm place until doubled in size, about 30 minutes .
  • Mix together butter, garlic and seasoning and brush over rolls. Sprinkle with cheese.
  • Bake in preheated 375ºF oven for 20 minutes or until golden brown. Remove from pan by running a knife around the edges and invert onto wire rack; brush with additional melted butter, if desired. Serve warm.

Read Full Post »

Pumpkin Crunch Cake

Pumpkin Crunch Cake Recipe

CoursecakePrep Time15 minutesCook Time1 hourTotal Time1 hour 15 minutesServings15 servingsAuthorLeigh Anne Wilkes

Ingredients

  • 1 large 15 oz. can of pumpkin
  • 1 12 oz.can evaporated milk
  • 1/2 tsp cinnamon
  • 1 cup sugar
  • 3 eggs
  • 1 box of yellow pudding cake mix
  • 1 package chopped nuts
  • 2 sticks butter melted

Cream Cheese Frosting

  • 8 oz. cream cheese
  • 3/4 cup Cool Whip
  • 1 cup powdered sugar

Instructions

  • Mix pumpkin, evaporated milk, cinnamon, sugar & eggs together
  • Oil a 9×13 inch pan with a non-stick cooking spray. Then line the pan with wax paper. Spray the paper lightly with the cooling spray.
  • Pour pumpkin mix into pan, sprinkle yellow cake mix over pumpkin mixture.
  • Pat chopped nuts over mix. I used chopped walnuts.
  • Spoon melted butter evenly over the surface.
  • Bake at 350° for 50-60 minutes or until done & slightly golden brown.
  • When cooled, turn over on plate & frost. This is the cream cheese frosting recipe I use every single time. Yum!

Cream Cheese Frosting

  • Bring cream cheese to room temperature. Mix cream cheese & Cool Whip together in a small bowl. Gradually stir in the powdered sugar. Stir until smooth.
  • Frost the cake, cut into pieces & then serve. This cake is best served at room temperature. Store leftovers (if you have any!) covered in the refrigerator.

Read Full Post »

Thanksgiving Table Decor


Thanksgiving Table Decor Ideas

Food is a very important and intricate part of Thanksgiving.  Hours are spent planning the menu and cooking the food and then within what can be minutes it’s over.

Today I’ve got some great ideas to share with you on how to simplify your menu.  Also, how to easily and inexpensively decorate your table and some fun family activities to use at Thanksgiving table.

Thanksgiving Table Decor Ideas

I like to use what I already have on hand  for my Thanksgiving Table Decor. At the end of November I usually still have pumpkins leftover from my Halloween decorations.   I am a big fan of white pumpkins so they were the perfect centerpiece for my table although orange pumpkins would work just fine too. And if all you have on hand is orange pumpkins but you wish you had white pumpkins, grab some white paint!  I’ve done that many times.

Thanksgiving Table Decor Ideas

I dressed my big white pumpkins up with some lettering I cut out on my Cricut machine. You could also do it by hand with a gold Sharpie.  You can also spray paint some small orange pumpkins gold.  I have a neighbor who has some property and she had been cutting down some trees so I got a log from her and had it cut into slices which made the perfect thing to put my pumpkins on and some of the food.

Thanksgiving Tablecloth

For the table, I used a tablecloth I had but I also used a roll of brown kraft paper I picked up at the Dollar Store to create place mat runners.

 It is also the perfect place for the kids and adults to do a little drawing of what they are thankful for.

Thanksgiving Table Decor Ideas

Each Thanksgiving we always place 5 pieces of candy corn on each persons plate. We take turns going around sharing things we are grateful for.  You could also write them down on the paper or have the kids draw pictures of things they are grateful for.

Candy Corn Blessings

Thanksgiving Dinner Ideas

With a few pumpkins and a little bit of effort you can create a beautiful and easy Thanksgiving table Decor.

Read Full Post »

12 Days of Holiday Cookies will make this holiday season full of cheer. From sugar cookies to pecan pie cookies there won’t be a crumb left on the table with these 12 amazingly delicious cookies.

Today I am welcoming the cute and adorable Miss Sandra McCollum from A Dash of Sanity to Bake Craft Sew.  I have been lucky enough to meet Miss Sandra in person and she is a doll.  She’s short like me and that makes me like her even more.  Be sure to visit her blog and check out all her delicious recipes.   She’s put together a great roundup of holiday cookies for us today and one of my favorites is her German Chocolate Cake Cookies!   


From turkey, cranberries and pies the holiday season is all about the food. Well it least it is for our family. And with several parties to attend this year, I have decided to make up several batches of holiday cookies to take. Everyone loves cookies from kids to adults, cookies just never disappoint.

So what is your favorite holiday cookie? And if you don’t have one be sure to share your favorite holiday dessert.
And Happy Holidays from my family to yours.
XOXO San

12-days-of-1024x512


Read Full Post »

Explore Portland on the 4T Trail

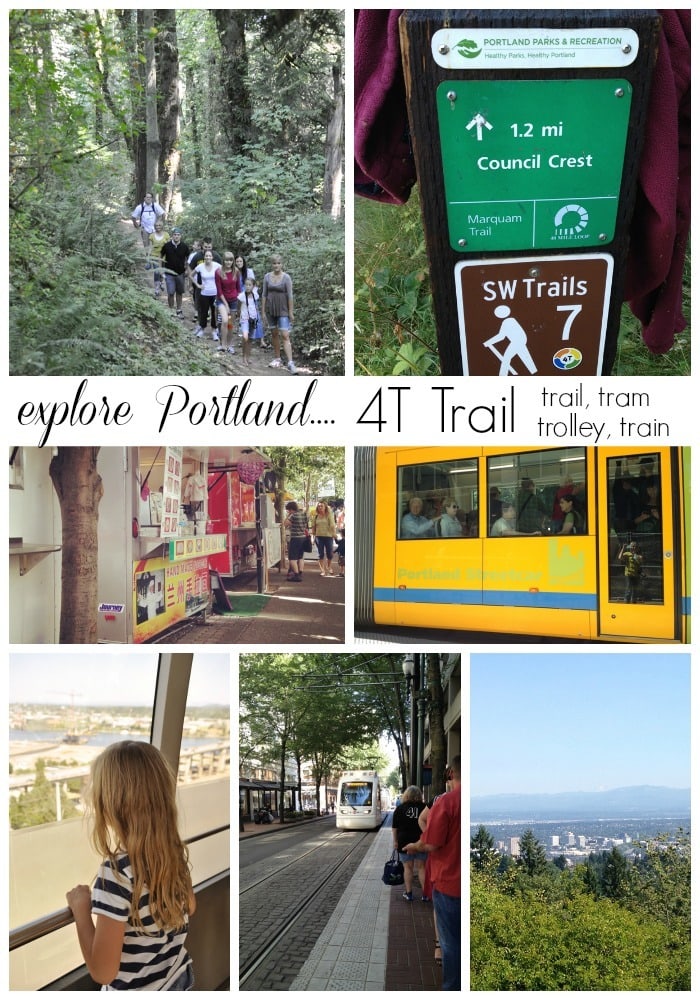
The 4 T Trail is the perfect way to spend a day in Portland, Oregon.

I love where I live and I love telling people about all the fun things to do and amazing places to eat here in Portland, Oregon.  But if you only have one day to spend in Portland here is what I recommend you do:  check out the 4T Trail.  Portland has a lot of amazing hiking right within the middle of the city.   It is the perfect way to spend  a day in Portland.  You get some exercise, you get to see our beautiful trees and city views and you get to check out downtown and eat some good food.  Sounds like a good day to me!

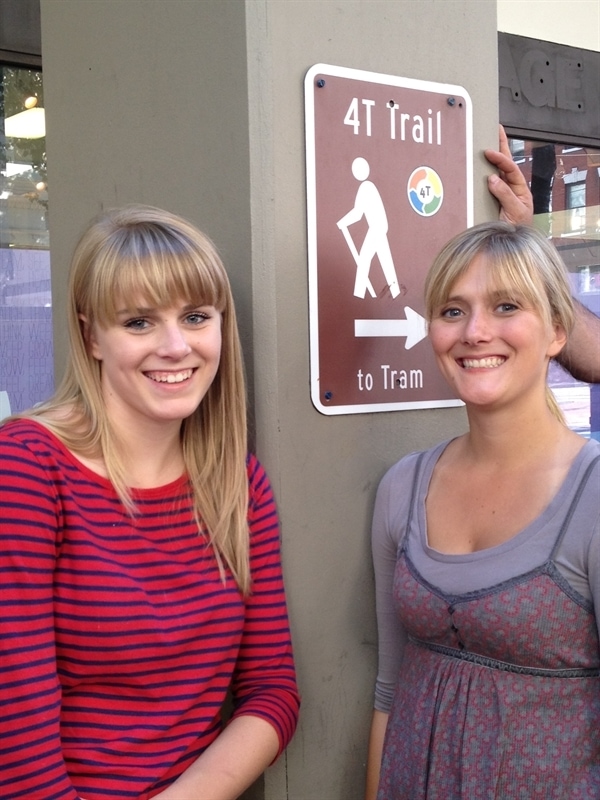
It is called the 4T Trail because you get to walk on a trail, ride a tram, trolley and train!

_dsc0041

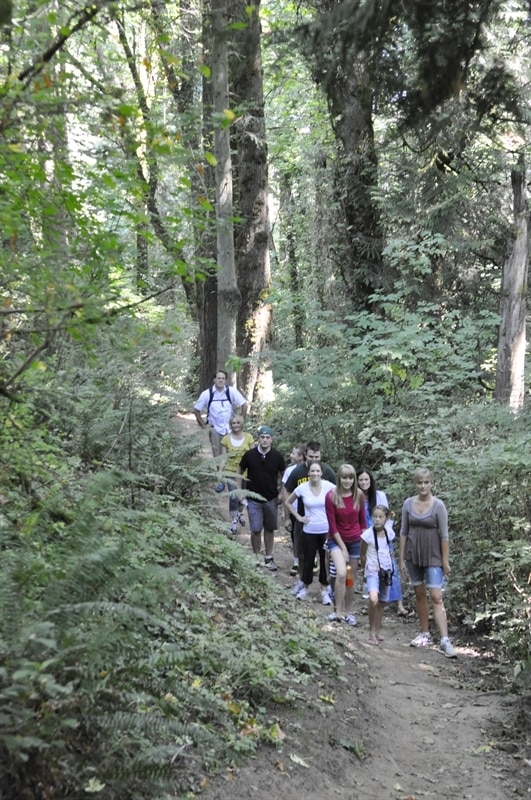
We started our 4 T Trail adventure at the Washington Park Zoo parking lot but you can start anywhere along the trail.  The trail is well marked and begins with a nice uphill walk  through the trees from the Oregon Zoo to Council Crest Park—at 1,073  feet, the highest point in the city.

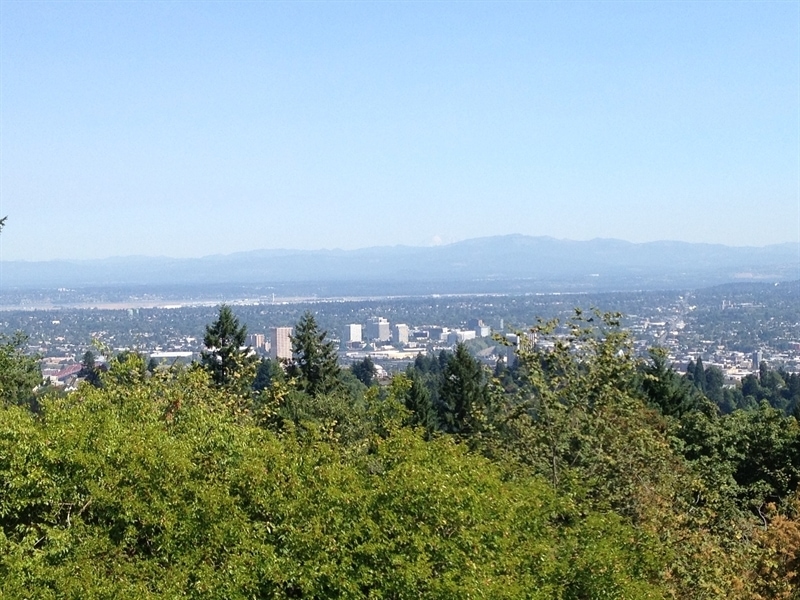
When you get up to Council Crest Park you have a beautiful view of the city.

4 t tRAIL
_dsc0070

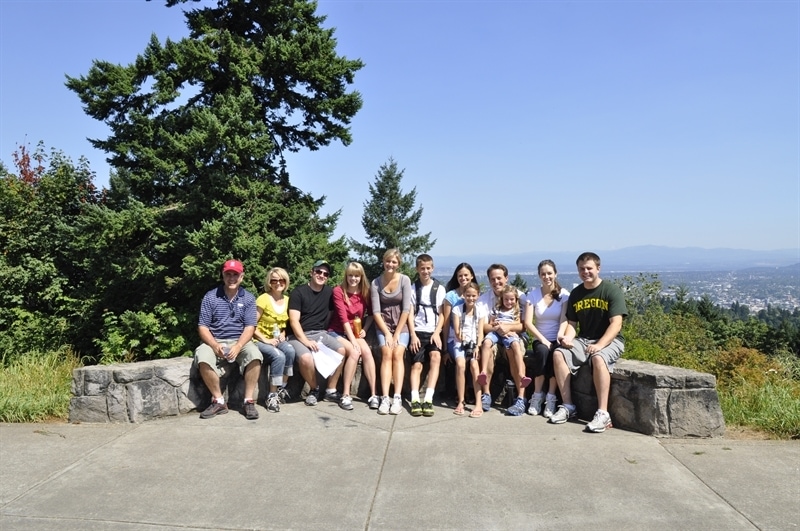
Don’t forget to take a group photo!

The walk is pretty much uphill so don’t forget to take some water along and some snacks to keep your energy level up!  The hiking portion of the 4 T Trail is about four miles long.  From Council Crest Park at the top, there it is a nice stroll downhill through some of the pretty neighborhoods down to Oregon Health Science University (OHSU) where you will catch the Portland Aerial Tram.  You will then ride 3,300 linear feet downhill—in 3 minutes!—to the riverfront.  There is no charge for riding the tram downhill, only uphill! (Please note the tram does not run on Sundays during parts of the year)

_dsc0077

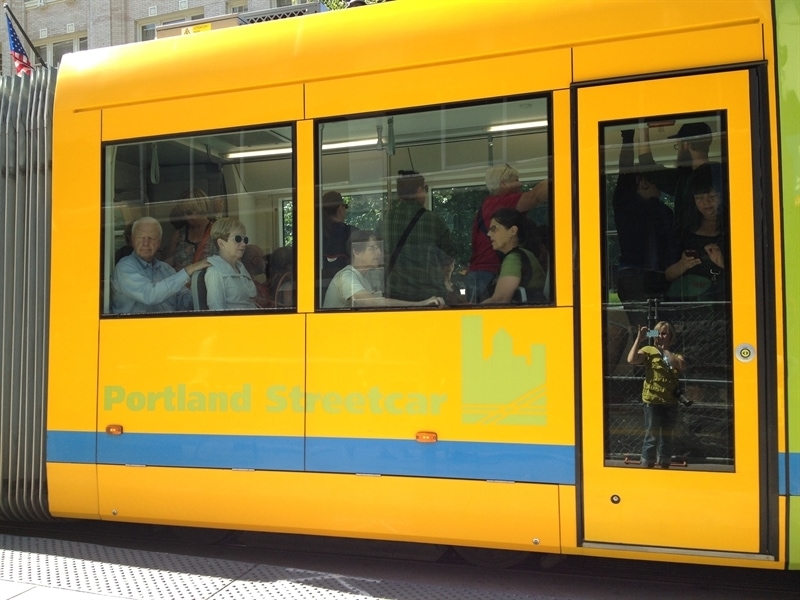
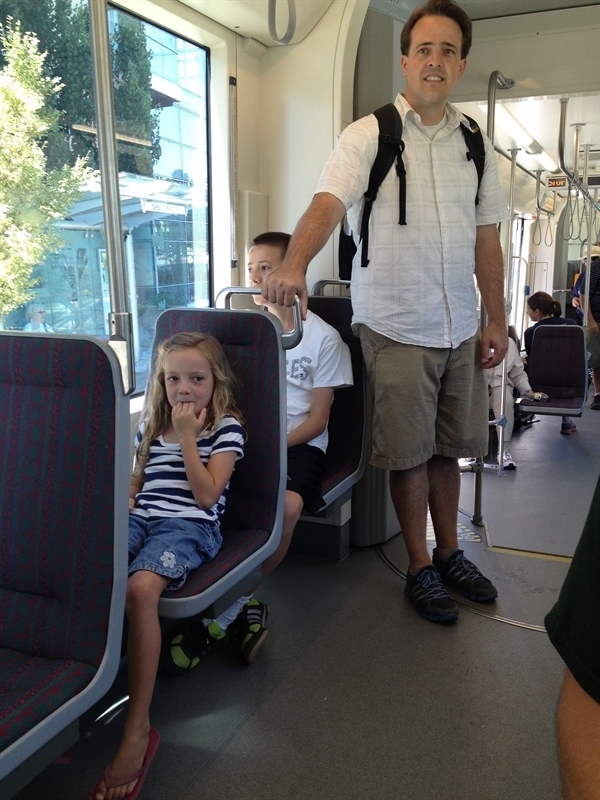
Once you get off the tram you will catch the trolley ($2.00)  and is also known as the Portland Streetcar that will take you downtown.

4 t tRAIL
4 t tRAIL
4 t tRAIL

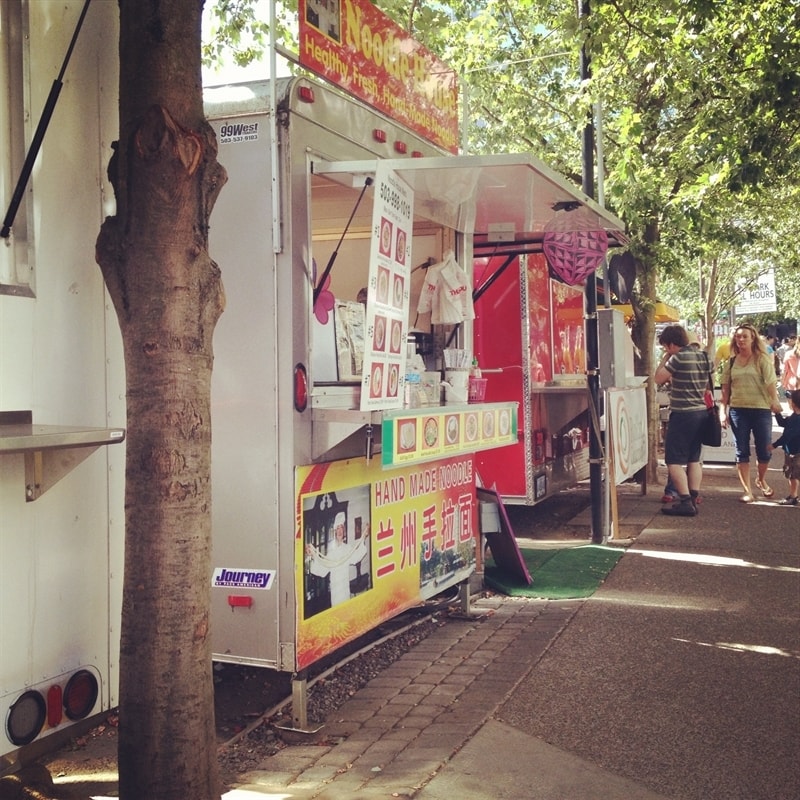
We got off the trolley right near the 10th & Alder food cart pod.  You’ll be hungry by now so check out all the amazing food carts for lunch! Portland has hundreds and hundreds of food carts and no trip to Portland is complete without a visit to at least one food cart.

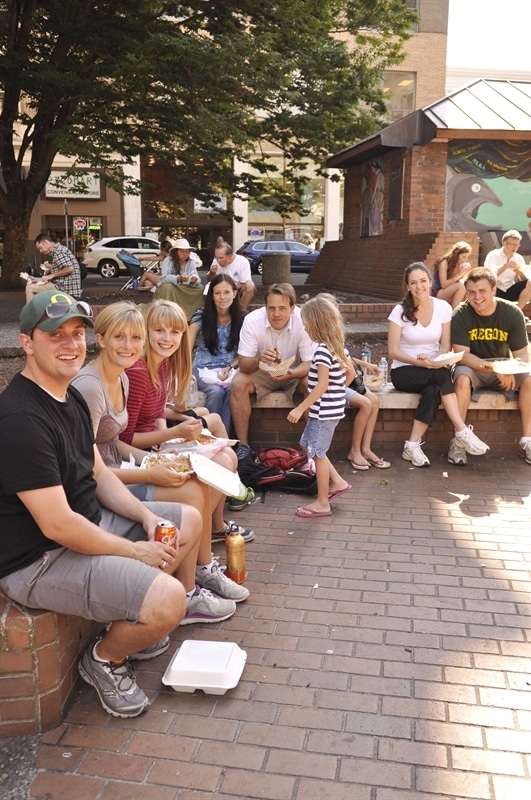
Just across the street from all the food carts is a park area where you can sit down and enjoy your lunch.

_dsc0083

You can spend as much time as you’d like exploring downtown Portland.  Just a few blocks from the food carts is Powell’s Bookstore which is a Portland icon and definitely worth a visit although you could get lost inside and not surface for days!  The bookstore is the largest independent new and used bookstore in the world.

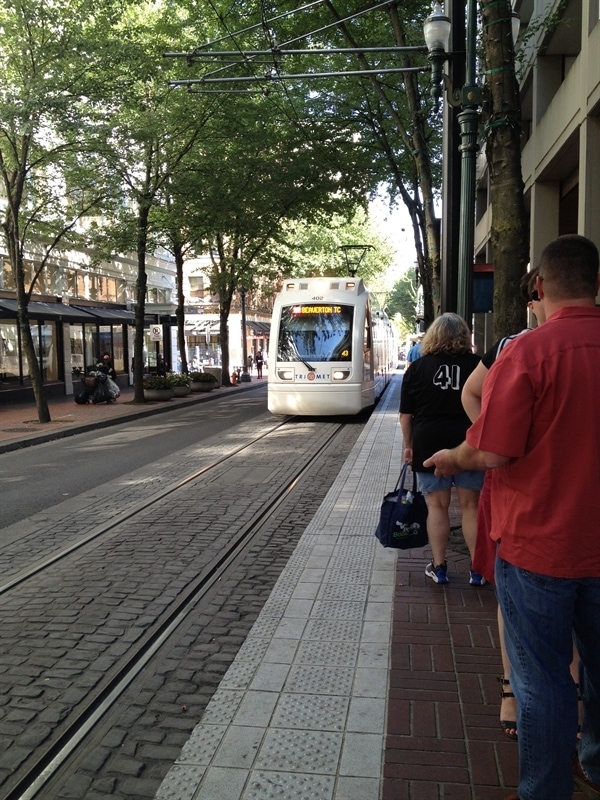
When you are ready to head back to your car, you can catch the MAX light rail and it will take you right back to the zoo.  There is a cost to ride the MAX.

4 t tRAIL

The trail is well marked, even in the downtown area.

4 t tRAIL

The 4 T Trail is such a fun way to see Portland – a little hiking, some great views, some delicious food and then there is the people watching.  People watching in Portland is always an adventure.

For more information and detailed maps head over to the 4 T Trail website.

Read Full Post »