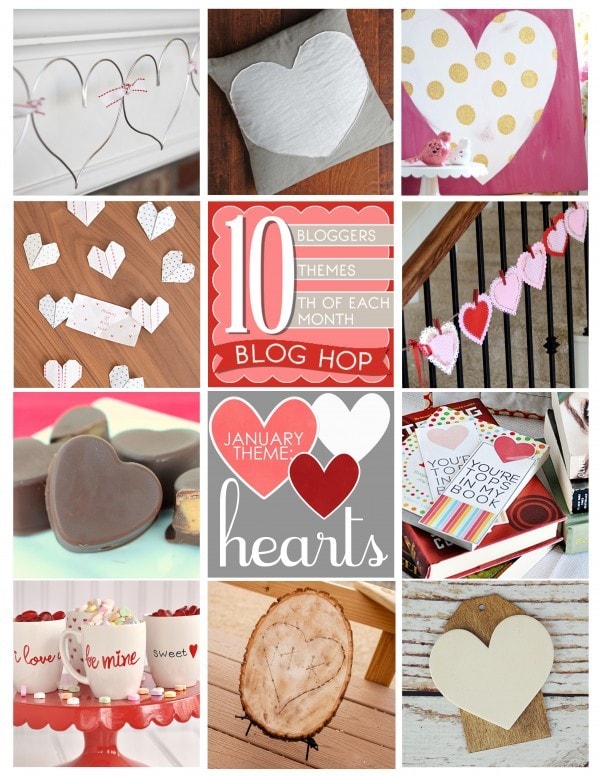
It’s the 10th of January and I am so excited to have our group of talented bloggers back for another blog hop! This month the theme is HEARTS and I just know you are going to love (no pun intended!) these projects that are sure to get your creativity flowing for Valentine’s Day… which is just around the corner! I’d love for you to pin our collage below, check out my DIY Sharpie Mug Project and then go see all the other fabulous projects by some of my friends!
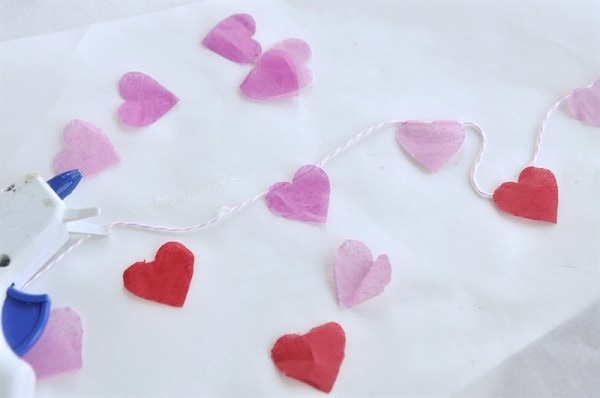
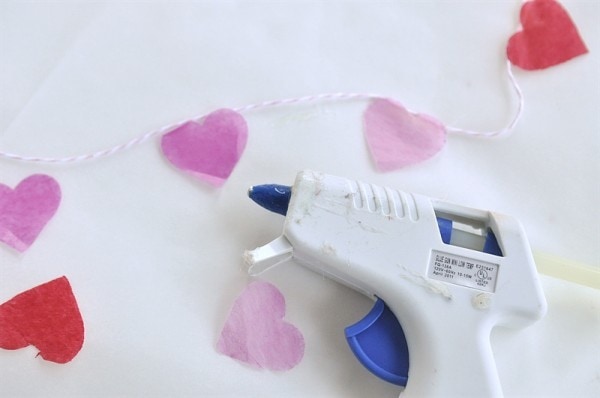
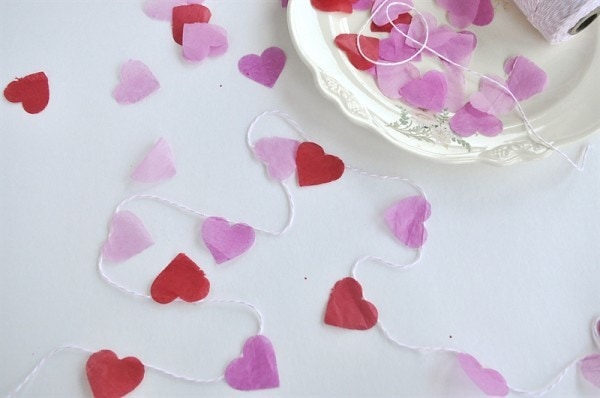
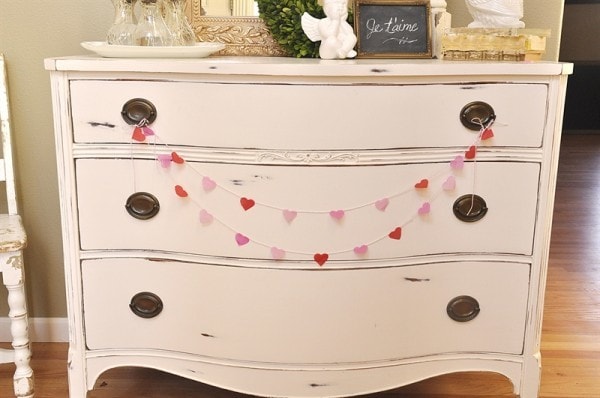
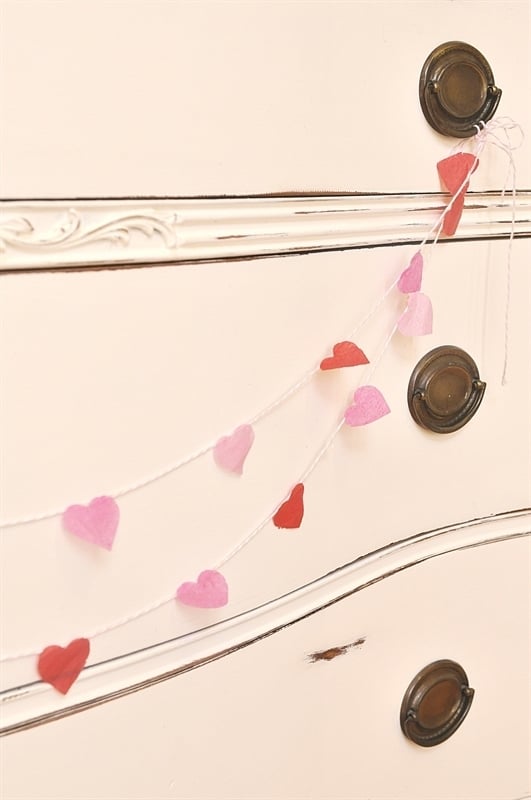
- Landeelu sharing an Easy Valentine’s Day Wire Heart Garland
- Little Miss Momma sharing an Easy Heart Envelope Pillow
- Lolly Jane sharing Glitter Heart Valentine Decor
- Or So She Says shares Origami Heart Love Notes
- Simply Kierste sharing Heart Bunting Countdown
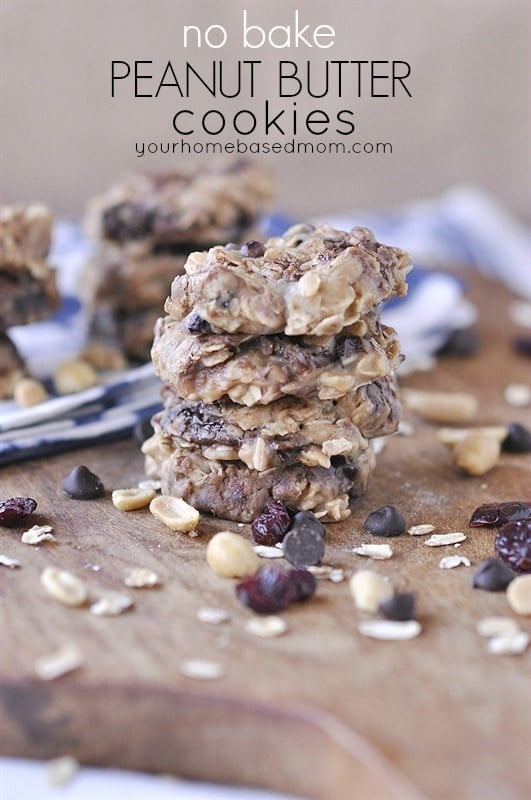
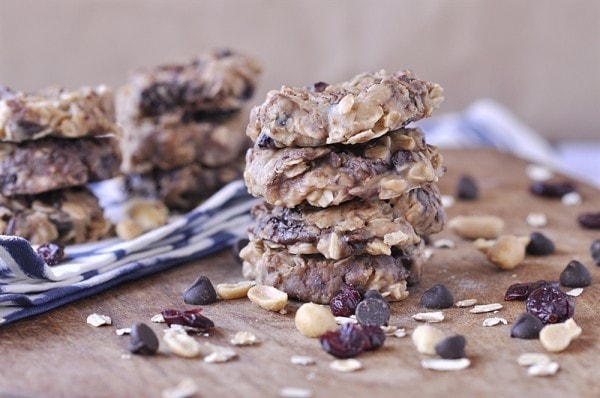
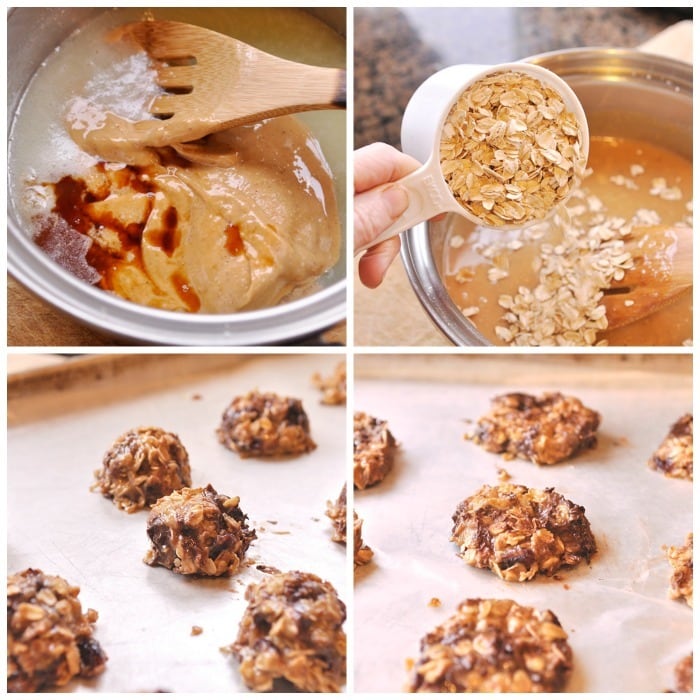
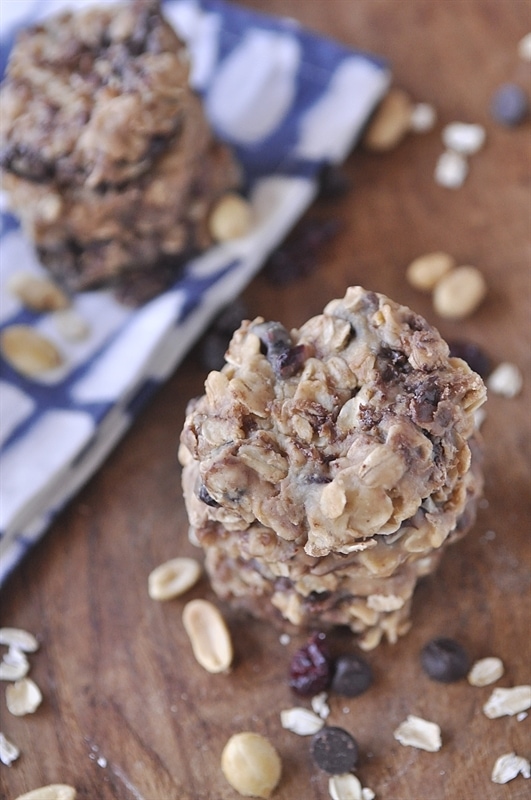
- Six Sisters Stuff sharing Peanut Butter Chocolate Hearts
- Thirty Handmade Days sharing Printable Valentine’s Day Bookmarks
- Your Homebased Mom sharing DIY Valentine’s Sharpie Mugs
- Capturing Joy sharing a Heart Carved Tree Stump
- eighteen25 sharing Heart Gift Tags
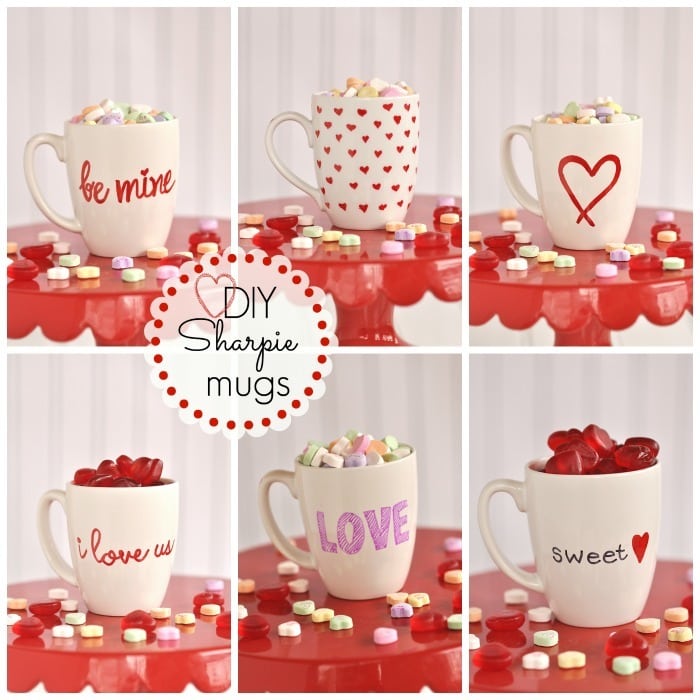
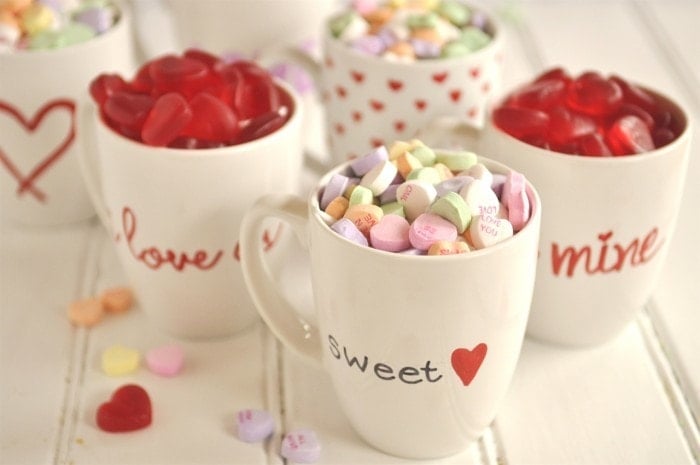
Over Thanksgiving I did a fun little craft project with a few of my nieces & nephews. We decorated mugs with gold and silver sharpies. An idea I saw on Pinterest of course! They loved it. Then for Christmas a cute friend gave me a mug decorated with gold polka dots done with a Sharpie. The mug was filled with hot chocolate mix and a candy cane. So cute.
It got my brain thinking and I decided that it would be fun to make some Valentine mugs. Mugs that could be filled with candy or other fun treats. It would make a great gift for a teacher, a friend, neighbor etc.
I did a little research on the best way to make the mugs using a Sharpie and found some good info here. I also did a bit of experimenting on my own too.
I purchased my mugs at Goodwill for .99 a piece. I know IKEA sells a white mug also but they are about $3.00 I think. I also read that sometimes the cheaper mugs are better. I tried a more expensive mug from Cost Plus and it didn’t work as well. The ones I got at Goodwill were Corelle. So you may need to experiment a bit.
The pens:
I tried three different types of pens in my experiment.
A red Sharpie
A red oil based Sharpie
A red permanent Bic Pen
Here’s what I found:
A red Sharpie – it works but it will fade some during the baking process, the red gets lighter. From what I read it is the red/pink colors that fade. The black I used on one mug did not fade.
A red oil based Sharpie – do not use if you plan on putting the item in the dishwasher. I put my cute mug in the dishwasher and the mug came out totally white again – the design disappeared.
A red permanent Bic Pen – it did not fade but the color did change somewhat to a little more burgundy color.
I decided that the red Sharpie was the best choice if I wanted a more true red color, even if it did fade a bit. If you want a more burgundy red go with the Bic pen. They both held up well in the dishwasher too.
The decorating process:
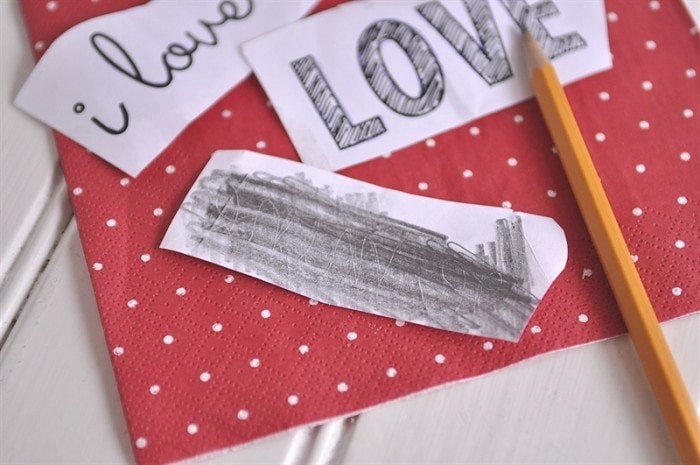
If you have cute handwriting you can write directly on the mug. I don’t so I printed out the words I wanted in a cute font.
On the back of the words use a graphite pencil and color over the area to be traced.
Tape the words onto the mug where you want them.
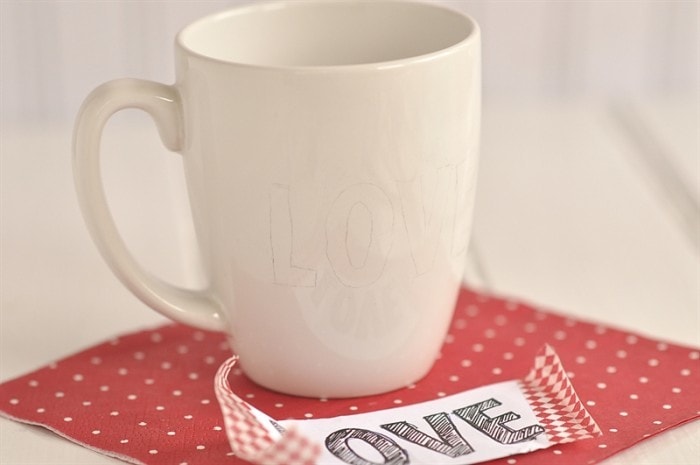
Using a pen trace the words onto the mug. The design will transfer, it will be very light but still readable.
Use your Sharpie to trace over words.
Allow the mug to dry 12-24 hours.
I cleaned off the mug with some rubbing alcohol, inside and around the areas where the writing is to remove any residual dirt and marker that may have gotten on it.
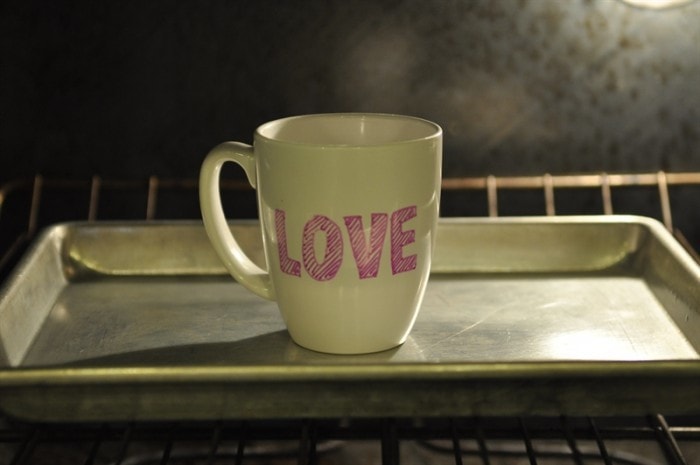
The baking process:
Place mugs into a cold oven. Turn oven onto 425 degrees and bake for 30 minutes. Most of the directions I found on line had you bake your mug only 30 minutes but this blog found that 425, starting in a cold oven worked the best. So that’s what I did.
Remove from oven and allow to cool. If there are some dark marks on the mug, after it has cooled you should be able to remove them with a cloth or a mildly abrasive sponge. For best results hand wash the mugs instead of putting them in the dishwasher. The design will last longer.
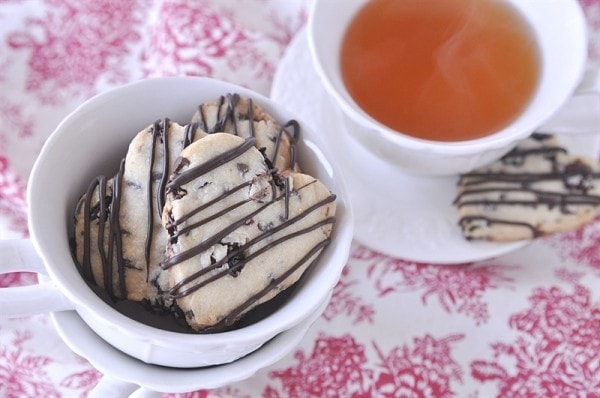
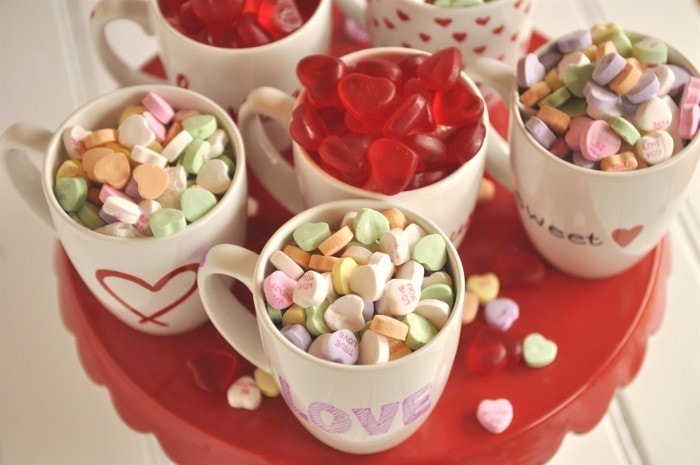
The next step is to fill them with goodies!
Some hot chocolate mix or a Starbucks gift card would be fun to put inside too.
Now go check out all the fun projects my friends have put together!
Read Full Post »